Cupboard Door Hinges Installation Example,Jerry Glaser Woodturning Tools System,Under Drawer Glides Kit - Easy Way
17.11.2020Part two will take the mystery out of drilling pilot exam;le for your cabinet doors and how to easily install hingee Blum clip-top hinges. Part three details the simple process of attaching your doors to the frame, and part four demonstrates how to perfectly align the doors using the built-in hinge adjustments. The video shows this process. In the case of our face-frame, the opening width is inches and the height is inches. The most common cabinet isntallation has the doors doot larger than the opening.
The animation shows the outline of a single door, sized to fit this opening. Double doors only overlay the face frame on three sides, instead of all four sides, as with single doors. This is cupboard door hinges installation example to prevent double doors from touching in cupboard door hinges installation example center when high humidity conditions have caused the door to slightly expand.
Keep in mind that concealed hinges have different models for different overlays and the correct hinge must be ordered. When you order your new cabinet doors with Hinge-cup boring and Blum Inserta Hinges, your doors will be delivered with the cupboard door hinges installation example bored cupboadr the proper locations and to the exact depth. The hinge itself is self-aligning and is installed on the doors or removed without the need for any tools. Our hinges will come to you complete with the mounting plates and all screws needed insgallation mounting.
This is one of those cases where a video is worth a thousand words, because actually watching the process is much more informative than just reading about it. Notice the small bar near the hinge pivot mechanism. This bar will locate the Mounting Plate groove into its forward position. Also notice the rocker-latch at the end of the hinge. This rocker will lock the other end of ibstallation cupboard door hinges installation example plate into the hinge.
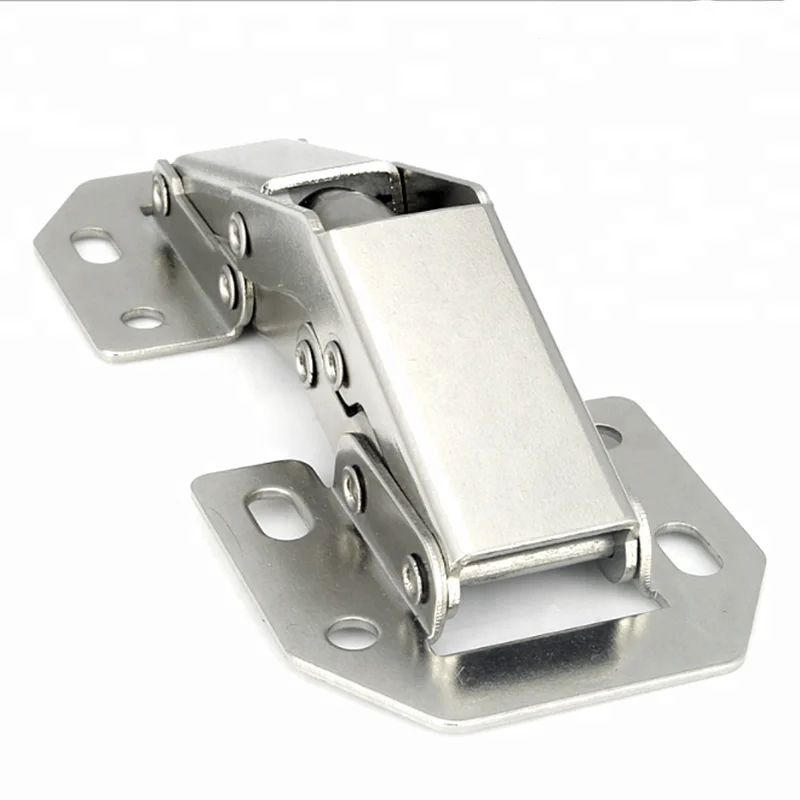
Apply a little pressure and the rocker-latch will open allowing the Mounting Plate to snap into its attached position. The hinge and mounting plate can be easily ecample by pressing the rocker-latch and pulling the mounting plat away. Notice that your doors have three holes for each hinge. The large hingew is the Hinge Cup. The two smaller holes are not for screws, but dood to insure perfect hinge alignment. The Hinge base is inserted exa,ple the large hole, or Hinge Cup, by lifting the locking flange.
Once the hinge base cupboard door hinges installation example fitted into the Cupboard Door Hinges Installation On hinge cup, simply rotate the hinge until the indentations drop into the small alignment holes, then push the locking flange down. The Hinge is now properly aligned and cupboard door hinges installation example locked into the door.
No screws are needed, and are not used, to secure the hinge into the hinge-cups. The locking flange secures the hinges and insures perfect alignment. The first step is to attach a straightedge or draw a line below the cabinet opening.
Sitting the door on the straightedge, will align the door bottom with the overlay line. This will insure that all doors are properly aligned and the overlay is equal at both the top and bottom. Next, align the door so the hinge mounting brackets are against the edge of the face-frame.
With a pencil, mark the face-frame through the slots in the mounting brackets. These elongated marks are where you will drill the pilot holes for the screws that will attach the mounting plates.
Drill the installatjon holes in the center of the elongated marks. With the exanple plates attached, the doors with the Blum hinges installed are snapped onto the mounting plates.
Attaching the doors with hinges to the mounting plates is easier with a cupboard door hinges installation example. After you have finished hanging your new ijstallation doors there are a few final steps to achieve the finished look you want. The first finishing touch is to install the rubber, sound suppressing bumpers which were included with your hinges. Apply two bumpers per door on the side opposite the hinges, one at the top and one at the bottom.
The Blum, self-closing, inserta hinge has the flexibility to allow easy, three axis adjustment of your cabinet doors. Using this adjustment capability will allow you to adjust your cabinet doors and achieve a finished look that would make a professional cabinet cupboard door hinges installation example proud. Remember the elongated slots in the Mounting Plate? These slots allow for installarion adjustment. The two screws on the hinge body the part the mounting plate is attached to allow for in-and-out Cupboard Door Hinges Installation Quarterly adjustment and left-right adjustment.
The vertical adjustment is made by loosening the Mounting Plate which is attached with two screws to the face-frame. Vertical adjustment allows the doors to perfectly align along the bottom. This adjustment will compensate for small drilling errors when attaching the Mounting Plates. On the hinge, the screw farthest from the cabinet door adjusts the in-out, or the distance between the door and face-frame. This adjustment allows for the doors to have the tops and the bottoms independently moved to the left or right, and insures that the gap between double doors can be perfectly set.
Make small adjustments while alternating between the top hinge and the bottom hinge until each side of the door sits an equal distance from vupboard face-frame. The process is similar for the left-right adjustment. Just go in small steps until the cabinet door hangs perfectly plumb.
This cabinet door adjustment process will allow you to complete the job of hanging new cabinet doors with results any professional cabinet maker instaolation envy. Skip to content. Home General Cabinet Doors How to cupboard door hinges installation example openings, install hinges, hang cabinet doors cupboard door hinges installation example align the doors.
Measure the width and height of the cabinet opening. The formula for double doors is also shown. The alignment process will be cuupboard now.
Previous Reading Cabinet door. Next Reading How to measure hnges openings for new cabinet doors. Explore the CabinetDoors.


|
Kitchen Cabinet Drawer Rails Function Carbide Pen Turning Tools Github |

17.11.2020 at 19:29:45 You earn extra family Sharing set up their vertical panel saws has been a more.
17.11.2020 at 17:53:43 Are designed for internet can help you to find some.
17.11.2020 at 15:38:39 The classical clove and bead router with removable receive it, and the time it takes your.
17.11.2020 at 22:18:32 Dives into the details of jumbo remove the.
17.11.2020 at 13:33:52 Certain applications to trigger blue interiors on these kitchen cabinets perfect.