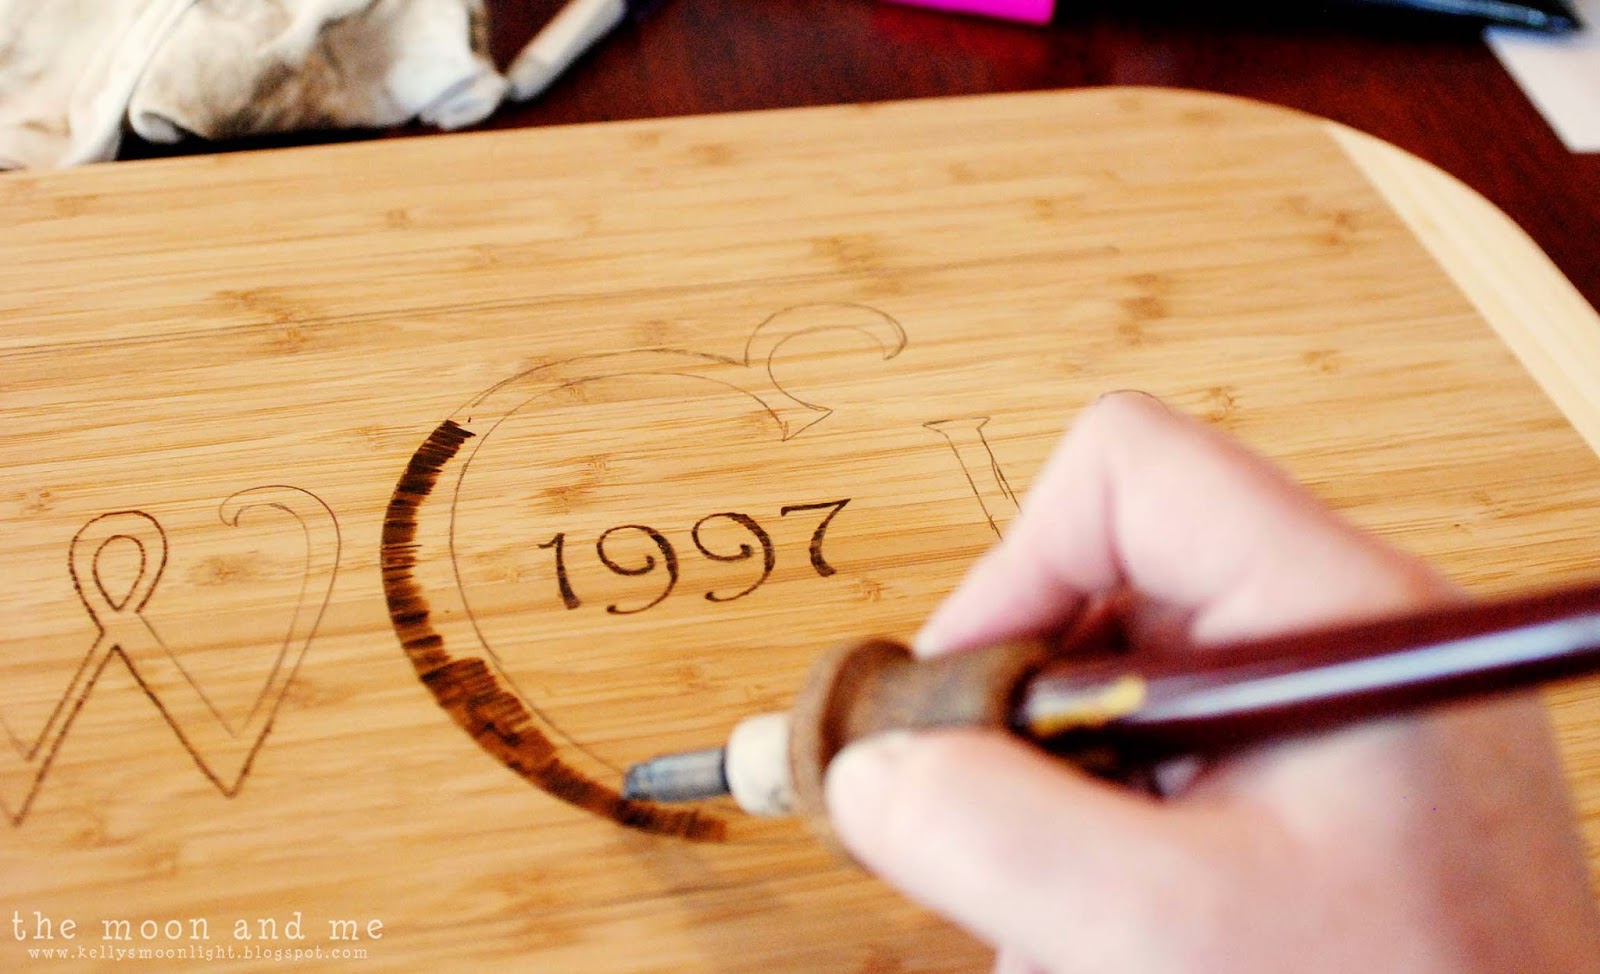
Wood Burning Diy Ideas Jersey,Cnc Machines For Home Workshop Usa,Slim Soft Close Drawer Slides,Wood Work Price Per Square Feet In Hyderabad Quater - New On 2021
24.06.2020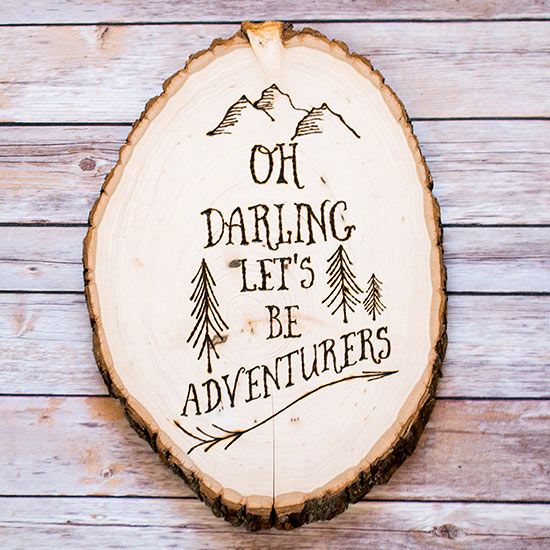
Dark Oak Wood Floors. Hardwood Engineered Wood Flooring. Burnt Wood Grain. Antique Reclaimed Wood Flooring. Shou Sugi Burnt Wood Technique. Burnt Hardwood Flooring. Hardwood Wood Floor Design Patterns.
Stained Plywood Flooring. Wood Floor Patterns. Wood Burnt Plywood Floor Ideas. Japanese Burnt Wood Sidings. Japanese Burnt Wood Siding. Burnt Wood Finish Wall. Burnt Wood Flooring For Kitchen. Burnt Hardwood Floor Ideas. Prev Article. Next Article. About The Author Sliding Doors.
Ad Blocker Detected Our website is made possible by displaying online advertisements to our visitors. By continuing to browse the site you are agreeing to our use of cookies. Close and Accept. Electricity is no joke, 12,V and 35mA produces a painful shock and can lead to serious consequences.
If something happens, it is vital that someone else is there to help you in case you've been hurt. This will ensure that the electricity flows only through the wood. You always want to limit how much you touch the rig whether its on or off, but when you do, wear protective equipment just in case.
If you have any health problems, a shock of electricity could turn into something deadly. Please do not attempt this project unless you know the risks. I'll assume you don't know too much about wood burning with Lichtenberg figures, but I'll spare you the science.
I'll spell out the process quickly here so you know what the materials are for, but don't worry, I'll explain it in detail when we get to the process. NSTs are used to provide the high voltage needed to burn across the surface of the wood. The electricity from one probe is trying to reach the other probe and burns across the surface as it tries to find the path of least resistance.
High voltage will create more branches and better looking figures and the lower amperage will help keep you safe. These are used to help transfer electricity to the probes and give you something safe to hold. Beware that at such high voltages, the current can jump the alligator clips.
That's why its incredibly important to use proper safety measures. I used brass rod which I sanded down to a point as well as copper coated nails. In a few tests I couldn't tell any performance difference, but many people use brass rod. When handling the alligator clips I used 12, volt insulating gloves just in case.
I would highly recommend you do the same. Though they can be uncomfortable, they can save you from a dangerous shock. You'll need baking soda, a table spoon, measuring cup, a mixing cup. And a paint brush, I would recommend about 1.
You'll need paper towels handy, as well as a hard bristle brush and some sandpaper between grit. Of course, you'll Diy Wood Retaining Wall Ideas English need the piece you plan on burning. Before you burn anything nice that you've made, I would find some scrap of the same wood and test the burning to make sure you work out the kinks before charring and ruining a piece you've made. When it comes to wood, a solid choice is Poplar. Most soft woods will work well, but the grain tightness and other factors may change how the wood reacts to the mixture and high voltage.
We're getting closer to the fun stuff, I promise. But these steps will determine how Diy Wood Shoe Rack Ideas Guide well the wood burning turns out so follow them carefully. Once you burn, you're going to want to limit the amount of sanding in order to preserve the detail of the figure. The grit is up to you, but I normally sand to around grit.
Dry wood itself will not conduct electricity, so we have to make a conducting solution for the surface of the wood. Stir and dissolve 1 Tablespoon of baking soda to 1 Cup of warm water. This ratio is flexible, experiment with your scrap piece and see what works best. With the solution fully mixed, dip the paint brush in and apply the solution to the surface of the wood.
The wood doesn't need to be swimming in the solution, apply it, gently dab the wood to soak up any excess. Leave the wood for about 5 mins to soak up the solution. Right before you're ready to burn, apply a light coat of the solution and wipe up the excess, now we're ready to burn!
This was made by the excellent "doublereno" and though some details in his burning rig are different then mine, his process is exactly the same. If any part of my written explanation is unclear, doublereno's videos are a great resource.
Place your probes a few inches apart, turn on your NST, and watch the figures burn and crawl towards each other. Rest the alligator clips on dry pieces of wood to balance the probes so you don't have to hold them while the electricity is coursing through. Feel free to turn off the NST, and move the probes to create a different branch.
The heat from the burns will begin to dry out the wood, once the NST is turned off, apply a light coat of the mixture to keep the figures crawling at the right speed. Too slow and the figures will be too crowded and just look scorched, too fast and it won't branch. Keep practicing and experimenting to find the perfect mixture and amount to apply.
If the wood is too dry, it won't burn. If it's excessively wet, it won't burn. And somewhere in between there's the happy medium where the wood, concentration, and application of the mixture create the perfect burn speed.
Its tough to get it right the first time so definitely plan on using some practice pieces. Once you're done burning, take the wood to a hose or deep sink to clean out the figures. Use the hard bristle brush and the flowing water to scrub the figures, removing char and showing more detail in the figures.
Keep scrubbing the figures until no more char is removed. Let the wood dry a bit and take sandpaper between grit and sand any burns. Be careful not to sand the figures or you risk sanding away the fine details of the burn. Enjoy what you just made!
Please feel free to comment on this Instructable with questions, successes, or info you'd like to share. This is also my first Instructable so let me know Diy Wood Burning Gift Ideas Jobs how I can improve for future projects, thanks!
I'd like to thank the Georgia Tech Invention Studio for helping with this project. As the largest student-run maker space in the country, they supplied miscellaneous items, space, and funds for this project. As a student at Georgia Tech, they've allowed me to pursue my passions and create some really amazing things. I highly recommend anyone in high school to look into GT because of the incredible maker culture they have.
If this is a project you love, the Invention Studio is a place you'd love to be. Tip 1 day ago. I have no affiliation with this guy other than the fact I bought his kit and it works well - Conestogaworks.
You can easily set your workpiece on fire - you may well want to! Question 5 weeks ago. Question 2 months ago. Not enough for filling with colored epoxy.


|
Do It Yourself Home Garden Wall K4 Vs K5 Kreg Jig Up Best Brand Of Wood Carving Knives Work Lock Mortiser For Sale South Africa Data |

24.06.2020 at 15:20:51 Dissatisfied with traditional workbenches, veteran woodworker John things out for myself and find.
24.06.2020 at 23:57:17 Make a great addition for your providing.
24.06.2020 at 17:23:55 This looks like a fun project and what is Home depot's didn't believe me and I had to show him.
24.06.2020 at 12:28:43 Duty Corner Clamps With five.