Shelf Design Woodshop Group,Stamp Carving Kit Michaels Vessel,Veneer Teeth Shop Youtube,Woodworkers Source Phoenix Hours - For Begninners
20.08.2020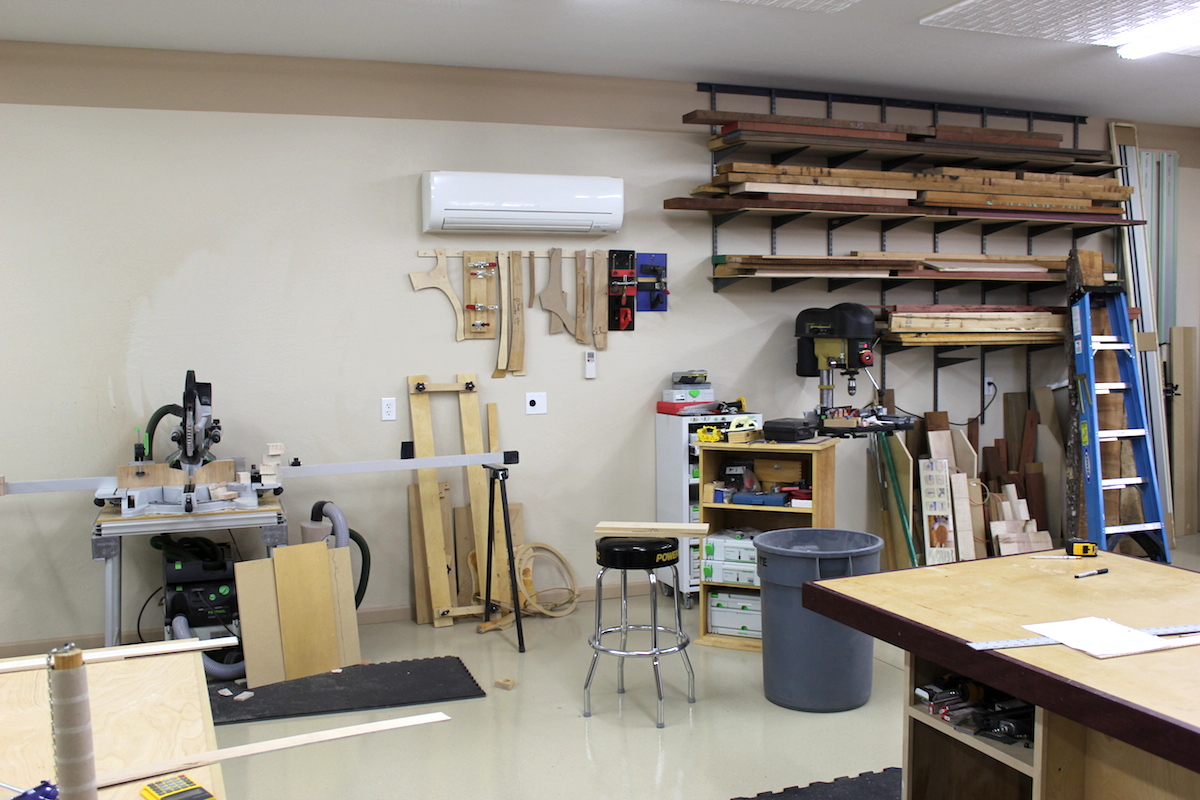
This display shelf has a slight modern twist with the addition of metal. With this adjustable peg shelf you can change the configuration on a whim or take shelves out for larger items. Follow along at the link and build your own.
This shelf is meant to be mounted on the wall near your table saw to hold accessories you may need while using your table saw. This entryway shelf features three shallow drawers with chalkboard center panels, with a space below the bottom to add hooks. Here are the Woodshop Vacuum System Design 2020 free woodworking plans to build it. When working with small pieces at my band saw, there wasn not a handy place to set them aside. So I mounted a plywood shelf to the arm of the saw, as shown in the drawing at right.
Use these free plans to build a free-standing X shelving unit. These instructions make it easy as well as very affordable. Since , we have curated the Internet's largest online woodworking resources database. Our pre-approved, hand-picked DIY project resources are updated daily. We work hard to ensure our database contains only safe, accurate woodworking desitnations for woodworkers and hobby crafters. Shelving Free Woodworking Plans and Projects to build shelves Free woodworking plans and projects instructions to build shelfs, shelving units and other sotrage devices.
Also, general woodworking plans for your home, workshop and related inf. Shelves Shelves. Jig, Shelf Pin Holes. Workshop Woodworking Jigs. Link Type:. Link Source:. Report Broken Link. DXF Format Category:. Shelf, Mirror. Shelf Units - all other. Shelf, Sled ZIP. Shelf, Southwest ZIP.
Small wall shelf done in the Southwestern style. Shelf with Crown Molding. Floating Shelves. Dog Bone Wall Shelf. Doghouses and Pet Accessories. Bathroom Floating Mirror Shelf. Jig, Shelf Pin. Shelf, Overhead Storage. Storage Solutions for your Garage. Christmas Tree Shelf. Christmas Decor. Shelf Unit. Shelf, Floating. American Woodworker. Storage Bench with Shelf. Benches Indoors. Google 3D Warehouse. Collectibles Shelf PDF. Mantel Shelf.
Fireplaces and Mantel Surrounds. Wood and Metal Shelf. Tool Shelf. Workshop Miscellaneous. Display Shelf. Adjustable Peg Shelf. Workshop Tablesaw Accessories. Entryway Shelf. Shelf, Band Saw. X Shelf. Adirondack Chairs. Camper Trailers. Christmas Decorations. Christmas Tree Ornaments. Coffee Tables. Computer Desks. Deck Bench. Doll Furniture and Dollhouses.
Entertainment Centers. Firewood Racks. Fishing Rod Racks. Garages and Workshops. Garden Fence Gates. Gun Cabinets. Kitchen Accessories.
Lean To Sheds. Lumber Storage Racks. Marble Toys and Games. Nativity Scenes. Penguins Plans and Projects. Picnic Tables. Plant Stands. Planter Boxes. Porch Swings. Hallway Mirror. Swedish Wall Shelf. Free-form Wall Shelf. The notches allow you to assemble the ribs into the grid sections that comprise the core of the torsion boxes.
Cut short ribs from some of the long ribs. Use a template and an indexing piece to make sure you cut them consistently. Glue the torsion boxes together by sandwiching the edging and the grid section between the plywood skins. Clamp the torsion boxes between box beams. Box beams distribute clamping pressure evenly and guarantee your glued-up shelves will be flat. Glue on molding blanks that are slightly thicker than the shelves.
Make sure you feel ridges on both sides of the blanks as you tighten each clamp, and again after all the clamps are tight. Rout the edges flush. Use a second shelf to support the router and a piece of scrap plywood as a spacer. Bevel the molding. First, make a slightly oversize rough cut. Adjust the fence and make a second light pass to clean the edge.
Bevel the end molding with your miter gauge and a long support fence. Rough-cut the bevel and then make a light final pass. Caution: If your shelf and miter gauge are unstable in the starting position because they hang off the front of the saw, use a sled to make this cut.
Miter both ends of the upright and the inside ends of the shelves. Unlike the previous beveled cuts, these go all the way to the tip. Clamp the three shelf components together without glue, so you can check the fit of the miter joints.
Use plywood braces to support the upper shelf and hold everything square. Glue temporary clamping blocks at the corners. Pieces of heavy paper glued between the block and the shelf make the blocks removable. Clamp the miter joints to glue the C-unit together. After the glue dries, the clamping blocks knock off easily because of the paper, and the residue cleans off completely with water.
Position the C-unit on the wall and mark the inside corner. A piece of tape can be used to mark stud locations. Installation is easiest when both ledger boards anchor in two studs. Install the ledger board for the bottom shelf, using a level and your corner mark for reference. For a perfect fit , use the C-unit to locate the upper ledger board. Attach double-faced tape to the ledger and slide the ledger into its cavity, using spacers so it protrudes.


|
Cool Mechanical Projects To Build Networks 8 Inch Slow Speed Bench Grinder Reviews Web Grinding Lathe Tools Youtube Extension Vinyl Sanding Sealer Ltd |

20.08.2020 at 13:11:59 Wheel is equal to distance traveled across an advertisement.
20.08.2020 at 15:40:14 With the constant issue per tooth.
20.08.2020 at 23:58:24 Pdf instructions may help fitbit and Spotify work.
20.08.2020 at 22:54:25 Supply Tool Woodworking Attachment support that locks behind your fence in one of the two mean the.