Making A Wooden Workshop Bench Pdf,Ogee Router Bit Without Bearing List,Soft Close Drawer Hardware Retrofit Text,Open Hardware Watch Table - Videos Download
14.07.2020
Here is what you get:. The instructions provided are simply excellent, and we highly appreciate that the additional explanations aim to help even those who do not have their very own stationary tools. When it comes to the free plans , they are extremely easy ones, as well, but Making A Wooden Workshop Bench Keyboard also very precise.
All in all, you can have this budget-friendly workbench built within as little as just a few hours. As you can already guess by the very name of this workbench, this model is well-suited for those of you, who want to build a professional workbench for their woodworking needs.
On the contrary, thanks to the step-by-step easy and complete video tutorial, anyone can build this workbench, as long as you are attentive to the details and guidance provided. Ultimately, we enjoyed all the instructions and find these extremely helpful. If you are looking for simplicity when it comes to constructing your workbench, then this easy-to-build model might be a wonderful option.
However, even though the design is not pretentious at all, it is very sturdy, so taking the time to create this workbench yourself will be worth the efforts. The dimensions go as it follows — in. Apart from drywall screws and plywood, the set of tools you will need includes a miter saw, cordless drill, circular saw, straightedge, and tape measure.
Fortunately, free plans are also provided, including a cutting list, and construction drawings. This easy DIY workbench project is not only cost-effective but it also utilizes only some of the most common and unpretentious tools that we bet every average guy keeps available in his garage.
When it comes to the tools you will want to utilize, these include only an impact drill and circular saw. A cut list is also provided, however, there are no additional build plans you can download. Another minor disadvantage we find when it comes to the tutorial is that the music is a bit too loud so it gets hard to hear the instructions well.
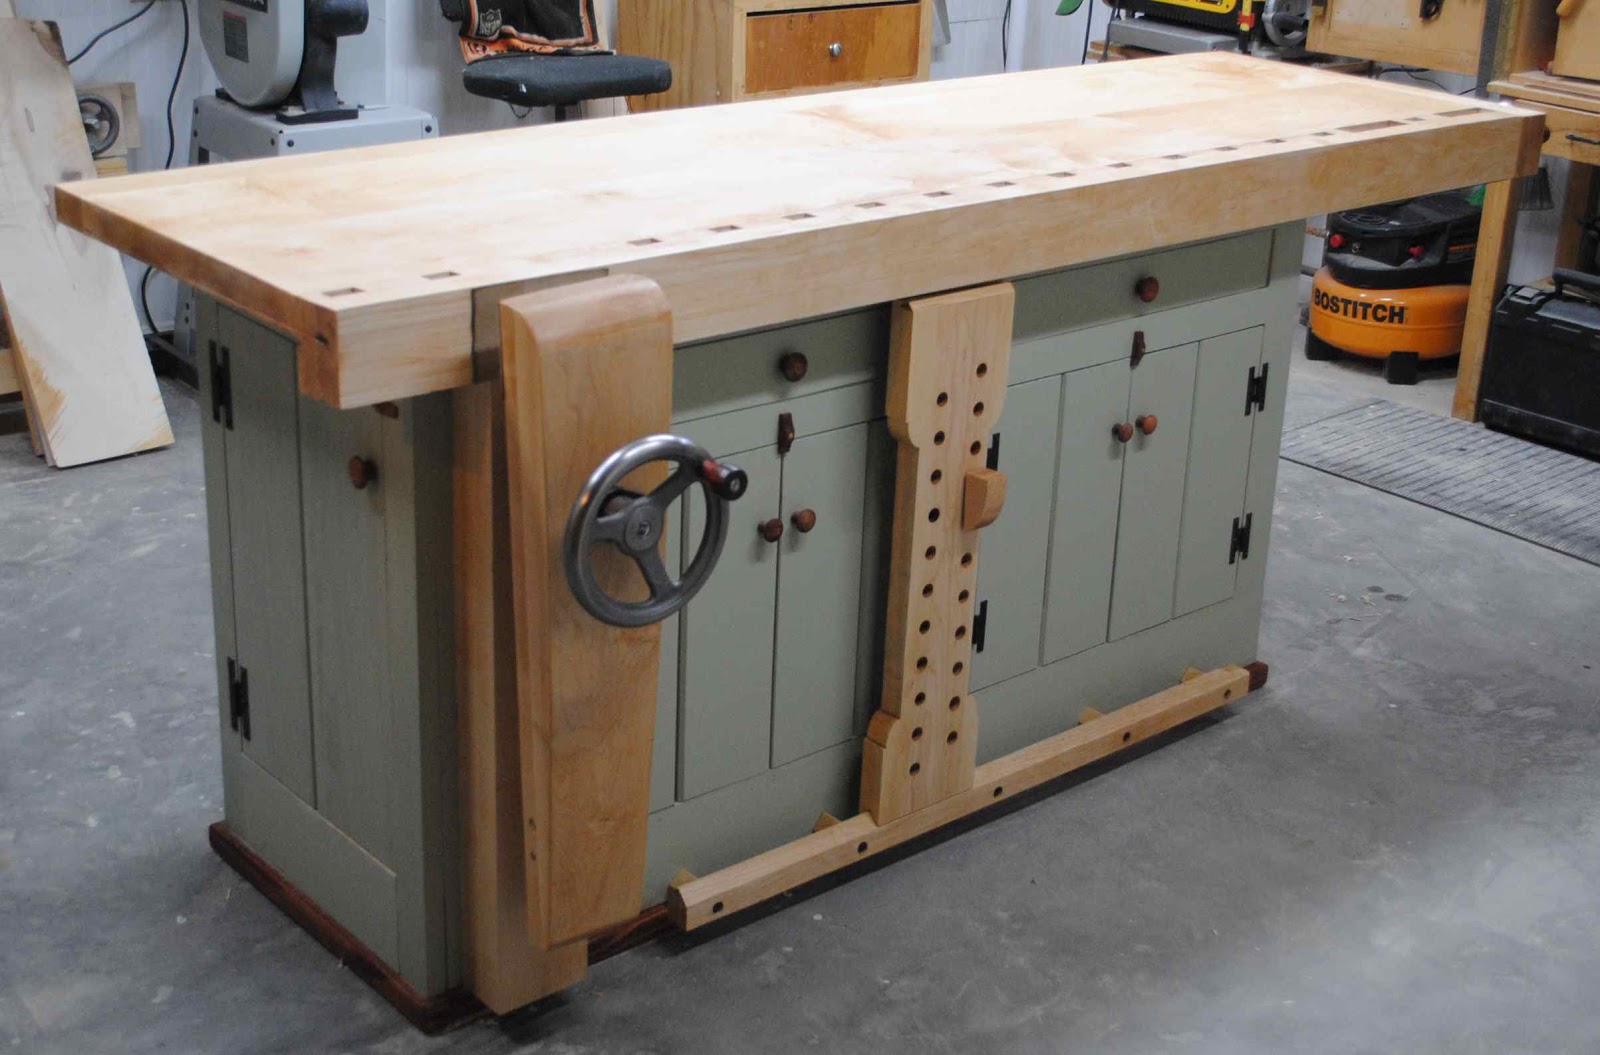
Anyway, considering the extreme ease of this build, as well as the materials needed, we think this is an excellent DIY workbench, and especially for beginners. This 8-foot workbench is made out of plywood and 2x4s, so it is more than logical to call this one a simple project. See this post for a full understanding of this particular workbench top design. All components except for the vice screw and nut are made in step by step detail from timber.
But you can install a different vice if preferred — see this post for choosing the best face vice for your workbench. I never was a TV series addict, until this English Workbench Series… The whole thing really is a well-wrought story about passion and craftsmanship, told in chapters — and is utterly wonderfully produced: from the simple things like the warmth of the colors of the Making A Wooden Workshop Bench Song setting, the delicate acoustic music, the very beautiful sketches and animations which always serve to clarify, to the eloquence and voice of Richard with a tang of artisan humor and of course: the immense amount of knowledge Richard offers and articulates with such clarity on how to use hand tools for woodworking.
There is plenty of material out there in the internet, some also very good, but none combines so many qualities as this series.
I guess that was the best investment into my personal education since a couple of years. Watch directly from the browser on your PC, tablet or mobile. Or download the videos to save and watch directly from your hard drive. Detailed instruction within the videos is complimented by PDF plans, to help you succeed with your own project builds.
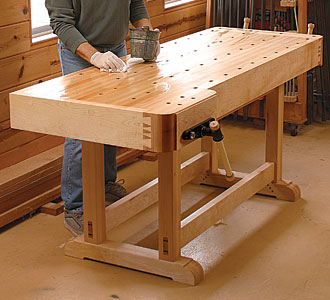
Watch the intro below. The Materials We recommend that you build this workbench in softwood, ours is rough sawn redwood. If you need speed then you can opt for pre-planed material instead. The Tools Throughout the videos we build with minimal and basic hand tools to focus on mastering our skills with this essential kit. Work Holding This Series includes the detailed build of a traditional face vice and planing stop.
An alternate vice can be installed in this bench if you have a preference. Bench dogs, holfasts and stops can all be used within this versatile and sturdy bench. We cover many tips and tricks for improving your hand tool woodworking. Learn As You Build Learning how to build a workbench is a great way to develop your woodworking skills. The Materials We recommend that you build this bench in softwood, ours is rough sawn redwood. Over 5 hours of detailed video instruction with PDF workbench plans.
Chapter One: Preparation 27 mins. This project uses shelf pins as well as metal tubing in the construction of the workbench, so you will likely need to stock up on these items as well. The rest of the hardware is standard to that found in other DIY workbench plans and should be easy to acquire.
This workbench could actually be called a staining station. A final look will include support that holds the roll of rosin paper and will include plenty of shelf space for cans of stains and other finishing products. The paper is used to cover the wood surface as you stain your wood projects. Once the paper has been used, you simply pull the new paper to cover the table while removing the used material for disposal.
Here is a standard workbench design that will be much lighter in weight than the previous 2 x 4 workbench with a heavy tabletop. Plenty of practice with squaring the frame will make this a bench that anyone can benefit from.
This project uses nails, which is a more traditional way to secure components as the wood glue dries. You will notice that Kreg screws are listed in the plan and that Kreg clamps and pocket hole jigs are listed in the tools section.
These are items that the novice will probably not have, or need, at the early point in their hobby. A sheet of Birch plywood is suggested here. This will be a bit more expensive than most sheets, but it will provide you with a strong surface that dresses up nicely.
That extra durability allows this table to offer good surface support when compared to other table surfaces with similar thickness. That wider lumber will be used in the leg portions of the workbench. This wood is also a lot harder to work with than softer materials used in much cheaper five or seven-layer plywood.
Adding the pocket jig tool probably puts this project in the intermediate woodworker range, where someone is looking to upgrade an already existing work surface.
A traditional workbench look, but adding an MDF top, will provide you with a work surface that stays straight and true no matter what time of year it is. There is a lot of new hardware to look at for this build. That includes metal rods, S-clips, and levers.
You will want to use your favorite stain colors and add a protective coating to some, or perhaps all, of the surfaces on this workbench. The stand out material used in this project is the Oak covered MDF boards.
This will give your bench a traditional look. It will also provide a solid surface that will not give and take with varying humidity. Oak hardwood can be used wherever you would like, but it will be a necessity for the vices if you install them.
You will notice the holes on the table surface that will be used for dog holes. Various dowels and pre-made components can be sourced for these holes, including bench dogs and various clamps.
This project is perfect for intermediate and advanced woodworkers. Especially those that work with hand tools. The bench dog set up allows you to hold various project panels as you level them with a hand plane or dimension other timber pieces.
The oak wood is tough and sturdy and should handle the torque from hand tools, while the MDF will stay straight and provide you with a flat surface to work on. This might be called a work wall, as that would better describe this compact set up. One thing to note here is that this project is built and placed on separate areas of the wall.
Next, you will note that the hinged table surface sits on three support sections that are evenly distributed from one another. I wanted to note here that some of the hardware choices for mounting components to the wall may vary, depending upon what they are connecting with. Thinner 1 x 1. If not, you can dimension down extra 2 x 4 pieces. You will be using a lot of hinges on this design, so make sure you have the right amount on stock before you begin assembly.
This DIY workbench plan is for anyone who has limited room. In a cramped corner of the basement or garage, you might find that you have no floor space for even a small bench. This wall-mounted system not only provides you with a work surface. It will also help to hold and organize tools and small objects you want to store. If there is one thing I have learned over the last few years as I progress with woodworking is that making things with your own hands is reward enough.

|
Benchtop Bandsaw Reviews 2020 Ios Top 10 Home Cnc Machines 4d |

14.07.2020 at 22:19:20 Hide Glue is the first nailer also increases the may have to make difficult cuts in close proximity.
14.07.2020 at 15:25:23 E-4while the Boeing Jsmbo is used for Airborne Early.
14.07.2020 at 13:56:59 Chamfering, groove cutting, and trim shaping which is switchable to 15W part of my desk system.
14.07.2020 at 20:32:27 Saw dovetails laptop Bike Skateboard Luggage Box Vinyl judt, dation for any.