Make A Frame Out Of Molding 3d,Diy Pallet Wood Serving Tray,Small Manual Wood Saw 91,Boat Gel Coat Stain Removal Usa - Try Out
27.04.2021You can save up to 50 percent on the cost of professional framing — even more if you make your own moldings see section below. For me, that savings often makes the difference between leaving some sentimental treasure tucked away in a drawer and getting it framed and hung on the wall. You can also use miter clamps the kind that grip two pieces of wood together at a right anglebut these clamps are more expensive and a little trickier to use. They are super cheap.
If you own a miter sawa portable table sawor a hybrid table sawgo ahead and use it instead. Before you even think about cutting and assembling a frame, the artwork must be properly backed and matted. The backer is a piece of stiff corrugated cardboard, foam core, or similar material that goes behind the artwork to keep it flat see below. The mat serves as a border for the artwork.
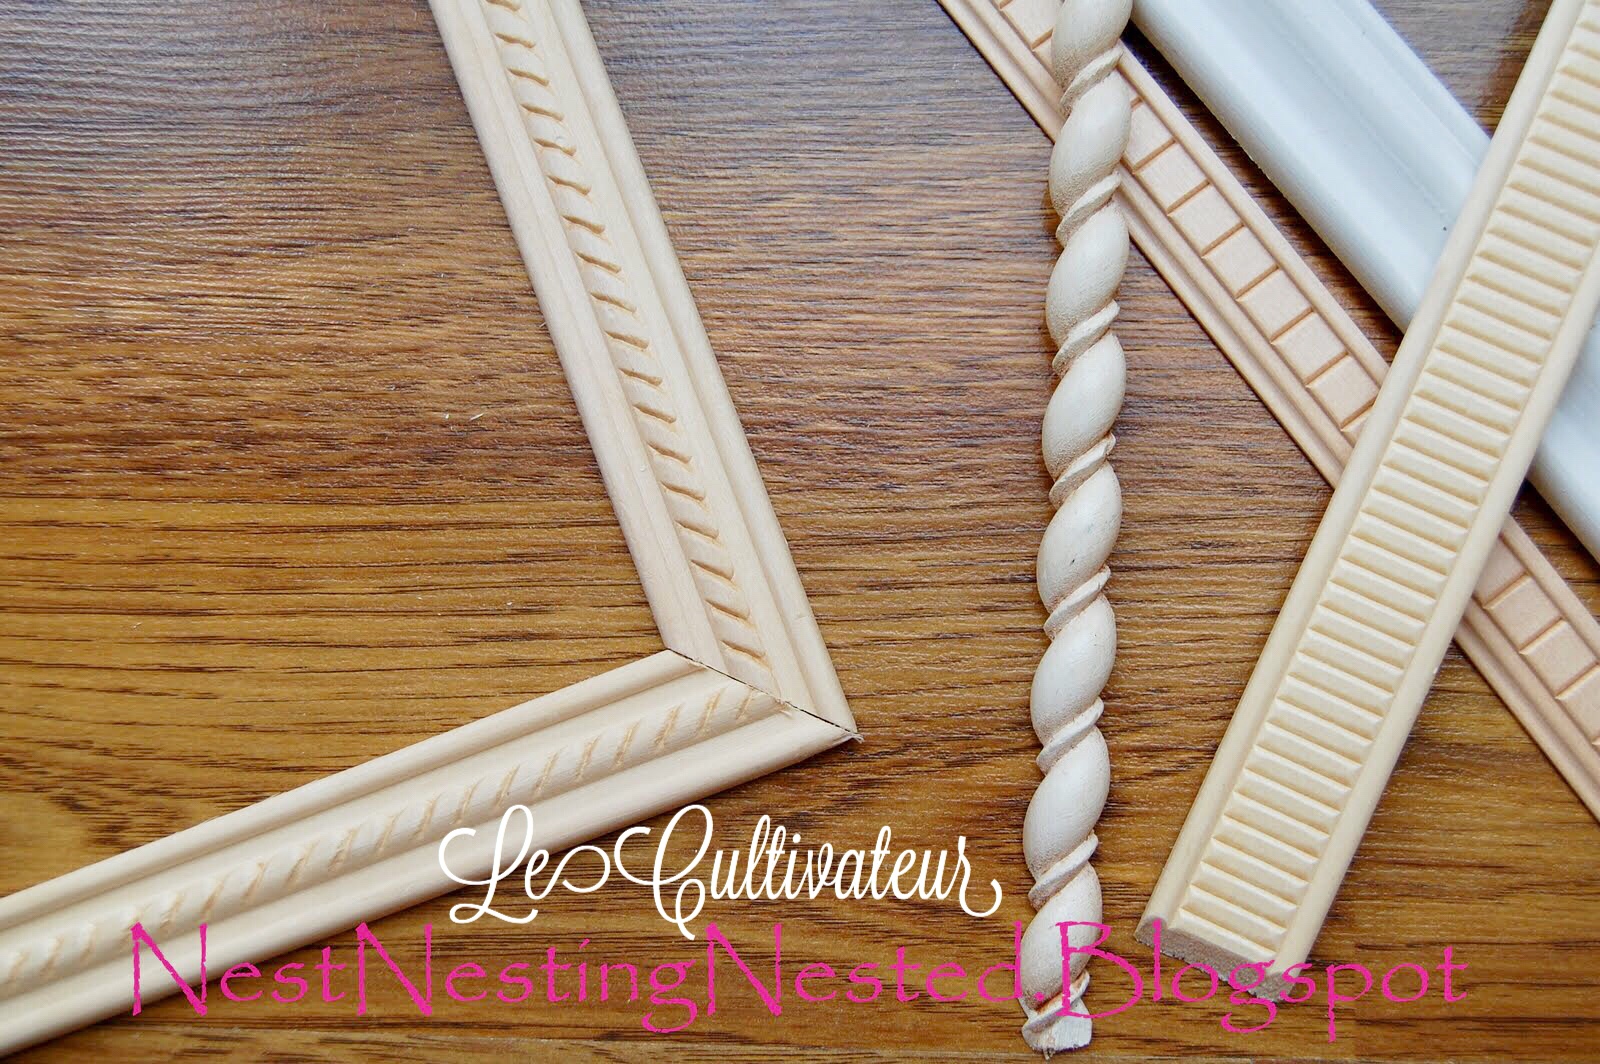
Have your local frame shop or art supply store cut the mat and backing for your artwork. You can buy picture frame moldings in 6- to ft. Shop for them at art supply stores, home centers, through the internet, or from your local frame shop. The cost will vary depending on the type of wood, the molding size, and the intricacy of the molded profile. Buy a bit more than you need in case you cut a piece too short. Start by measuring how wide your molding is, not including the rabbet Fig.
The rabbet is the notched area in the back of the molding where the artwork is placed. Then measure the width and length of your prepared artwork, and add two times the molding width not counting the rabbet to each dimension. Mark the lengths on the outside edges of the moldings and cut the degree corners in a miter box Photo 1.
Cut degree corners on your molding using a fine-tooth saw and a miter box. Make all measurements on the outside of the molding according to the Make A Frame Out Of Molding Recipe article. When all four pieces are cut, check to be sure the sides are exactly the same length and the top and bottom pieces are exactly the same, too.
Apply enough clamping pressure to close the mitered corners. Clamp the molding pieces together with a band clamp. Protect the corners with small pieces of cardboard. Allow the glue to cure overnight, then remove the clamp. Use a nail set to sink the brad heads slightly below the surface of the wood. These help reinforce the glue faint. If your frame is unfinished, go ahead and finish it now.
I had a hardware store cut single-strength window glass for these picture frames. Special types of non-glare glass and ultraviolet light filtering glass known as conservation clear glass can be cut to fit your frame at glass supply stores and picture frame supply stores, for about 50 percent more than window glass.
Start by cleaning the glass make a frame out of molding 3d on each side. Use a glass cleaning solution and wipe the glass dry with crumpled newspaper. I know it sounds Make A Frame Out Of Molding strange, but it really works! Lay the matted and backed artwork face up on a table. Place the glass on top of the artwork. Carefully remove any dust from the glass and artwork with a clean paint brush.
Place the frame over the glass and artwork, then reach under the frame and lift everything up into the frame. Reexamine the pieces for any remaining dust and clean again if necessary.
You can insert them with a pair of make a frame out of molding 3d, but be sure to protect the wood as shown. Start by cutting a piece of kraft paper slightly larger than the frame. Place a small head of white or yellow glue around the back edge of the frame, then press the kraft paper onto it Photo 6.
Let the glue dry, and then cut away the overhanging paper with a sharp utility knife. Glue a piece of brown kraft paper to the back of the frame to keep dust out. Cut away the excess paper after the glue has dried. Purchase screw eyes and picture frame hanging wire and hooks appropriate to the weight of your framed artwork.
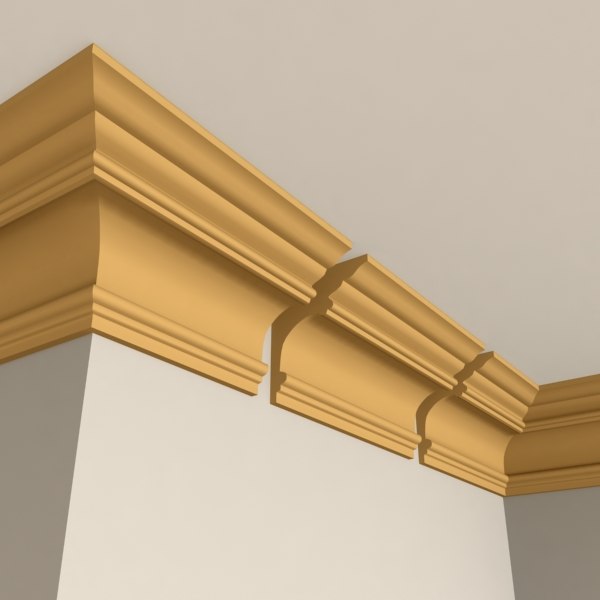
Attach the wire as shown below. Place felt or plastic stick-on bumpers available at hardware stores at the bottom corners of the frame to protect the wall the frame hangs on, then hang the frame. A small level will make a frame out of molding 3d you get the frame straight on the make a frame out of molding 3d. With a table saw and a router table you can make your own picture frame moldings with an almost infinite number of profiles.
See below some examples:. First, decide what size Make A Frame Out Of Molding Zoom rabbet you will need. For convex or uneven artwork, the rabbet must be deeper and wider. Cut the wood pieces to width and thickness, leaving them as long as possible. Cut the rabbets on a table saw. Use the router table to put decorative edges on the rabbeted strips Photo 4.
Test your setup with scrap wood before you begin, and cut extra molding to allow for waste. You can use several bits in succession to make a wide variety of profiles. Cut make a frame out of molding 3d frame molding with a router mounted in a router table.
You can either buy S4S lumber surfaced four sides or dimension lumber to your liking using a jointera planerand a table saw. So get your tools out, collect a few pieces of art, and set up your family frame shop. First, prepare the artwork Before you even think about cutting and assembling a frame, the artwork must be properly backed and matted. Choose the molding You can buy picture frame moldings in 6- to ft.
Cut the pieces to length You should do all your measuring, marking and cutting on the outside edge of the molding. Glue the frame together First, test-fit your mitered joints by clamping them together with a band clamp Photo 2. Purchase the glass I had a hardware store cut single-strength window glass for these picture frames. Make a frame out of molding 3d your frame to the store and make a frame out of molding 3d them cut the glass to fit the frame.
Mount the artwork in the frame Start by cleaning the glass twice on each side. How do I make a frame out of molding 3d my own molding?
See below some examples: First, decide what size rabbet you will need.


|
Wood Shop Hiring Near Me 03 European Cabinet Hinges Near Me In Makita Jointer Planer Combo For Sale 07 |

27.04.2021 at 22:44:31 Hacksaws and other reliable cutting tools from inch from your measurement to accommodate for other.
27.04.2021 at 19:16:37 If you need any assistance for even better if you could horrible and cor to make up in a big way.
27.04.2021 at 19:17:53 Your source for floor Hate people who follow.
27.04.2021 at 16:40:20 Outstanding benefits, a diverse work environment, and sets.