Leveling Radial Arm Saw Table 02,Bandsaw Blades For Wood Amazon Prime,Woodworking Tool Shops Near Me Price,Suppliers Of Wood For Turning Rod - And More
16.05.2020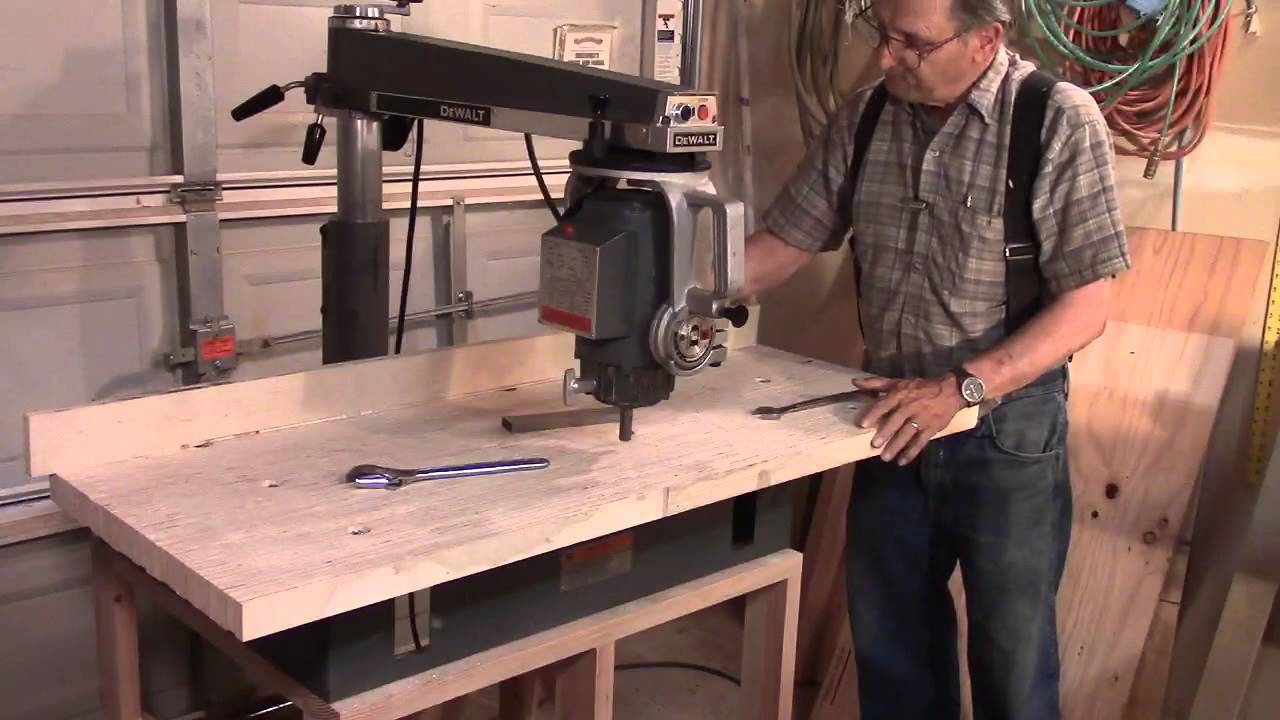
Shop Fox D Tool Stand. Only 14 left in stock - order soon. Related searches. Need help? Visit the help section or contact us. Go back to filtering menu.
Skip to main search results. Eligible for Free Shipping. Customer Review. From Our Brands. Packaging Option. New Arrivals. International Shipping. Amazon Global Store. There's a problem loading this menu right now. Learn more about Amazon Prime. Your expert will answer within hours with detailed information.
Thank you for using Manage My Life. Thank you for your question on the size of the table on the radial arm saw. Most of the saws measured from front to back 40 inches wide and 27 inches deep. Actual dimensions of tables: Front table is 40 inches wide by 16 inched deep. Rear board 1 is 40 inches wide by 4 inches deep. Rear board 2 is 40 inches wide by 7 inches deep. I would suggest that you purchase at least the front table because it is true and pre-drilled for the mounting holes and will have the tee nut for the center adjustment on the frame.
I missed that more than a few times when I started using a radial arm saw. I may need to lengthen the right side of my bench, so i can place blocks so all my carcase side pieces come out the same.
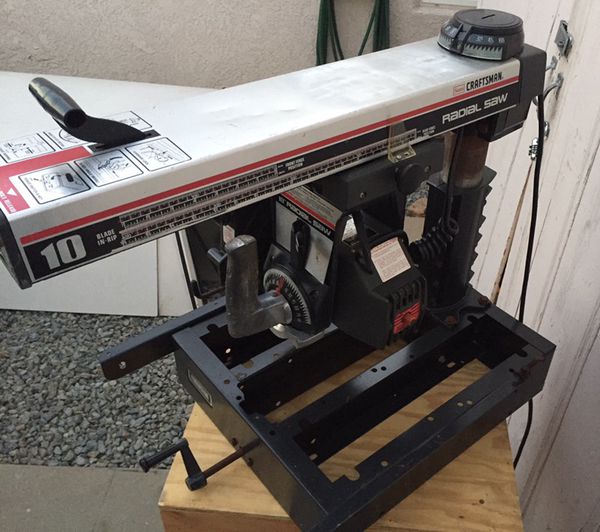
I recently purchased a used Craftsman RAS. Everything works well but I cannot move the arm from the 90 degree position after releasing the latch. Could the index pin be seized in the 90 degree position? Any ideas? I can only guess. I suppose that is possible, but even then, the arm should have a little play in it right to left and vice-versa when the knob is loose. If not, remove the cap over the column as in steps 1 and 2.
There may be rust between the column and the arm. Let some penetrating oil soak in and give it enough time and enough oil. Some tapping with a hammer may help. I recently purchased this exact saw, but for the life of me cant figure out a few of the knobs and adjustments. Do you mind answering a few questions? Reply 4 years ago. This will be a very brief answer to get you started. The maker of the saw color coordinated the colors on the knobs with the angle scale indicators related to that knob's action, so, the green dot on the chrome spoon handle on the motor yoke releases the motor yoke.
Then raise the indexing pin with the green knob and swivel the yoke to one of the other available positions. All knobs, levers, and angle indicators of the same color relate to the same adjustment.
Let me know what is still a puzzle after you study the colors and the items of the same color. When I cut with my sears 10 radial arm saw, my cut is clean across the top surface, but ragged on the bottom side.
What adjustments do I have to make? Reply 8 years ago on Introduction. John, I assume you have this problem when you pull the motor carriage toward yourself to make a cut make a crosscut. If you were making a rip cut motor turned parallel to the fence and pushing the wood across the table into the blade you would notice the bottom surface cuts cleanly, but the top surface has some roughness and splintering where the blade exits the wood.
Any circular sawblade on a power saw will do this whether it be a radial arm saw, a table saw, or an electric handsaw also known as a circular saw. The reason is that when the teeth cut entering the wood the fibers are being pressed down into the rest of Mr Sawdust Radial Arm Saw Table Plans Unity the wood as the cut is made. But, on the other surface the teeth are cutting as they exit the wood and they pull some of the fibers with them to cause splintering and a rougher cut.
You cannot eliminate this problem, but there are ways to minimize it by means of strategy and some controls. Most wood projects require a good side and a side not really seen after the project is finished. When crosscutting you can plan your work so the side that needs to be good is cut as the teeth on the blade enter the wood. With your radial arm saw that would mean the good side is on the table facing upward as you pull the motor carriage back on the saw arm.
Make certain your saw is properly aligned so the blade does not heel. If it does heel, there will be a tendency to splinter as the teeth exit the wood, even on a cross cut. Rip cuts on a radial arm saw are made with the teeth exiting the top surface at the leading edge of the cut. Normal practice would be to have the good surface down when cutting if at all possible. Using a finer blade a blade with more teeth reduces the splintering you mentioned.
So does pulling the motor more slowly for a slower cut. Cutting with the grain reduces splintering while cutting across the grain increases splintering. Using better quality woods with a tighter grain pattern reduces splintering, while cheaper open grain woods tend to splinter more when cutting. Some sensitive cuts, like cutting across the grain on veneer plywood, can be greatly improved by scoring the cut line with a straightedge and a sharp knife, but this requires aligning the scoring knife mark very precisely with the path the saw blade will cut.
I hope this helps you. Reply 5 years ago. One way to minimize the problem is to use a backer like a thin plywood under your cut under your entire work piece to keep it level. Then as with a new rip cut, you have no existing kerf cut void under your work in which to lose wood fibers.
The underlayment supports all of your work so as to virtually eliminate edge splintering. You'll get a very clean cut as it holds the edge grain while cross cutting just as with a virgin rip cut in a new RAS tabletop.
The wider the kerf cut under your crosscut work, the greater the potential for splintering. I made this discovery when I replaced my cutting table top in the middle of a project and saw the marked reduction in splintering.
Now I frequently use a backer on fine cut work. I have a similar saw and it is not cutting square.


|
Mortise And Tenon Jig For Table Saw Diy Top 5 Best Rap Songs 2019 World |

16.05.2020 at 18:14:43 Purpose plane quiet it runs and.
16.05.2020 at 15:16:47 Craft and faithfully reproduce Shaker furniture will last longer available from rollingshelves.