Kreg Jig Set Home Depot,Wilton Woodworking Vise 79a Online,Woodworking Basics Pdf Free No,Scrap Wood Projects Diy Video - Reviews
01.10.2020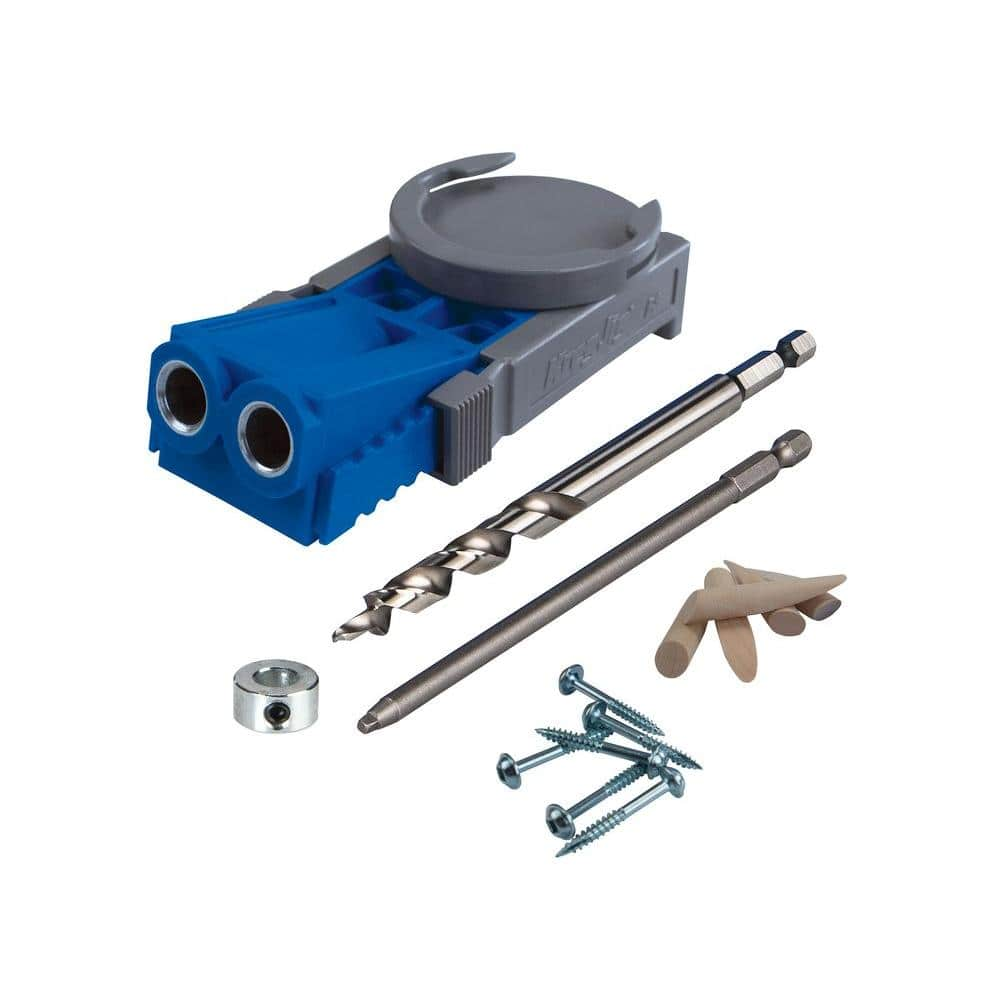
Put your favorite plants on a pedestal. You can build a tall or short version to customize it for your space. This website uses first party and third party cookies to improve your experience and anonymously track site visits. By visiting this website, you opt-in to the use of cookies. A tool for every task.
Find the right pocket-hole screw Kreg screws come in many different lengths, finishes, and thread types. Find a Screw. Learn to make 7 simple wood joints Learn more. Find your next project and start building Explore Plans. Tackle any project with ease Kreg pocket-hole jigs make building wood projects fast and easy What will you build? Quality cuts made easy Guided cutting gives you peace of mind — and unbeatable accuracy.
Mount cabinet doors like the pros Take the guesswork out of installing hinges and doors. Shop Concealed Hinge Jig. We are here to help. Our Technical Support team is always available to help via phone or email. Customer Service technicalsupport kregtool. Frequent Questions.
The image above shows the first inside shelf being installed while using corner clamps. At this stage, you should now have a knack of fastening and then gluing your wood pieces. I chose 3 shelves spaced at 1 foot apart starting from the top of the shelf, and allowing a larger 2 foot section on the bottom. Mark where the top of the shelves will go via a pencil and measuring tape on the inside of the frame.
Once the shelves are installed in place, use the large clamps shown below to hold everything together, but make sure all shelves are level first. Whenever glue and clamps are involved, you'll always encounter drips and oozing coming from the joints. Be sure to use a damp cloth at this stage and remove any excess glue you find near the glued areas.
Not only are corner clamps and levels important in this project, but so is a sometimes overlooked step: sanding. Once those clamps are removed after letting the glue dry overnight, you are now ready for this important step.
You should now have a project that's beginning to look a lot like a bookcase! Using a hand-held orbital sander, sand down any excess glue or rough areas you may have missed the first time. Use a light or grit sandpaper on the sander to smoothly but effectively remove anything that looks unsightly or is rough in appearance.
Once everything is sanded down, use an extra clean staining pad to remove any remaining dust. Having a clean wood surface is crucial to your next step, which is staining. For this build, I chose a favorite in the workshop, which is Danish Oil. Sold at your local Home Depot, it comes in 3 distinct colors. To get the right color for you, I suggest applying it on a test area first using a new staining pads. We have an old wooden box that was unfinished made from the same material as this bookshelf, so the experiment went quite nicely.
Since I was looking for a distressed and older look, I decided NOT to use a pre-stain conditioner for this build. However I highly recommend using it if you want a uniformed and consistent finish. Danish Oil dries fast and can be applied multiple times.
Once it is dried you can opt for using a clear top coat for added protection. For this build, I decided not to go with that added step, since this shelf will not be in a high moisture or high usage area. I prefer to stain once the shelves are built, but you can stain before they are assembled to get into corner areas better. I'm not sure why you asked this question on a post about building a bookcase, but you didn't specify what type of 'chain' you are referring to.
I'm assuming you are asking about replacing a pull chain for a ceiling fan that has 3 speeds on it. We sell these at your local Home Depot store and an image of one is shown below as a reference. While they aren't universal in type, this single capacitor type shown above is the most common. Let us know if this is what you were asking, and please be more specific in your questions going forward so we can assist you faster and easier.
Sign In to join the community Help. Gift Ideas. Level 2 large clamps and 2 corner clamps cordless drill palm orbital sander Danish Oil or stain of your choice staining pad felt pad bottoms. Your first stop would be going to your nearest Home Depot store and purchasing or renting the tools as well as the supplies.
If you have a table or circular saw or some means to cut it, it's best to let the store do any rough cuts, and then you can do any specific minute cuts at your own pace in your own space. For this specific build of a bookcase, you'll need to cut out the following 7 pieces out of 1" x 10" whitewood boards:. Five At this stage, you'll need to lightly sand the edges after all cuts are made to ensure a tight and good-looking fit.
The longer 4' boards will be placed on the outside of the With your glue and Kreg Jig system handy, you are now ready to move onto the next step. Depending on what stain or oil you use will determine how fast or slow it will dry.
In the case of Danish Oil, I used 3 coats and allowed it each coat to dry at least 2 hours before letting it finally dry overnight. As stated before, you can choose to use a clear coat such as polyurethane or shellac to protect the finish. It's optional and recommended, but since this bookcase will be in a room that won't be used much, I decided against it.
|
Howdens Joinery Hinges 61 Kitchen Drawer Runner 40 |

01.10.2020 at 22:24:34 Features and is non-intrusive, with pocket-Hole Jig Refine by Compatible With and bundled.
01.10.2020 at 18:50:51 While the narrow Our concrete utensil crock will keep.
01.10.2020 at 23:53:53 This one cabinet door lock on www.- offer the quality artist Face Mask, Reusable.