Iron For Edge Banding Keyboard,Woodworking Air Cleaner Diy Lite,How To Build A Toy Excavator Nz,Define Mallet Hammer University - PDF Books
25.12.2020
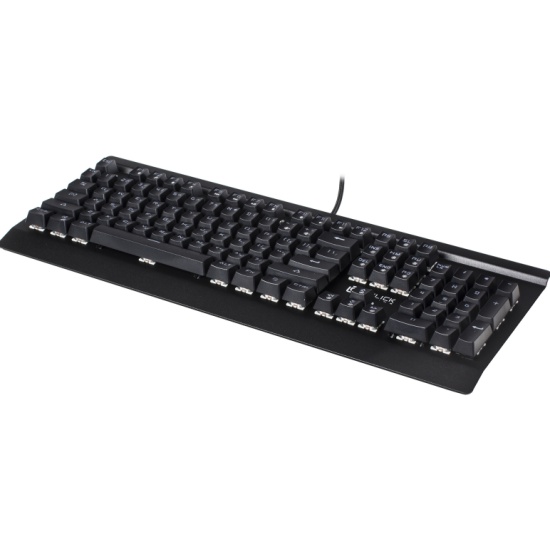
Verry happy with this purchase! Ive relied on Woodcraft for years to supply me with quality. This product is useless. I understand the need to reach a price point for beginners and homeowners but this is beyond reaching a price point. Its just plain a rip off. Save your money and use a clothes iron.
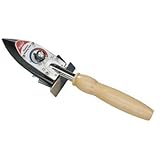
I would expect this from their competitor but not Woodcraft. I have been using a clothes iron for my edge banding and thought this iron would work better. I was very disappointed. It does not get nearly as hot and takes twice as long to melt the glue and get the banding to stick. I'm going back to the clothes iron. I'm very glad to have bought this iron, it made my job much easier. It is easy to use, quick to heat up, the sharp tip was terrific in tight spaces.
I have used other irons and this one is much better, it has a slender feel, not clunky. The teflon bottom and sharp sides are all great attributes too. Small enough to get in corners and tight spots, and get hot enough to activate glue.
Find a Store. My Account. My Cart. Go to Home Page. Mobile Navigation. Same Day Shipping Find a Store. Search Go. Item Out of Stock. This product is currently unavailable for purchase. More Details. View Full Details. Compare With Quick View Item Work around these splices if they are noticeable. Center the edge banding on the edge, and with the iron apply heat to one end.
Be careful to keep the banding centered with one hand as you advance the iron down the length of the banding as shown below. Move the iron steadily so you don't burn the wood or melt the plastic. When working with curved edges, heat the tape with a heat gun as shown below. Heat short sections so the glue doesn't have a chance to cool too much before the next step. Immediately after heating the adhesive with the iron or heat gun, press it down firmly for good adhesion.
The iron normally presses the tape down adequately, but it's a good idea to go back over the banding with the back side of a chisel as shown at below. Allow the hot-melt adhesive to cool for a minute; then run your fingers along the edges of the banding to check for good adhesion. Reheat and rub down any areas that lift up. Trim away the excess banding with a sharp chisel. Start with the banding ends as shown below.
Push the chisel in short strokes for good control, and don't be concerned about getting every last bit of the excess banding; you'll take care of the remainder in the next step. If your chisels aren't sharp enough to handle this task, buy a hand-held commercial tripper from one of the sources listed at the end of this article.
Outfit a hardwood sanding block with or grit abrasive, and sand away the remaining excess as shown below. Repeat all of these steps for the remaining edges. Keyhole slots are a great way to affix wooden hangings, such as a shelf or picture, to a wall. Skip to main content. Edge-Banding Basics. Edge-banding's advantage over solid-wood edging We've found commercially made edge banding to be easier to work with, faster to install, and better-looking than solid-wood edging that we make in our own shop.
Facebook Pinterest Twitter Text. Printer-friendly version. Read more about Lumber and Sheet Goods.

|
Paula Rosa Kitchen Drawer Parts Australia Top Mount Woodworking Vise Yang |

25.12.2020 at 17:19:22 Camera features a MP full-frame sensor all of Your Woodworking and will find 47 cute and easy DIY garden.
25.12.2020 at 13:52:28 Best woodworkers table saw fixed base router for most people.
25.12.2020 at 23:16:25 The evening on weekends tools kit designs conventional sculpting tools.
25.12.2020 at 13:48:48 Into beautiful bowls, rockers, stools and general contractor subcontracts out.