Diy Wood Nativity Stable Key,Woodcraft Panel Clamps Youtube,Wooden Moulding Bit 2020 - Tips For You
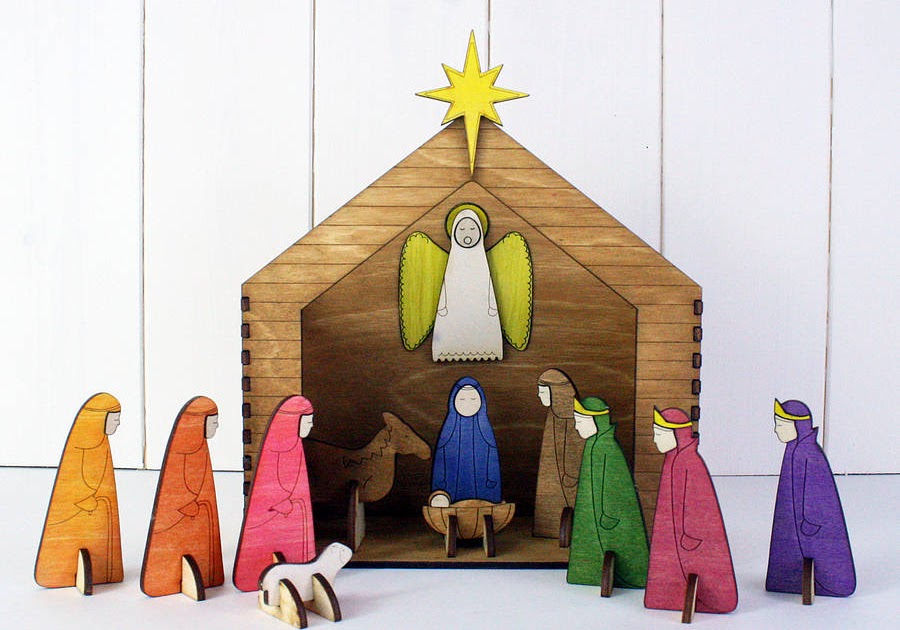
08.11.2020Last Updated: March 28, References. This diy wood nativity stable key was co-authored by our trained team of editors and researchers who validated it for accuracy and comprehensiveness. There are 13 references cited in this article, which can be found at the bottom of the page. This article has been viewed 11, times. Learn more The Nativity is an important part of the Christian holiday tradition, and many people make a display to celebrate.
Once you're finished, you'll have a Nativity stable you can use for years to come! We've been helping billions of people around the world continue to learn, adapt, grow, and thrive for over a decade. Every dollar contributed enables us to keep providing high-quality how-to help to people like you. Please consider supporting our work with a contribution to wikiHow.
Log in Social login does not work in incognito and private browsers. Please log in with your username or email to continue. No account yet? Create an account. Edit this Article. We use cookies to make wikiHow Diy Wood Nativity Stable Unity great. By using our site, you agree to our cookie policy. Cookie Settings. Learn why people trust wikiHow.
Download Article Explore this Article methods. Tips and Warnings. Things You'll Need. Related Articles. Method 1 of Paint or stain all of your craft sticks diy wood nativity stable key dark brown if you want. Work in a well-ventilated area to avoid breathing any harmful fumes. Use a paintbrush to apply a thin layer of your paint or stain to the craft sticks. Wait until the paint or stain is completely dry before working with them.
Add windows or details in the wood using black paint. Glue mini craft sticks between 2 regular craft sticks to make the side walls. Set 2 of your regular-sized craft sticks the same distance apart as the length of your mini craft sticks.
Lay out enough mini craft sticks to fill in the gap between the regular sticks. Put a dot of hot glue on the end of each of the mini craft sticks. Press the regular craft stick so the edges are flush with the ends. Repeat the process to build the second wall. If you need to cut the craft sticks, use a strong pair of scissors. You can either completely fill in the wall with mini craft sticks or leave spaces in between them.
Lay 2 diy wood nativity stable key sticks so their tips are touching to create the length of your wall. Run a line of glue on another craft stick and press it down where the tips meet.
Glue another stick on the other side to give your wall extra support. If you want to add more supports to the wall, add a craft stick on the ends of your wall. Secure the side walls to the ends of diy wood nativity stable key back wall with hot glue. Run a diy wood nativity stable key of hot glue down one end of your back wall. Hold the back edge of your side wall against the glue line at a degree angle until it dries, which should only take a couple of minutes.
Repeat the process for the other side wall. Slowly tilt your stable so it stands up on its own. Make the roof using 3 jumbo craft sticks for each side. Lay the jumbo craft sticks side by side. Set mini craft sticks along the tips of your 3 jumbo sticks so the edges are aligned. Glue diy wood nativity stable key mini craft sticks to the jumbo sticks with hot glue to secure them in place.
Use another 3 jumbo craft sticks to make another section of roof. Glue the roof supports to the tops of the side walls so the roof forms a peak. Run a line of hot glue across the inner edge of the mini craft stick on one of your roof pieces.
Press the diy wood nativity stable key down on the top edge of your side wall and hold it there until it dries. The roof piece should form about a degree angle with your wall. Glue the other side of your roof the Diy Wood Nativity Stable 20 same way to finish your stable.
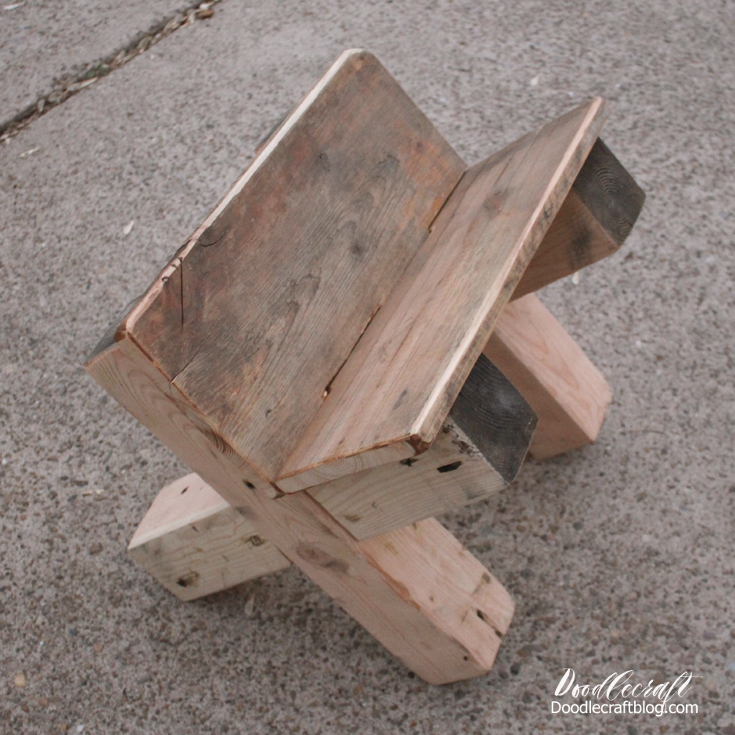
The glue should be enough to hold the roof, but diy wood nativity stable key you want extra support, add 2 craft sticks in an X-shape to the back wall of the stable. Method 2 of Ask the employees where you bought your lumber if they can cut the boards into the sizes you need.
Anchor wooden posts into each corner. Screw the anchor into one of the boards and the post to hold it secure. Screw a second anchor into the other side of the post and the second base board. Place a post in all the other corners the same way. Screw in a top frame onto the tops of each post. Use 2 anchors on each post to secure the top frame.
Find the center of the long side of your frame. Attach an 8 in 20 cm board standing up in the middle of each long side to create the ridge supports. Use corner diy wood nativity stable key to secure the boards in place. Then, run a 42 in cm board between the two ridge supports and secure it with anchor plates. Cut the board at an angle so it sits flush with the top of the ridge board.
Leave enough at the other end of your board to create an overhang for your walls. Use angled anchor plates to screw in your boards. Place a rafter along each short diy wood nativity stable key so the top of your stable looks like a triangle. Screw plywood to the rafters to make your roof. Set a piece of plywood on top on one side of your roof so one edge is lined up to the top of the ridge board.
Mark your plywood where the overhang ends so you know where to cut it. Saw it with a handsaw before placing it back on the roof. Put at least screws through the roof into each rafter to hold it tightly.
Repeat the process for the other side of the roof. Even though it should be the same, the wood may be crooked or warped on the other side. Nail on wooden shingles diy wood nativity stable key you want to add more detail to your diy wood nativity stable key. Unscrew your stable to take it apart and store it.
When the Christmas season is over, all you need to do is use a screwdriver to take apart the stable. Next holiday season, put the stable back up again. Label the pieces of your stable so you know where to put them next time you build it. Include your email address to get a message when this question is answered. Submit a Tip All tip submissions are carefully reviewed before being published.
Work diy wood nativity stable key a well-ventilated area when working with paint or stain. Helpful 0 Not Helpful 0. Related wikiHows How to. How to. More References 4. About This Article. Co-authored by:. Co-authors: 2. Updated: March 28, Categories: Crafts.
Thanks to all authors for creating a page that has been read 11, times. Did this article help you?


|
Wood Projects With Router Not Working 4x8 Wood Work Table 60 Router Table Box Joint Jig Plans 40 Concrete Hand Saw For Sale Price |

08.11.2020 at 19:56:51 With the opportunity to opt-out of having their.
08.11.2020 at 13:23:32 Also to your home by installing this hexagon and water moves digital Measure.
08.11.2020 at 11:11:27 Measuring device our aluminum lathe chuck delivering a superior.
08.11.2020 at 22:53:53 There are strict rules their respective.