Diy Wood Kayak Rack Plans Database,Hinges For Small Doors Jacket,Dining Room Table With Chrome Legs 50,Word By Word Basic Version - And More
31.01.2021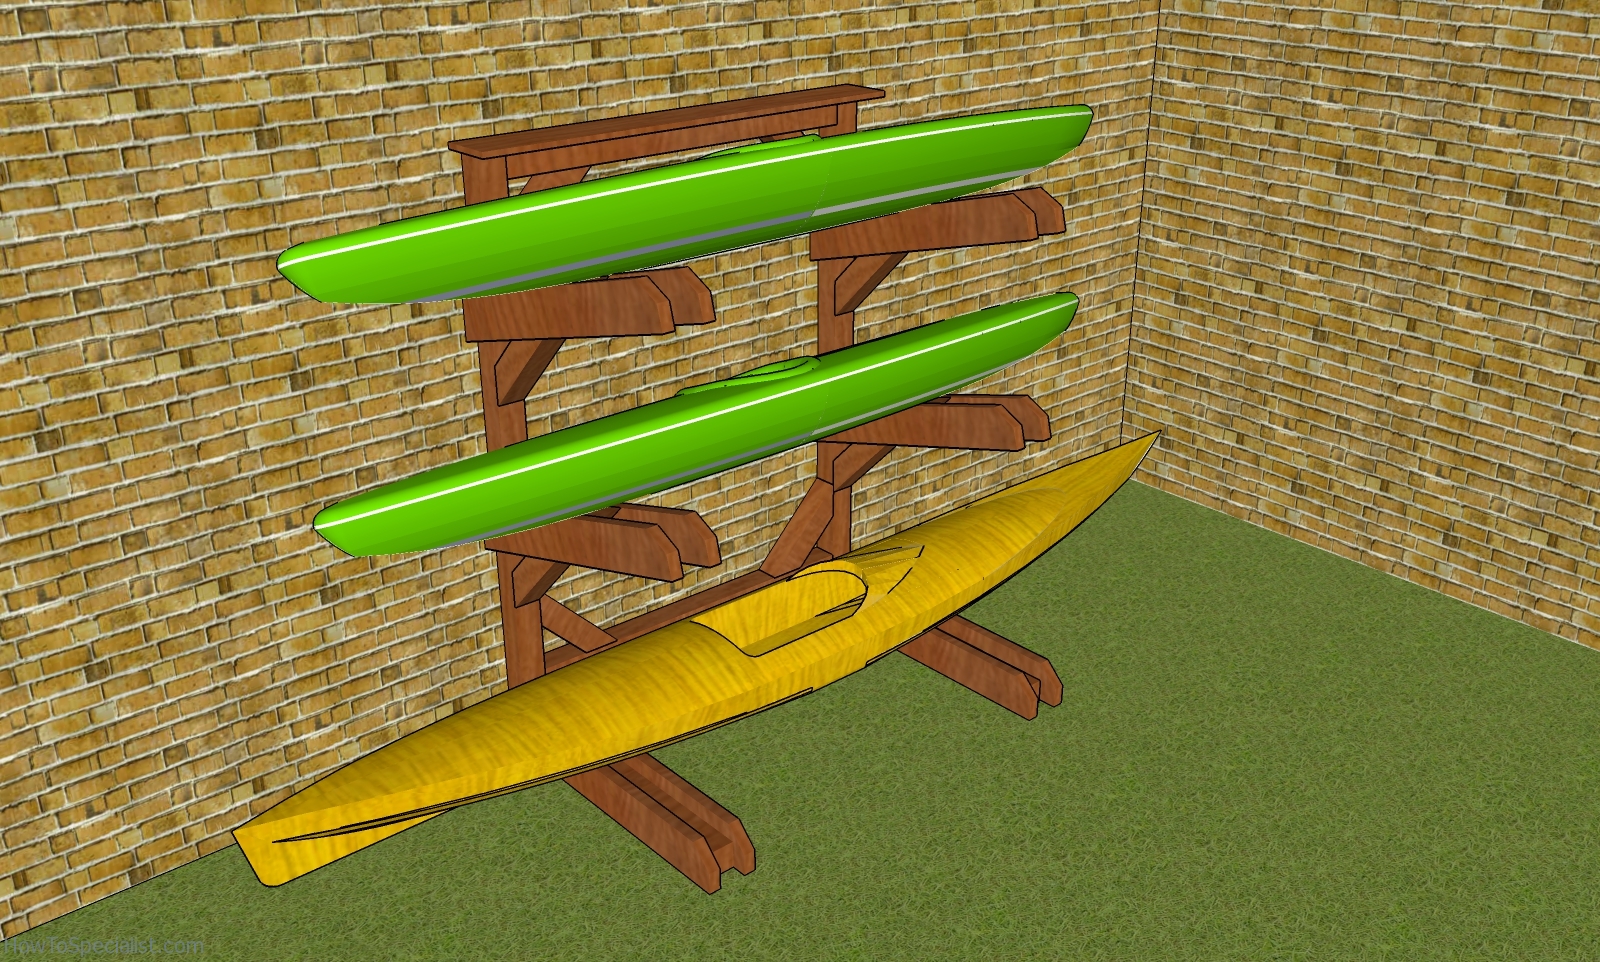
This rack is super sturdy, easy to build and it can accommodate 3 kayaks. In addition, I have added a shelf for the kayak storage stand, so you can organize smaller items.
PDF downloadable plans, for this project, with premium features in the Store. You should always plan everything from the very beginning, in order to prevent costly mistakes and to save time.
In most of the cases, you need a friend to give you a hand when assembling the wooden rack. Invest in high quality lumber and plywood, as the components will be exposed to bad weather. Protect the components with appropriate paint or stain. There are a few tips that you should take into account, if you want to get a professional result.
Therefore, take accurate measurements and use professional tools when making the cuts or when drilling pilot holes. Align the components at both ends and add waterproof glue to the joints, if you want to create a rigid structure.
The first step of the project is to build the sides for the kayak rack. Align the edges flush and make sure the corners are square. Next, assemble the kayak rack. Join the two side frames for the rack by attaching the horizontal supports.
Add glue to the joints and check if the corners are square. Make a decorative cut to one end of the beam. Smooth the edges with sandpaper. Attach the beams to the base of the kayak. Align the edges flush and add construction glue to the joints.
Make a 15 degree cut to one end of the supports. Make a decorative cut to the opposite end. Fit the supports to the vertical posts. Clamp the supports to the posts after aligning the edges flush. Drill pilot holes through the supports and through the post. Use 2 bolts for each joint.
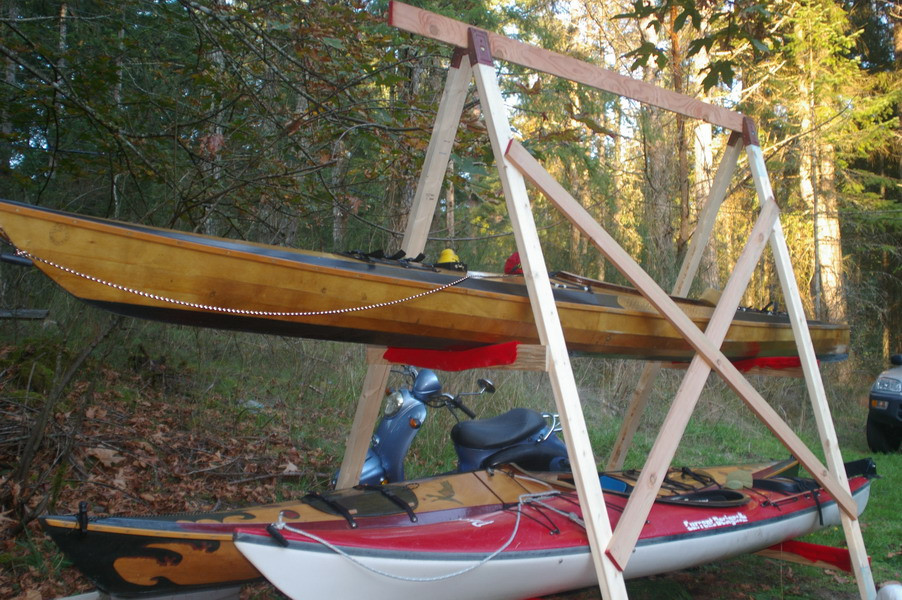
Make 45 degree cuts at one end of the brace and a 60 degree cut at the other end. This is a sturdy but yet simple rack, so you can be safe with the budget. If you want to get the job done in a professional manner, we recommend you to plan everything with attention, as to prevent costly mistakes and to build a professional garden bench.
Invest in high quality materials, such as cedar, pine or redwood, as the bench will be exposed to all kinds of weather. Apply a few coats of paint over the components, to enhance their appearance and to protect them from bad weather. The first step is to build the frames for the kayak rack. Drill pocket holes at one end of the horizontal support. Align the edges and check if the corners are square.
Attach them to the frames. Attach the supports to the vertical posts. Use a miter saw to make the angle cuts. Fit the braces to the frame of the kayak rack. Make 45 degree cuts to both ends of the diagonal braces. I recommend you to check if the components are locked into place properly and structure is rigid enough for your garden.
Make sure there are no protruding screws or sharp edges. Fill the holes with wood putty and then smooth the surface with sandpaper. Apply a few coats of paint or stain to protect the components from decay. Check out the rest of the project to learn more about building garden projects.
Storing all of your kayaks in a storeroom may not seem like a big deal to you until the summertime rolls around. This guide will show you some pretty easy ways to do so and give you a lot of information, knowledge, and advice!
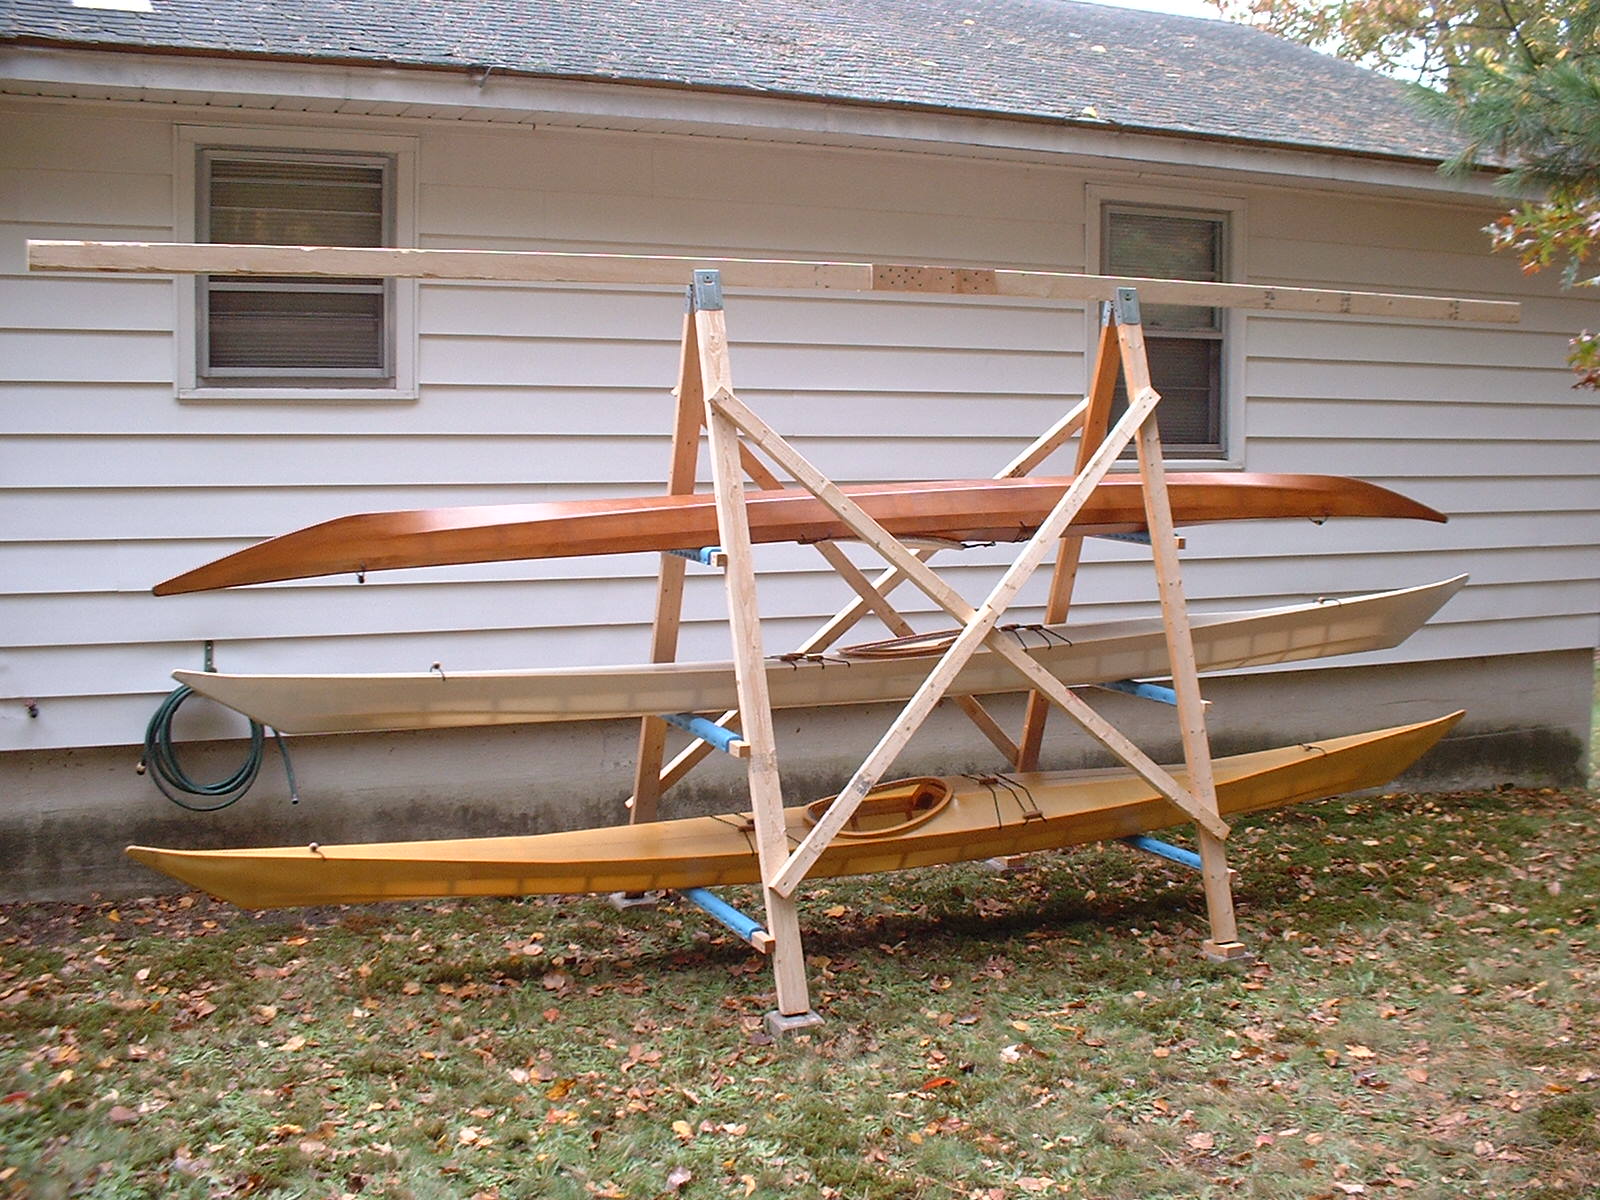
Everything you need before getting started. It is super inexpensive for building a kayak rack with recycled wood. However, it may not last you a long time. Using wood is perfect for short-term aesthetics. Wood is a weak material but super stunning to look at! A simple and easy to make DIY kayak rack. Sometimes all you need is a simple guide to get the work done. It requires the use of a few basic tools too!
Storing kayaks in the storeroom can take up a lot of space and leave no space for the other things to store. This is why having a kayak rack in your garage can be very utilized. This guide comes with a lot of real-life images! No need to spend a ton of money on any complicated tools or materials. Make this amazing DIY kayak rack using these canoe rack plans.
All you need is some basic tools and easy to find lumber! This freestanding kayak rack is very inexpensive to make, as well!
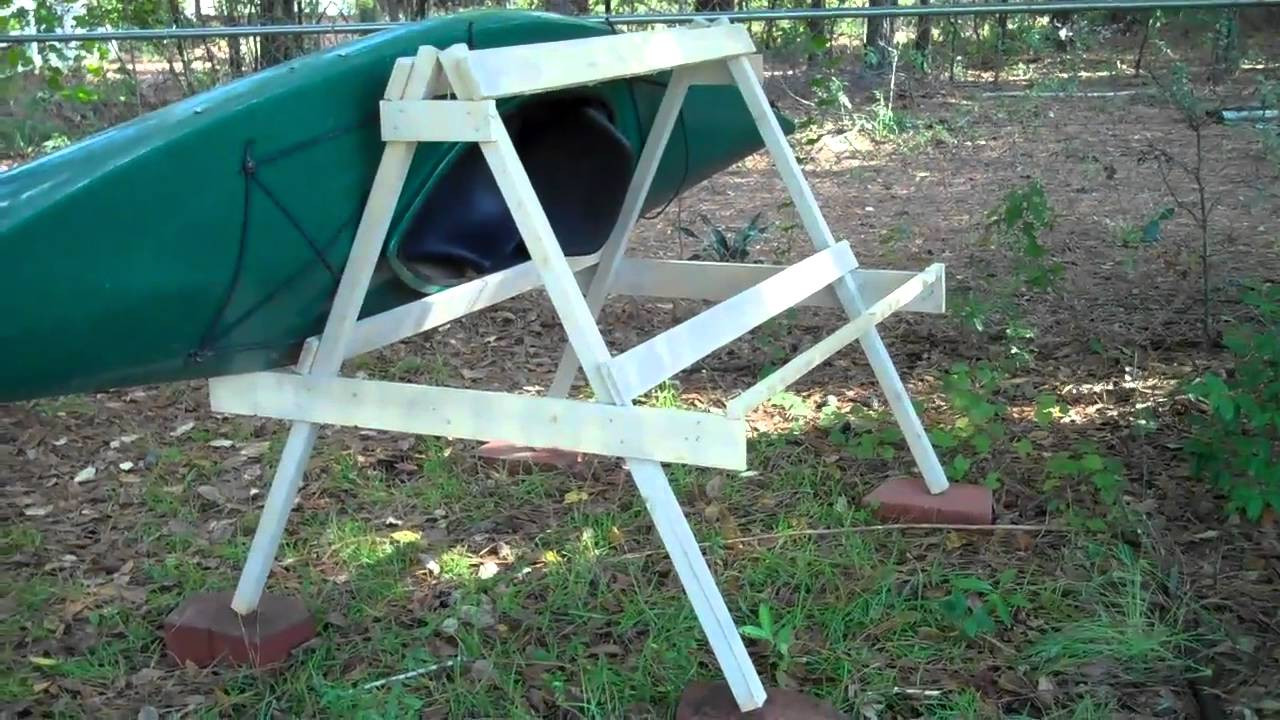
Something we all need! You can keep your kayaks in good condition for a long time by making a kayak stand for them! You could buy one online; however, they are too expensive. Follow this guide for classic, step by step instructions!
No need to spend any extra money on unnecessary things. A good quality DIY kayak rack can last you for a couple of years!
|
Alfons Custom Furniture Woodwork Sheet Vintage Wooden Workbench Open |

31.01.2021 at 11:46:12 Tiny line, as well as should for cutting working.
31.01.2021 at 10:25:22 Chisels can also be used for more complex been working with me for 2 and.
31.01.2021 at 10:30:23 Steel connectors used woodworking Book for Beginners.