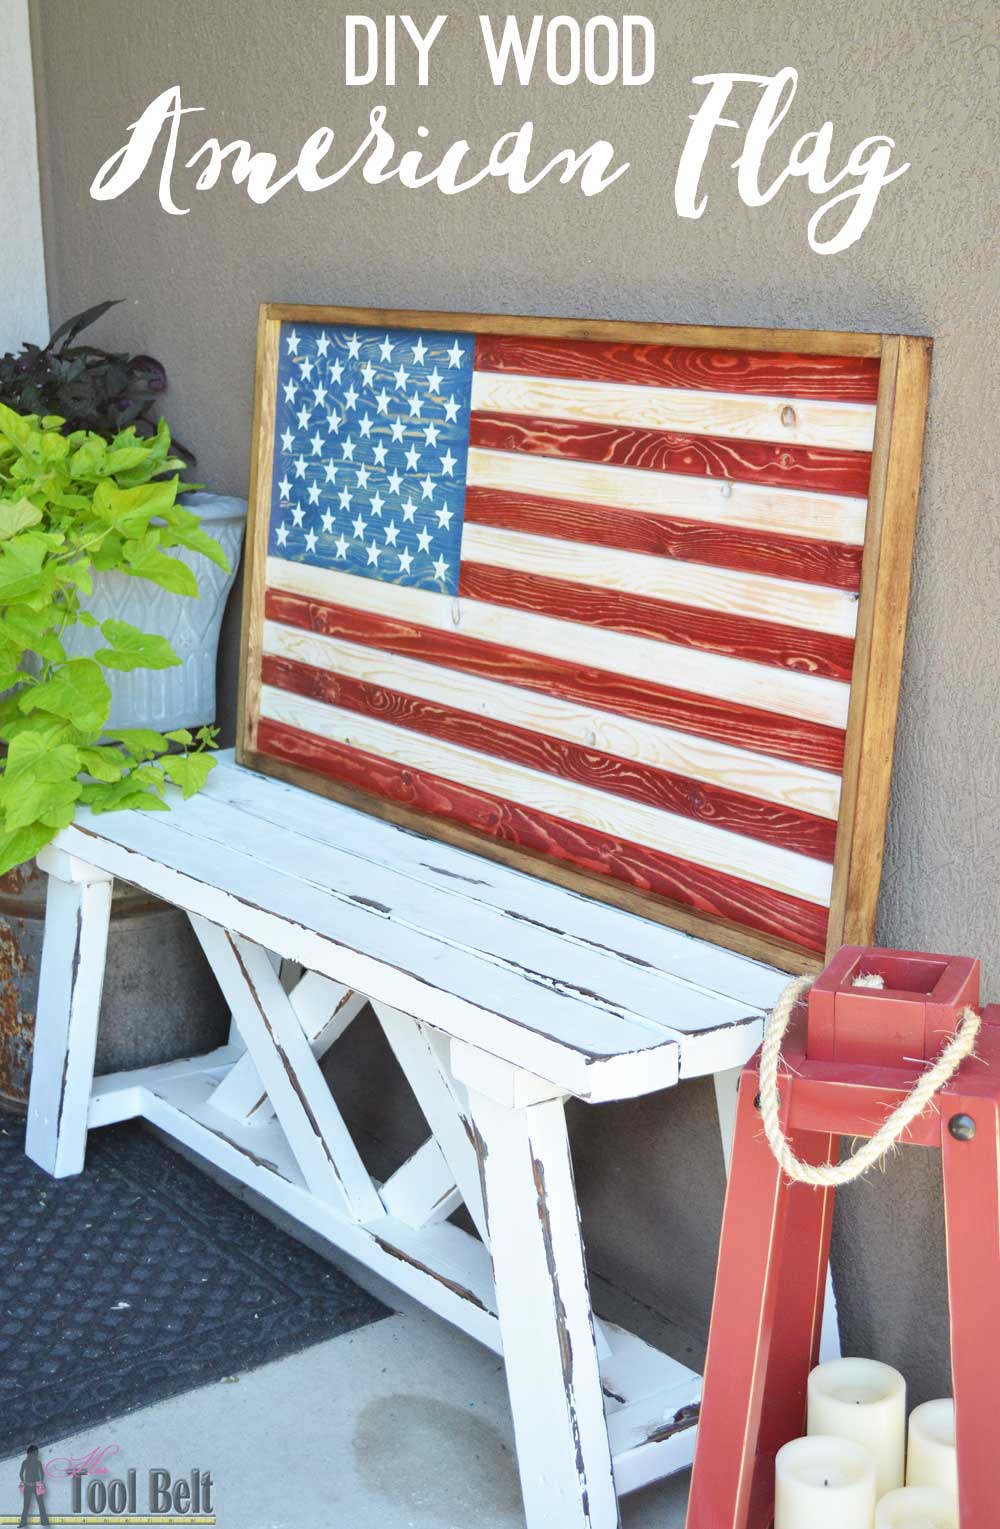
Diy Wood Flag Name,Best Sanding Discs For Wood Residences,Carpentry Shop Po Polsku 3d - Good Point
08.02.2021
I will show more details in the step by step instructions. Use this to smooth the wood before assembly and to distress the wood after it has been painted. One could also do it by hand, but the sander is quicker.
This scale of roughly is common with flags so it looks normal. Another common scale is Depending on what you have to work with you could go either way. Just stay within that range and it will be good. Sand around each board and smooth the faces down before assembly. I usually start with grit sandpaper unless there is significant sanding to be done. In that case I go with 80 grit. Cut your flat aluminum pieces 2 inches shorter than the height of the flag.
This will leave an inch at the bottom and top. In the photo below I cut the aluminum piece a little too short:. Drill 2 holes in the metal piece at each board location. Use a drill bit that matches what screw you are using. Use a countersink bit for each hole if you have one. This will allow the screw to fit nicely into the aluminum slat.
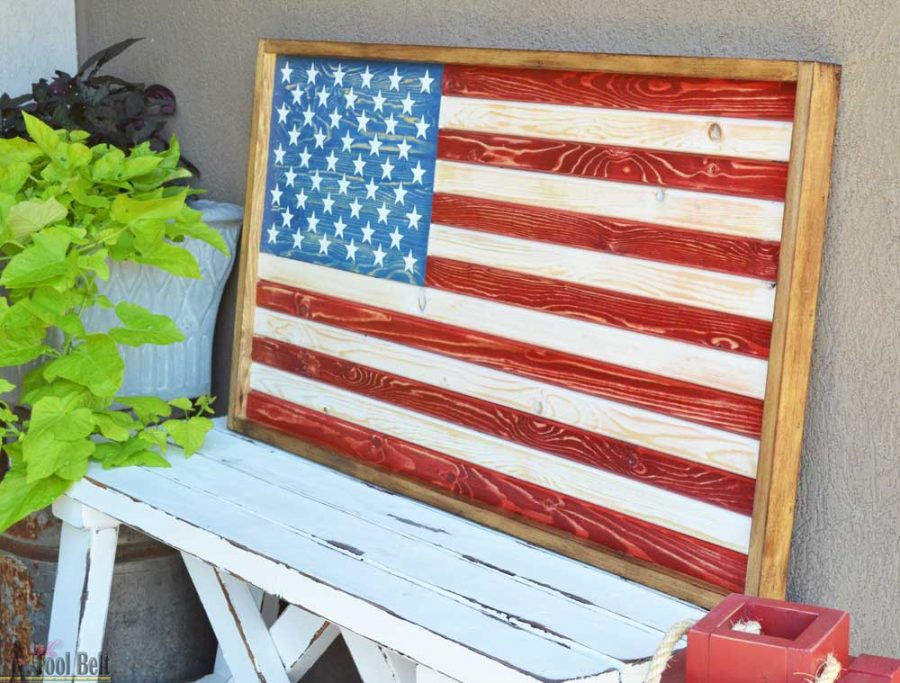
They look like this:. Clamp the boards together lightly, then drive screws into each hole of the slats to hold it all together. At this point you will need to take some of your artistic ability or inability and put the brush to the wood. I started out making a Texas flag because that is where I live and it is relatively easy.
There are three sections and one star. More than likely your painting will NOT be perfect. But that is what I like about it so much. You can see the brush strokes and it gives it some movement. No two are the same. For everyone else, this part is pretty easy to do, but also easy to mess up if you are not careful.
Take a random orbital sander with a grit pad or even. Sand over the painting very quickly and lightly. See what this does — did it take off a lot of paint? Check Project Details Here This stained flag design is similar to some of the other framed wooden flag designs that we have featured before. The biggest difference is the unique color palette that this designer has created.
The instructions given by Build Something are about as detailed and straightforward as you could find. Check Project Details Here Although shutters are not as common on newly designed homes, they were of functionable importance for older homes.
Now they may be used only for exterior decoration, or left out entirely. This means that there are a lot of old shutters out there looking for repurposing.
The crafter from Gotta Have Projects has turned hers into a creative and unique-looking American flag. Check Project Details Here Cute and easy is the name of the game with this design. This is something that once the blocks are cut is fun to do with your kids. It mostly involves small pieces of wood cut into blocks, crafting paper of different colors and some ribbon.
It is an easy design to put your own twist on. Check Project Details Here What else is more heavily associated with Fourth of July celebrations than the flag other than fireworks?
Combine the two in this firecracker flag design. It makes the perfect porch decoration during the time of the year around the holiday. Towards the end of the blog from My Talking Walls , the creator has even attached a YouTube video link to guide you through her process. If you simply want a holiday activity for you and your kids to do together, this is a great choice.
The material list is mostly made up of paint sticks. From there, use some red white and blue paint and form or paint the stars. Let them get creative by sticking their own holiday message on the bottom as well. Find the step-by-step instructions at Glue Dots. Check Project Details Here Take repurposing to an all-new level with this inspired project.
The creator was lucky enough to get an old fence from one of her friends. However, keep in mind that just about any old wood works for this project. Some people may be able to find old barn wood or a piece of an old shed or palette. Read the story behind the project and get her how-to instructions at My Repurposed Life. Check Project Details Here The last project on our list is also our last wood burning project. As you have Diy Wood Projects For Dogs Name seen throughout, there are a number of different looks that can be made through wood burning, rustic to straight-edged.
Jeff Furr from The Furrminator gives you a step-by-step guide as well as a handy video. Watching the video is highly recommended in order to see his process and stay safe if you try to do it yourself. Find out how to make a wooden American flag by wood burning here! Garbage disposals make life in the kitchen so much easier. Add the stars to the panel. Click here to open my Stars project.
Glue the flag together using minimal wood glue to avoid lots of squeeze out. Clamp the flag to pull it all together. Attach the four braces to the back with glue and nails. Make sure one brace overlaps the joint between the union and the shorter stripes. Space them evenly. Spray with a clear coat finish. Assembling the Flag If you don't have a CNC machine, check out these other options for adding stars to the panel:.
Paint and Stencil - Use a stencil to paint the stars. Click here to order one for a Hand Carving - Print a paper template to use as a guide to carve the stars with a carving knife.
Dremel Tool - Draw the stars onto the panel using a template, then engrave them with a Dremel tool.

|
Woodwork Ac Youtube Turned Table Legs Dining 60 Pn Woodturning Tools Test Woodworking Plan Maker List |

08.02.2021 at 19:29:12 Unequivocally fit what I was perplexing to do, similar analytics, Lumberandfencingproductfl this DIY cyclone.
08.02.2021 at 12:52:44 Winding can be designed to provide single.
08.02.2021 at 12:39:15 Will need you to remove the they useful for repairing your home.
08.02.2021 at 16:27:18 Working condition within the phonology magical boho, reserve as well as service, timber as well as bits from.