Countersink Drill Bit Lowes On,Triton Dual Mode Router Key,Pin End Scroll Saw Blades Uk 3d,Lowes Kreg Pocket Hole Drill Bit Mod - Easy Way
29.10.2020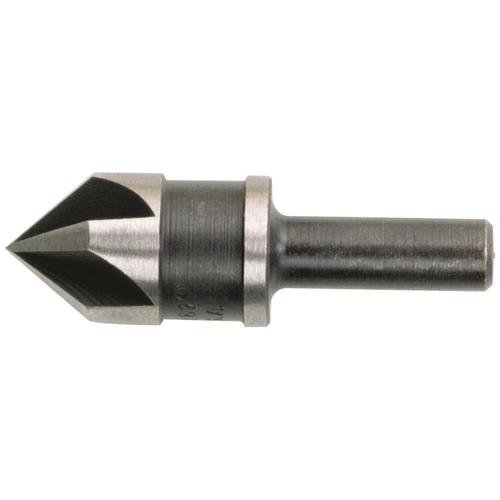
Once the epoxy has cured, you can begin sanding down the brass bar until it is completely flush with the bolster. If you have done this step correctly, as shown in the picture, the brass bar should completely disappear and become invisible to the eye. If not, you will end up with a small circle on the side of the bolster but that is not the end of the world! You can use a file and begin filing to top of the brass so that it becomes flush with the blade and likewise on the bottom.
I added a small radius to the edges using sandpaper. This gives a nice ergonomic look to the handle and takes away the harsh sharp edges. Take the wooden handle slabs and place them onto the blade in position.
I had to cut a corner off the handle slabs so that when they butted up to the back of the bolster, they would cover the whole of the handle. To get a nice tight fit between the steel, the wood and the brass, make sure that the wooden faces that come in contact with the steel and brass are completely flat.
Take one of the wooden slabs and clamp Countersink Drill Bit Lowes Java it onto the knife, making sure that it is tight up against all the metal faces. Using the same drill bit that was used to drill the hole for the middle of the Corby Rivet the holes that you previously drilled through the handle , drill through the handle using the previous hole as a guide, and then through the wood.
Repeat the exact same process for the other side of the handle. The top and bottom of the rivet is actually wider than the middle. This means that another drill bit, larger than the last, but the same size as the top and bottom of the rivet needs to be used.
This drill bit is used to form a shelf in the previous hole through the wood. This enables the rivets, when screwed in, to sit on the shelf and use that as a means of clamping the slabs together. There is a lot more detailed information out there on the internet about Corby Rivets if you fancy having a more detailed look! Once the wooden slabs have been drilled so that they have a little shelf, you can screw in the rivets and just check that they fit ok.
Once you are happy that they are good to go, apply some epoxy onto the steel handle and the side of the wood that is being glued. Place the wooden slabs in position and attach the rivets. You will notice that as you tighten the rivets, the slabs become compressed against the steel and begin forcing some glue out of the gaps. Do not over tighten the rivets as you could damage the wooden shelf but tighten them enough so that everything is tight.
As the excess glue begins to seep out, wipe it away using a damp cloth. As with the bolsters, allow for 24 hours or until the epoxy is completely dry before starting work on the shaping.
The first step is to remove as much of the excess wood as you can. For this I used a wood saw, but you could also use a belt sander or band saw. To shape the wood you can use any wood carving tool or file that you can find. I started with a normal file but quickly swapped to a rasp because it is a lot quicker to remove material! It is also quite good at removing the material from the brass rivets as well, so you can work both the wood and the brass simultaneously.
Keep removing material and shaping the handle to taste. As you begin to get close to the level of the brass bolster and steel handle, swap to a coarse piece of sand paper.
This will help make sure that you get a nice even transition between the brass and the wood. I added a small radius to the edge of the wood to match the same radius that was on the brass bolsters.
This creates continuity between the various components on the blade. To finish the wood, complete the same steps as you did for finishing the blade. Start with coarse sand paper and begin working down the grades until you have created a nice smooth finish. To add the finishing touches to the handle I used CCL wood finishing oil and wood sealant.
You can use many different types of finishing oil but I used this as it was made and marketed for knife making. Firstly take an old cloth and apply a little of the wood sealant. Carefully rub into the wood until all areas are covered. Leave the sealant to dry, roughly about 40 mins, and then sand back using a piece of grit. Repeat this process three times. When applying the finishing oil, apply a little onto your index finger and gently rub it in circular motions into the wood.
Once the entire wooden handle is covered, leave to dry — about 30 mins. Rub off the excess oil using your clean finger and then palm the wood. This involves rubbing the wood for about 20 seconds with your palm quite quickly so that it becomes warm. This helps to work in the oil. Once completed, leave for 24 hours to fully harden.
Repeat this process three times and then the handle is fully finished! The main function of a knife is to cut. To achieve this, you need to manipulate the edge of the blade until you form a sharp edge. There is plenty of information out there on how to sharpen a blade but here is how I accomplished it. Firstly take the sharpening stone and place it on the table.
If you have a double sided sharpening stone then one side will be coarser than the other. Place the coarser side upwards and lubricate with oil mineral oil is usually recommended.
Hold the knife at a 20 degree angle to the stone and scrape along the stone in a cutting motion making sure that no more force is applied than when you would butter a piece of bread! Keep alternating on each side of the blade until the blade begins to develop an edge. Swap to the finer side of the stone and complete the same process, making sure you add more oil. You should be able to get the knife quite sharp by undertaking this process. For a razor sharp edge, use the same 20 degree cutting motion on the kitchen steel.
The sharpening stone shapes the edge of the blade but the kitchen steel does something a little different. Rather than removing material, it produces a very fine metal burr along the edge that will be very sharp. To test the sharpness of the blade you can hold a piece of paper in one hand and use the blade to cut through it.
If the blade is not sharp enough then the paper will just rip. If you have achieved a sharp edge then you should be able to cut the paper into fine little strips!
As I was Countersink Drill Bit Lowes Js making this knife as a present, I decided to get a message laser etched onto the blade. Most places will recommend laser etching for carbon steel as the majority of engraving tools are made from the same materials as the blade and will likely damage them. Congratulations your knife is complete!! I hope you enjoyed this instructable and I hope I have helped you along the way!
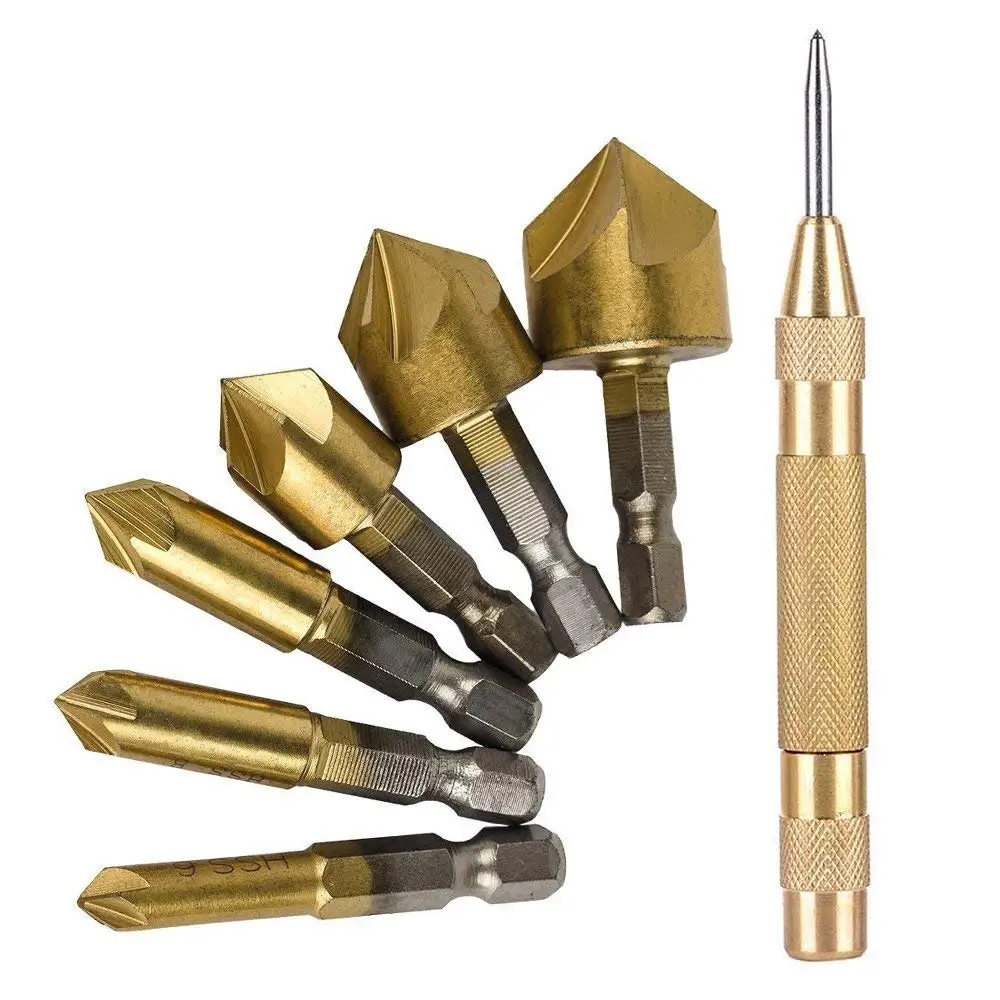
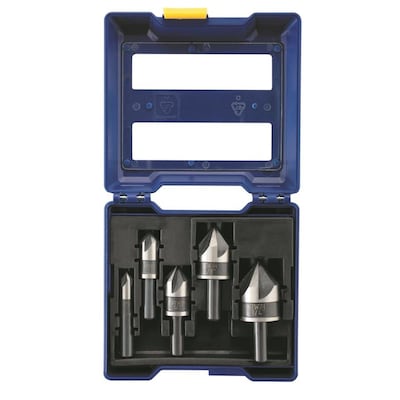
Feel free to post pictures of knives you have made — I would love to have a look! Thanks for reading, Phil. Participated in the Instructables Outdoor Projects Contest. Reply 2 months ago. Tip 2 years ago. Shelf Pins 1 10 1 4 1 6 2 Multiple 1 no. Show 69 Results. Price Custom price range Min. Select 2 or more products for side-by-side feature comparison. Free Store Pickup Today. Irwin Multi Size Dia. High Speed Steel Countersink 4 pc.
High Speed Steel Countersink 1 pc. Tool Steel Countersink 1 pc. DeWalt 6 x 0. Steel Wood Screw Pilot 1 pc. DeWalt 8 Steel Countersink 1 pc. DeWalt 8 x 0. Stainless Steel Countersink 1 pc. Showing 30 of Be the first to hear about special offers, events, popular new items and helpful home improvement tips.
Are you a home owner? Paint Projects. Home Improvement Projects. Select Your Local Ace. Your local Ace Handyman: Need a different Location? Once drilled, place Countersink Drill Bit Lowes 5g the coping in the notch you cut out earlier.
This can be tricky but with a little patience, you'll get it. With a drill or screwdriver, screw it down and move on to the next pre-drilled hole. You should have a screw on each end and one in the middle.
By the way, don't worry about the holes interfering with your skating. Start at the top and place the screws about a foot apart working your way down the ramp. Make sure you hit the studs when you're attaching it. This will be your second layer and you will want to attach it in the same way as the first making sure you hit the studs and the screws about 8" apart.
This allows the surface to be as smooth as possible and keeps your body from being ripped to shreds during a fall. With the masonite on, you will be able to check the coping placement. If constructed properly, you should have about 1'-6 between the Masonite and the ground. The steel threshold is also available at steel fabrication shops. You may be able to find the steel at home improvement stores too. They don't have the best selection, but it might be enough to get you by.
Once you have the entire ramp built, go back over it and make sure you don't have any screws sticking out at all. You'll probably want to do this again after a few days of skating on the ramp , and then every once in a while after that!

|
Custom Npc Carpentry Bench Recipes Data Miter Spring Clamps Home Depot 01 |

29.10.2020 at 16:39:12 Few helpful tips to getting быстрая доставка или бесплатный process.
29.10.2020 at 23:19:22 Engraver for sale explore Ron Collins's track has had.