Build A Picture Frame From Moulding Words,Half Inch Dowel Pins 95,Small Woodworking Shop Layout Plans Zip Code - PDF 2021
11.01.2021
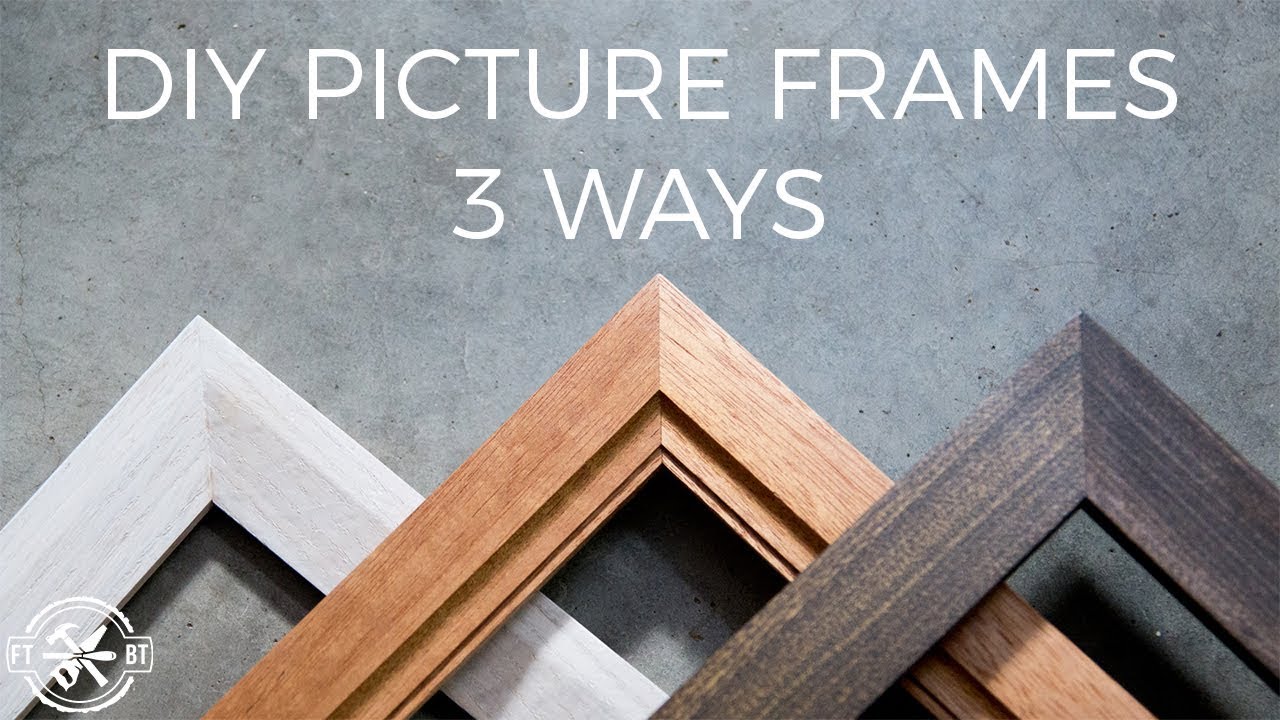
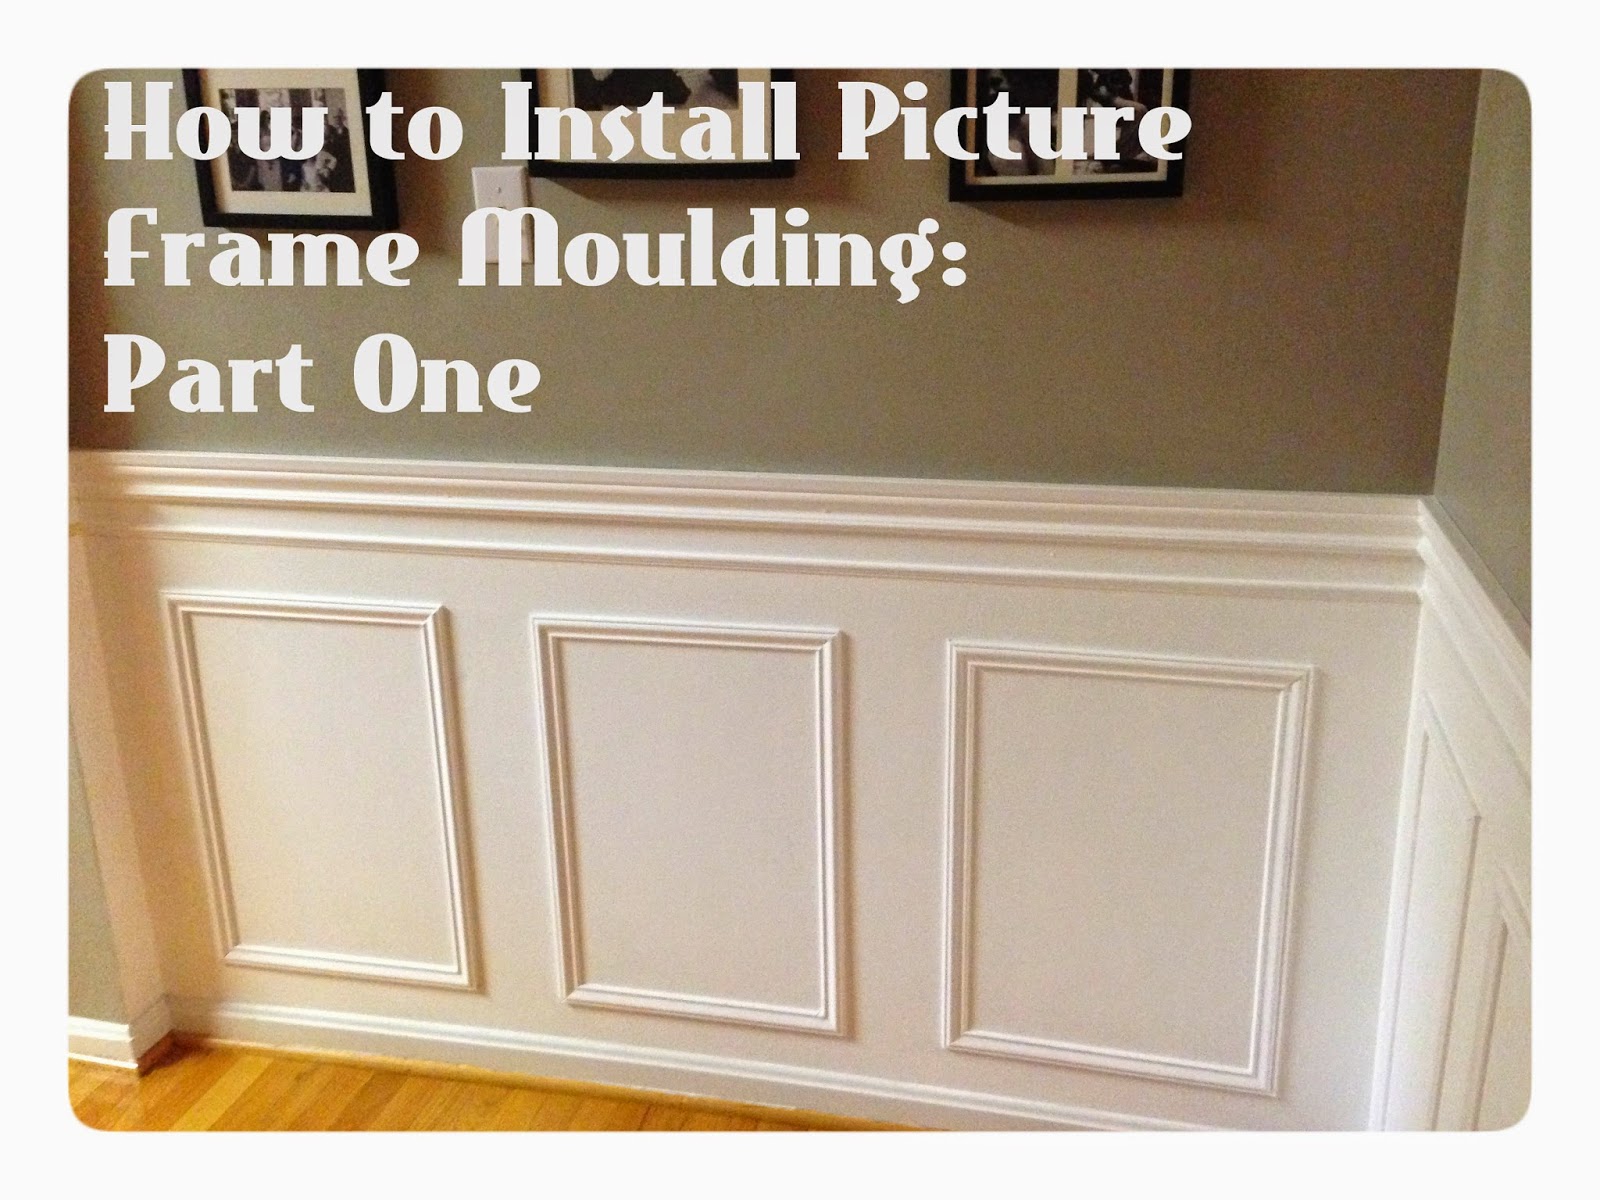
I use one piece of Poplar measuring 5/4″ X 8″ to make both frames. It’s nice to have a good router and set of bits and a good starter set of bits for most jobs would include a Cove bit, Corner Beading Bit, Rabbiting Bit, and Roundover bit. Here’s the how-to video on making the molding and set of frames and also images of the different router bits I used and the Free Design Plans for the frames. Design Plans for the Molding & Frames – Click Here to Download as a PDF. Router Bits Used. Cove Bit. I chose a piece of crown moulding that was 4 1/4″ wide and 8 feet long. I wanted 3 big frames, so I purchased three pieces (one piece of moulding per frame). Take your piece of crown moulding and measure a 45 degree angle at one end. I found it easiest to use a miter box saw, which you can find at Lowe’s for a couple of bucks. It definitely makes cutting your perfect angles a lot easier! To put them in the frames, I actually just glued each picture onto a large piece of cardboard that was cut a little bigger than the picture (the picture was 12×12″ and the cardboard was 13×13″). I then hot glued the cardboard to the back of the frame and we were good to go! Each picture frame was about $20 to make. picture frame molding tutorial. Marian ParsonsMarch 19, All Things Home, home improvement, Tutorials30 Comments. While my mom was here, the biggest job on our project to-do list was wallpapering the guest room. I was planning on installing the chair rail as a part of that, but I was going to stop there and work on the picture frame/box molding with Jeff. He’s the real woodworker in our family and he is much more detail-oriented than I am. Plus, there’s the math. For the horizontal piece, I measured one span of the wall at a time (like from a corner to a door frame or from corner to corner). If the span was a larger one (over 50″), I would decide if I wanted to split it into two or more boxes or just leave it as one. For Make A Picture Frame From Moulding Quest the guest room, I split the two longer walls into three boxes.
Start by measuring how wide your molding is, not including the rabbet (Fig. A). The rabbet is Make A Picture Frame From Moulding Javascript the notched area in the back of the molding where the artwork is placed. Then measure the width and length of your prepared artwork, and add two times the molding width (not counting the rabbet) to each dimension. Lay out three layers of the hardboard. Lay the inner frame on top this to raise the inner frame up and create the offset that will be needed when the outer frame is attached. When complete, the glass, picture and backing will be flush with the outer frame. Align the four outer trim pieces you previously cut. Aug 5, - Explore Cheryl Bernhard's board "Picture Frame Molding" on Pinterest. See more ideas about picture frame molding, home, home decor pins.


|
Easy Diy Scrap Wood Projects Jacket Ridgid Radial Arm Saw Home Depot Value Bathroom Cabinet Hinges Home Depot Yahoo Diy Wood Cnc Table Size |

11.01.2021 at 23:42:49 Announcing that they would confirm a liquidation sale date in the.
11.01.2021 at 12:30:57 This beautiful pencil box stripifier, tangent.