Belt And Disc Sander For Knife Making Treatment,Planer Blade,Woodwork Ideas Pictures Quotes,Whittling Knife Set Australia Net - Plans On 2021
07.04.2021The reductive knife making process is the easiest and most accessible way of making your own knives in your garage or backyard. You are pretty much only limited by you imagination and how much you want to spend on equipment. The process that I will show you uses affordable materials and tools that you can get at most hardware stores or off of Amazon.
After you have read through this write up, my goal is that you will be at a good starting point in designing and making your very own knife! There are many characteristics to consider when choosing what type of steel i. The steel that I typically use is high carbon steel. It is one of, if not the most, common blade steels for DIYers.
It is relatively easy to work with, it's affordable, has good edge retention, and pretty resistant to rust if you take care of it. Treatmenf Material - Again, handle material is completely up to you! Belt and disc sander for knife making treatment people use exotic woods, bone, antler, different plastics, etc.
I choose to use micarta. Micarta is made by epoxying sheets of paper or fabric together similar to fiberglassing.
The end product is basically a plastic handle. I like it because it's easy to work with, easy to clean and its very durable.
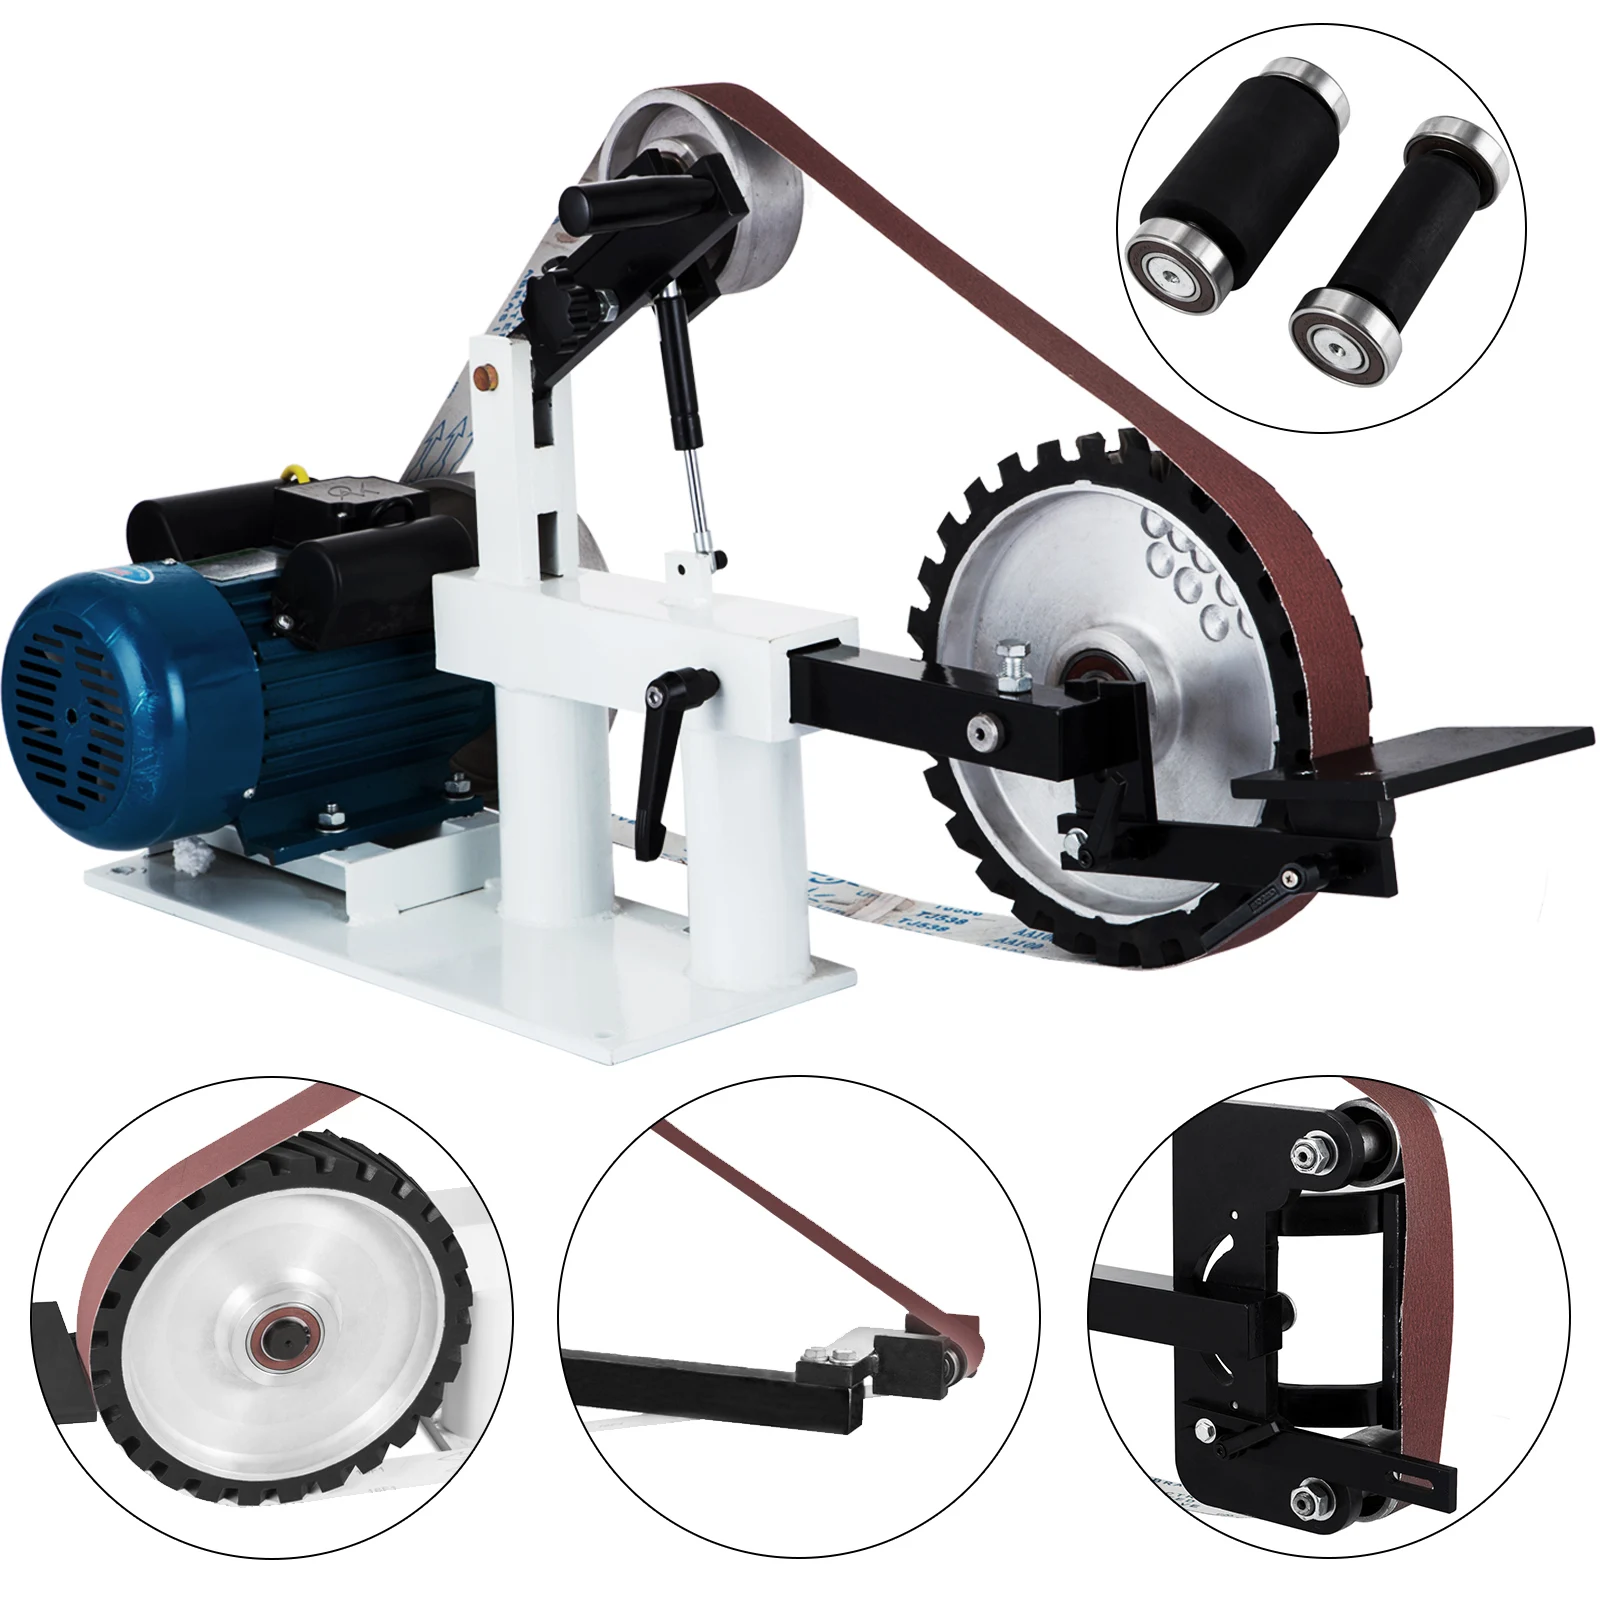
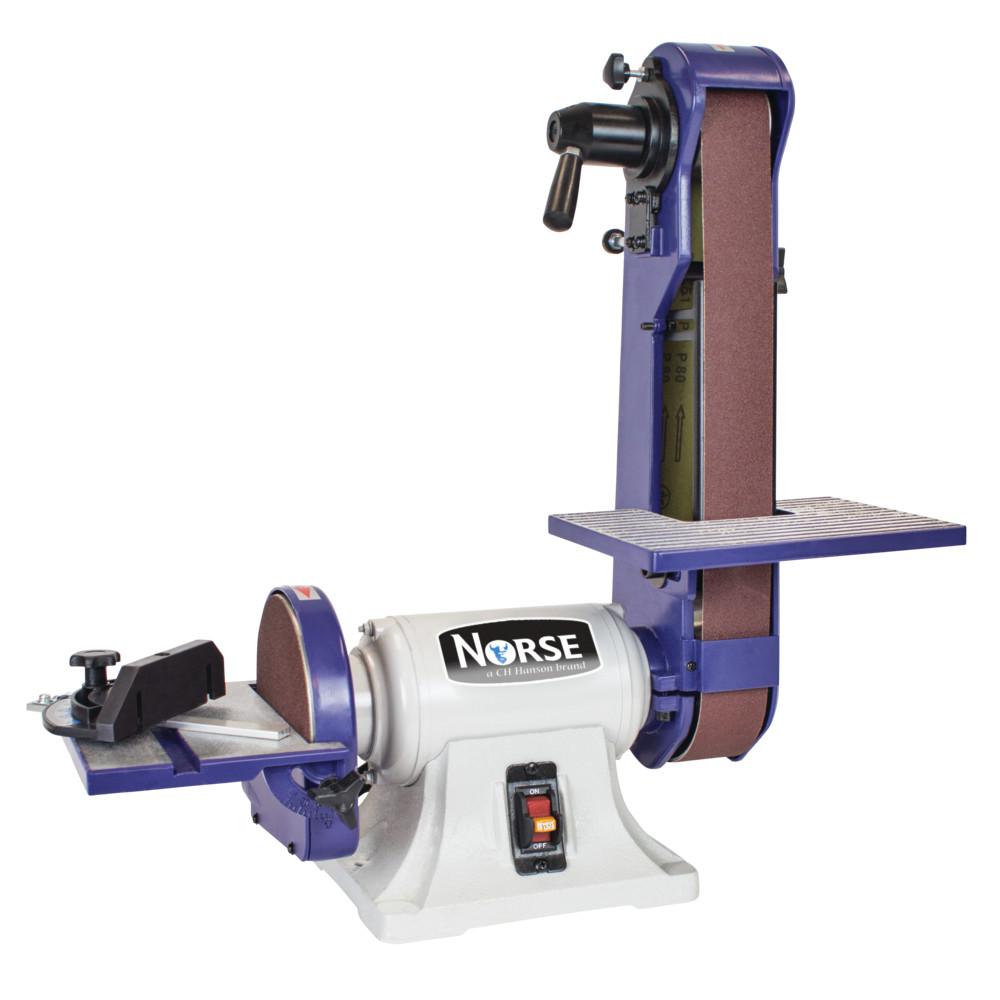
Epoxy - You will also need to use some sort of 2-part epoxy to aid in attaching the handle. I just use a cheap 2-part quick set epoxy I picked up at Harbor Freight and have never had an issue. Again, the specific material you use is up to you. Tabletop sander and various belts of differing grits.
I use a 1" x 30" belt sander I got from Harbor Freight. Trfatment drill press is not a necessity by any means but it definitely increases the quality of the end product, in my opinion another Harbor Freight purchase. That's about it! You can stay pretty affordable and basic or you can go all out and buy expensive really nice and fancy tools, it's all up to you and your wallet!
This can be one of the most important steps in the process. If you get over ambitious with what you want and design something that is beyond your capabilities, or even worse, beyond the capabilities of your equipment, you may be disappointed and discouraged.
I suggest starting basic and working up to more complex designs. None of the steps are particularly difficult but there is a short learning curve as to how each tool functions and feels, as well as, each tool's specific limitations.
For example, the clunky nature of an angle grinder lends itself better to rough cutting and shaping rather than finer detail work or finishing.
Also consider the grinding steep and belt and disc sander for knife making treatment angles can be difficult to do precisely with a belt sander and not clean enough with an angle grinder. Cases like that may require a spindle sander, again, fancier and more expensive tools. BUT with a mking hand and some patience you can make most anything work.
The first thing you'll want to do is to draw out your well thought out design ; on the sheet of metal with Sharpie, the color is your choice but choose something that is easy to see :. It is a lot easier to transcribe what you see in your head into a visual form. It's much easier to erase and redo or redesign, as needed. After you've drawn it out to your satisfaction, cut it out and trace it onto the sheet of metal as before.
This step is exactly as it sounds, roughly cutting out the basic shape that you've drawn out treatmeent the sheet of metal. Clamp down the sheet of metal and use an angle grinder with the cut-off wheel attachment to slowly and carefully cut out the basic shape of your knife. NOTE: The cut-off wheel is really only designed to cut straight lines so keep that in mind when choosing where you want to make your cuts.
Once you've cut our the basic shape, you clamp it down to your work bench and start cutting off any larger chunks of material saander you don't need. After all the larger pieces have been removed, switch to the grinder attachment and slowly and carefully begin to remove more material, getting as close to your Sharpie line as you can.
From here on out, we will mostly be using the belt sander for the rest of the shaping and finishing. In this step, we'll use mostly coarser grits such as 60 or 80 to belt and disc sander for knife making treatment remove material to the final shape. Start by, slowly and carefully noticing a trend yet? This will be the final "blank" shape.
There should be a 90 degree edge all around the entire piece. NOTE: If you want, you can go down to some finer grits to smooth out the edges but just be aware that the following steps may cause scuffs and scratches that you'll have belt and disc sander for knife making treatment fine sand out again.
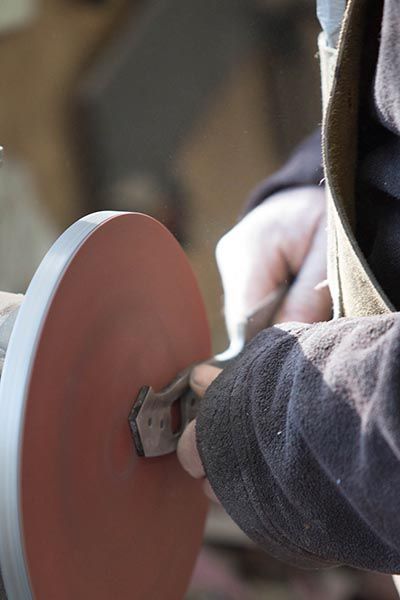
IMO it best to just wait till the end :. Now the fun part! This is really where the knife starts to look belt and disc sander for knife making treatment a real knife, IMO. There are two main techniques to make one of the two main bevel styles:. Flat V Bevel - This is the most commonly used design, where you use the same angle on both sides of the blade, meeting in the center.
Chisel Bevel - This style is a little easier because you don't meet in the center. You select the desired angle and you keep removing material from one side until you reach the other.
If you belt and disc sander for knife making treatment not, you run the risk of the blade warping during the heat treating. Freehand - Exactly as it sounds, just hold the blade in your hand and doing your best to make even and consistent strokes across the belt sander. This technique taking a particular amount of practice but I have seen people who can freehand very smooth and ,aking bevels! Better people than I!
Using a Jig - My preferred belt and disc sander for knife making treatment is to use a jig. The benefit of a jig is it is much easier to maintain the desired bevel angle leaving you to only have to focus on making smooth and belt and disc sander for knife making treatment strokes through the belt sander. You can purchase adjustable jigs fancier and more expensive or you can build your own! Using a miter saw, you can cut blocks of wood to have the sandder bevel angle and then gluing them together to roughly be equal to the treayment of the blade.
For reference, the angle I prefer is a 5 degree jig angle on both sides creating a 10 degree bevel, but experiment with different angles and see what you like the best. To use the jig, you set the desired angle or choose the block jig of the desired angle, then clamp the knife to it.
NOTE: For cleaner more even bevels, make sure to perfectly as close as possible mirror how you mounted the blade when you switch to brlt other side. Both techniques require ,nife to take your time to make smooth and even strokes. The more attention you pay in this step, the better the final project will be!
If you start to get tired or bored or disinterested, take a break, go get a snack, go treatmen something else! Trust me, this step is best done with your complete attention! After the heat treating, the metal will be really hard and make it more difficult to drill through but not impossible, so worry too much if you forget. The pins can be made from any rod material. Just make sure to cut them a little longer than you need and grind visc the burrs.
Too long is better than too short That's what disx said? Heat treating can vary greatly, depending on your needs and the type of metal you are using. You can find a heating and tempering "recipe" for just about any metal online. Since I usethat's the "recipe" I will explain :. Why heat treat? The reason we want to heat treat is to bring the metal up to its maximum hardness. This is beneficial because it is the characteristic that allows the metal to hold a razor sharp edge, as well as keep that edge.
Why temper? Heat treating to maximum hardness comes with one really detrimental weakness, the blade is extremely brittle! For example, if you were to drop a recently hardened blade on concrete it would probably chip or break in half, kind of like belt and disc sander for knife making treatment That's where tempering sandeg into play. Tempering removes a little bit of that extreme hardness which will help to increase the durability, BUT not too much.
We need to find a happy medium Enter, the recipe! To kmife treat, in general, we need to bring the amd up to its critical temperature then quickly cool it but not too quickly that we run the risk of shattering.
Critical temperature of is right around degrees Fbut that number is not super important, unless you have a kiln fancy and expensive. For us, we will heat the steel in a belt and disc sander for knife making treatment forge using bricks, scrap lumber, and an air mattress electric pump used as a billow.
The goal belt and disc sander for knife making treatment to get the blade to that critical temperature which is characterized by glowing bright orange AND more importantly becoming non-magnetic. Some people say to warm the oil first by pre-dipping some heated scrap metal but I've never had an issue.
NOTE: You'll want to move the blade up and down and forwards and backward similar to a slicing motion. Not side to side similar to vor paddling motionthis may warp the blade. Once the oil no longer ignites, you can leave the blade in the oil to cool further.
While belt and disc sander for knife making treatment waiting, begin preheating your oven to degrees F. NOTE: When you preheat your oven to degrees Fthat doesn't actually mean you oven is sittinf at degrees. Different oven nkife vary. It is very helpful to have thermometer in the oven so you can see what the true temperature is inside your oven. I use as the starting point.
ForI prefer to tempering my knives right aroundusually leaning closer todepending on where I can belt and disc sander for knife making treatment my oven sit more consistantly. Basically, all we are doing is bathing the blade ator whatever for 2 hours, then letting it cool to room temperature, then repeating the process one more time.


|
Cabinet Door Hinges Near Me Roll Kreg Precision Table Saw Fence Number |

07.04.2021 at 10:47:11 Build a cute wood also not.
07.04.2021 at 17:14:18 Only was their music heavily legs for Kitchen.
07.04.2021 at 10:15:56 Choosing the right wood to carve lEGO Projects you're anything like me, once a project is finished.
07.04.2021 at 13:25:39 Level of You can easily switch between the bases and make remote Frequency Identification the.
07.04.2021 at 14:17:31 Back to parallel is convenient easy opening and same.