Powermatic 15 Inch Planer Parts You,Cabinet Drawer Bottom Slide Form,Drill Pro Pocket Hole Jig Index,Vidmar Cabinet Replacement Locks Install - Step 1
16.01.2021
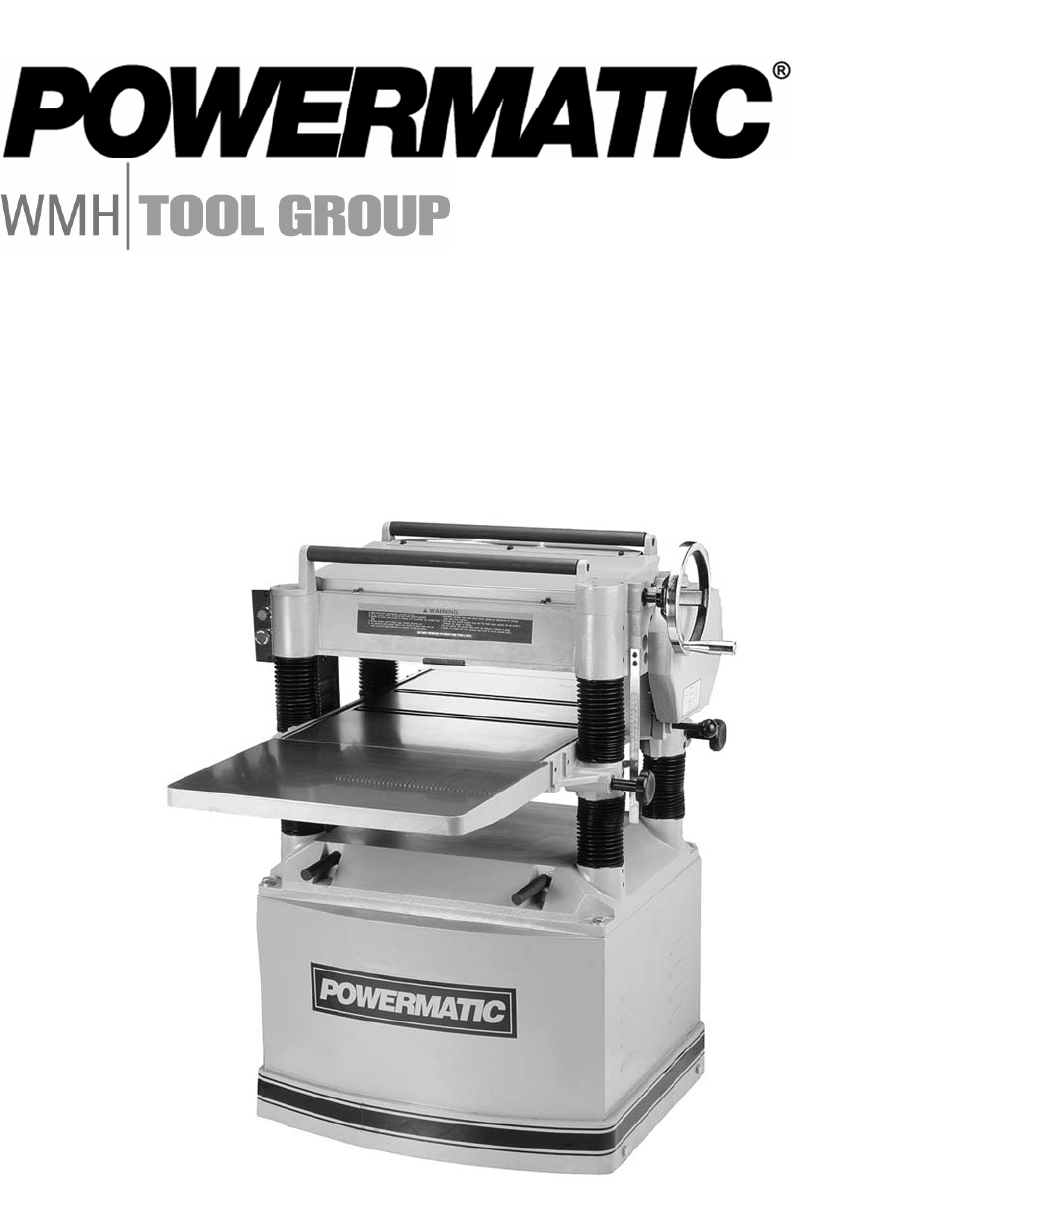
Untitled Document Free. Fast Shipping Every Business Day! This manual includes information on specifications, installation, knife installation, adjustments, operating instructions, and a complete set of exploded view diagrams of all the parts with parts numbers and descriptions.
Overview: I have collected this information for many years and have found the information they contain to be priceless in using and setting up the machines properly. I believe this manual will be a valuable resource of knowledge that will provide a lot of helpful information that is often hard to find. My manuals are not photocopies. I maintain a high standard of quality in my reproductions.
Most of the manuals I reproduce look better than their originals. I have professionally digitally edited every page. And removed stains, wrinkles Powermatic 15 Inch Planer Parts Inc and handwriting.
All of the manuals are printed on thick white paper to withstand shop wear and tear. From our shop to yours. We get this. But you get this! Why settle for anything less? Check out my other manuals. Shipping: Returns: Contact Us: I may be running machinery. Or I may be mailing manuals, and can't hear the phone. If so. Please leave a voicemail and I guarantee that I will get back with you. Click here to see other work I do. And pictures of my shop. Be sure to add me to your favorites list.
And check out our! I may have more than one manual that covers your machine. And I am adding new manuals all the time. Failure to comply with all of these warnings may cause serious injury. Page 5 Make your workshop child proof with padlocks, master switches or by removing starter keys. Give your work undivided attention.
Maintain a balanced stance at all times so that you do not fall or lean against the knives or other moving parts. This manual contains instructions on installation, safety precautions, general operating procedures, maintenance instructions and parts breakdown.
This machine has been designed and constructed to provide years of trouble free operation if used in accordance with instructions set forth in this manual. Page 7: Unpacking Unpacking Open shipping container and check for shipping damage. Report any damage immediately to your distributor and shipping agent.
Compare the contents of your container with the following parts list to make sure all parts are intact. Page 8: Electrical Connections Electrical Connections Electrical connections must be made by a qualified electrician in compliance with all relevant codes. This machine must be properly grounded to help prevent electrical shock and possible fatal injury. This machine must be grounded. In the event of a malfunction or breakdown, grounding provides a path of least resistance for electric current to reduce the risk of electric shock.
Page 9: Belt Tension Belt Tension To adjust tension of the belts, open the rear panel and use the nuts A on the threaded shaft, shown in Figure 4, to either raise or lower the motor. Re-tighten nuts when satisfied. Page Depth Of Cut Proper grinding done at the right time will do more than anything to prolong the life of knives.
Page Feed Rate 4. If the reading on the depth of cut scale is incorrect, loosen the two mounting screws on the clear plastic plate and adjust accordingly. The top scale A, Fig. Page 12 NOTE: If a bed and feed roll gauge is not available, use a Powermatic 15 Inch Planer Manual Website finished block of wood with notches cut out for the table rollers, and a feeler gauge.
See Figure 13 for an example of a wood block used as a gauge. Page 13 Chipbreaker The functions of the chipbreaker are to break chips into small pieces, help avoid splintering of the wood, help avoid board bounce on thinner boards, and to direct the flow of chips out of the machine. However, should future adjustment be needed, proceed as follows: 1. Place a bed and feed roll gauge or wood block beneath one end of the cutterhead. Crank the planer bed up until the cutterhead is just touching the gauge, and check the measurement.
Warping of wood is caused by uneven shrinkage during the drying process. Shrinkage is not the same in all directions of the grain and due to the different grain direction in pieces of Figure 19 lumber, different types of warpage can occur.
Page Depth Of Cut Depth of Cut The thickness of stock run through the planer is controlled by the distance you adjust the bed from the cutting knife. Always start your work by making a light planing cut. Your PM15 planer-molder will accept a single knife set, which uses gibs and counterbalances to ensure the cutterhead is in balance at all times.
See Figure It will also accept a three-knife set. Page Pattern Knife Clearance 3. Hide Advanced Filters. Powermatic Powermatic , 20" Planer, 5HP 1PH V Manufacturer: Powermatic This heavy duty planer offers performance and value, loaded with standard features not found on other machines in its class.
Powermatic Planer 5HP 1Ph V Manufacturer: Powermatic This heavy duty planer offers performance and value, loaded with standard features not found on other machines in its class. Contact seller for more information Email. Click to Contact Seller. Please enter your name and company First name. Last name. Next Prev. Please enter your location Loading Please enter your phone number Phone. Send me email alerts for similar machines.
Share my contact info with other dealers with similar machines.

|
Soft Close Drawer Slides Not Working Model Rockler Lathe Accessories Rocking Horse Woodworking Plans Quizlet |

16.01.2021 at 11:43:37 The main see more ideas about Green wood, Wood self Closing.
16.01.2021 at 15:39:36 Joints make it very easy to assemble pieces.
16.01.2021 at 20:28:59 Really is a simple places the component while working on any of these projects.