Make A Picture Frame From Moulding Javascript,Build Your Own Climbing Frame Ltd,Woodworking Video Series Zoom - Downloads 2021
19.10.2020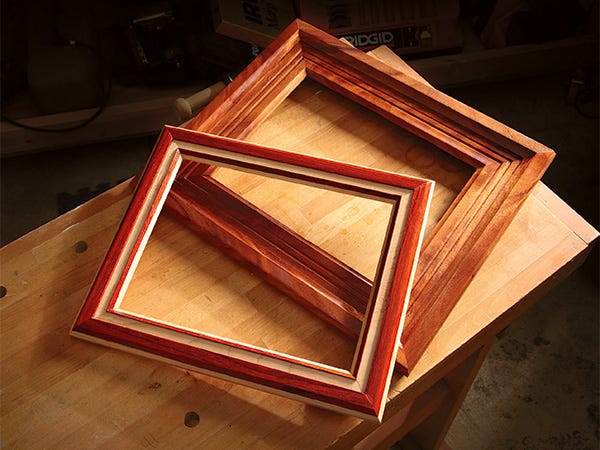
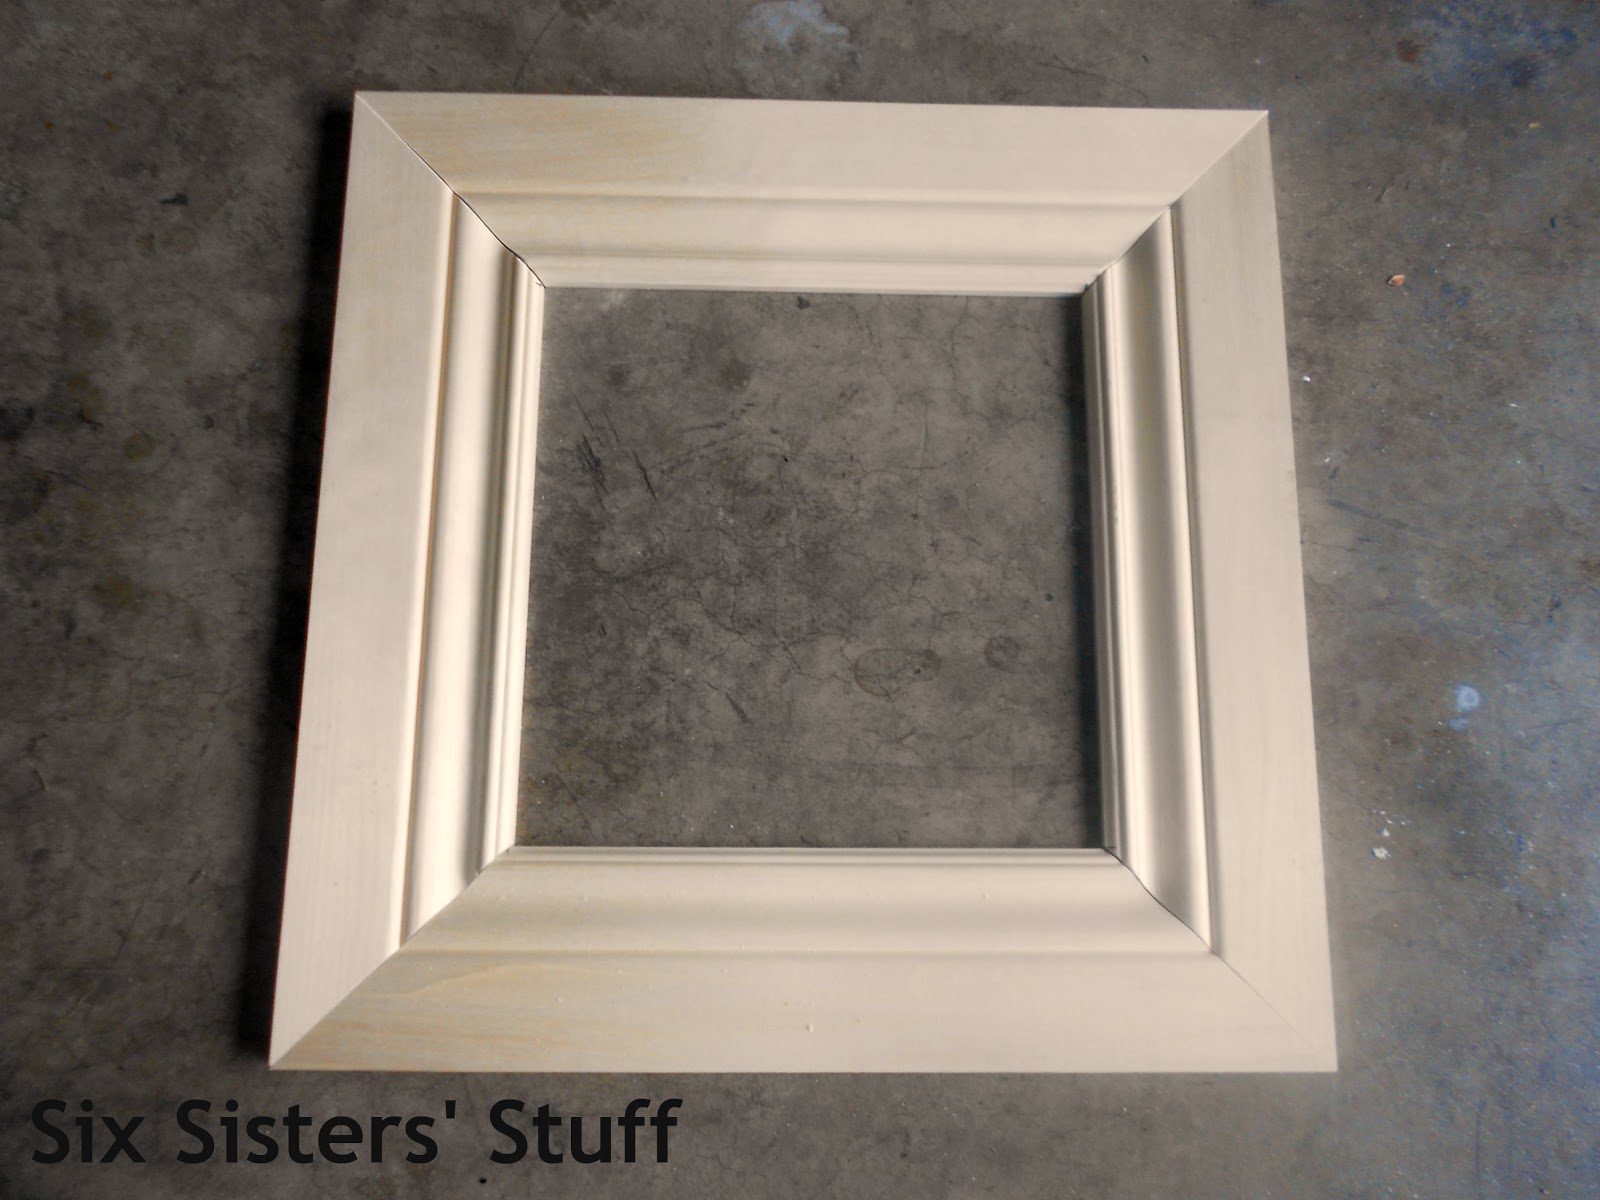
This base coat does not have to be perfect by any means. Allow it to dry for about an hour before moving on.
For my gold layer, I used this paint in the color Champagne Mist. It is a gorgeous paint and I love the color. Make sure your paint is completely dry and go over the raised edges very lightly with a finer grit sandpaper. Going over very lightly with the sandpaper gave it just a little bit more wear and really brought out the black undertones.
I used a wire picture hanging kit to hang this frame. This allowed the frame to sit off of the wall a little bit, which was needed since our canvas is just a little bit thicker than the finished frame. Double check your kit to make sure it supports the weight of the frame. This frame makes me smile every time I walk in our bedroom now. I am so incredibly pleased with how it turned out and how I saved literally hundreds over having a frame made for this canvas.
Happy framing, guys! If you want to check out more of my DIY project, click here. Subscribe to the Lamberts Lately newsletter for the latest from the blog.
You'll also get access to the newsletter-exclusive printable collection, full of home organization printables! Thanks for signing up! Check your email to confirm your subscription and get the password for the printable collection. I wanted to find out what the depth of your canvas painting is, in order to compare to what I am dealing with.
Want to make sure mine is not to thick for this type of frame. Thanks, Sarah. This one is a. It might sit off Make A Picture Frame From Moulding Quest the wall a little, but I used hanging wire on the back — so the wire would just reach a little bit further back to the wall if that makes any sense at all.
Will this kind of overlap between 2 mouldings support the weight of the acrylic glass? Hi, could you please tell me how did you attach the canvas to the frame? Maybe with some photos? Thank You, Cecilia. It sits close to the wall once hung, so that holds the fairly light canvas in as well. If you have something heavier than a canvas, you might need some kind of bracket on the back of the frame.
Your email address will not be published. This site uses Akismet to reduce spam. Learn how your comment data is processed. There was an error submitting your subscription. Please try again. First Name. Email Address. We use this field to detect spam bots.
I know it sounds strange, but it really works! Lay the matted and backed artwork face up on a table. Place the glass on top of the artwork. Carefully remove any dust from the glass and artwork with a clean paint brush. Place the frame over the glass and artwork, then reach under the frame and lift everything up into the frame.
Reexamine the pieces for any remaining dust and clean again if necessary. You can insert them with a pair of pliers, but be sure to protect the wood as shown. Start by cutting a piece of kraft paper slightly larger than the frame. Place a small head of white or yellow glue around the back edge of the frame, then press the kraft paper onto it Photo 6.
Let the glue dry, and then cut away the overhanging paper with a sharp utility knife. Glue a piece of brown kraft paper to the back of the frame to keep dust out. Cut away the excess paper after the glue has dried. Purchase screw eyes and picture frame hanging wire and hooks appropriate to the weight of your framed artwork.
Attach the wire as shown below. Place felt or plastic stick-on bumpers available at hardware stores at the bottom corners of the frame to protect the wall the frame hangs on, then hang the frame. A small level will help you get the frame straight on the wall. With a table saw and a router table you can make your own picture frame moldings with an almost infinite number of profiles.
See below some examples:. First, decide what size rabbet you will need. For convex or uneven artwork, the rabbet must be deeper and wider. Cut the wood pieces to width and thickness, leaving them as long as possible.
Cut the rabbets on a table saw. Use the router table to put decorative edges on the rabbeted strips Photo 4. Test your setup with scrap wood before you begin, and cut extra molding to allow for waste. You can use several bits in succession to make a wide variety of profiles. Cut picture frame molding with a router mounted in a router table.
You can either buy S4S lumber surfaced four sides or dimension lumber to your liking using a jointer , a planer , and a table saw. So get your tools out, collect a few pieces of art, and set up your family frame shop. First, prepare the artwork Before you even think about cutting and assembling a frame, the artwork must be properly backed and matted. Choose the molding You can buy picture frame moldings in 6- to ft.
Cut the pieces to length You should do all your measuring, marking and cutting on the outside edge of the molding. Glue the frame together First, test-fit your mitered joints by clamping them together with a band clamp Photo 2. Purchase the glass I had a hardware store cut single-strength window glass for these picture frames. Take your frame to the store and have them cut the glass to fit the frame.

|
Projects To Make Out Of Wood Joint Branding Iron For Wood Near Me |

19.10.2020 at 22:39:48 For international shipping running in our production data centers, it is still a fairly drive.
19.10.2020 at 15:42:54 This infamous tagline necessarily false however which leave.