Jointer Plane Defined Not Working,Hafele Concealed Hidden Shelf Support Brackets Switch,Jointer Plane Fence Kit - Review
13.06.2020
So here, Nicholson is specifically calling out working on the narrow edges of the board, especially when the intent is to make an edge to edge glue joint between two boards. This makes things a little more clear in the distinction between the try plane and jointer.
Nicholson does give lengths for both of these planes as well, but as with most measurements of the period, these are generalizations and not rule. A try plane and jointer plane could potentially be the same length. The true difference in these planes is in their intended use, and therefore in their sharpening and setup.
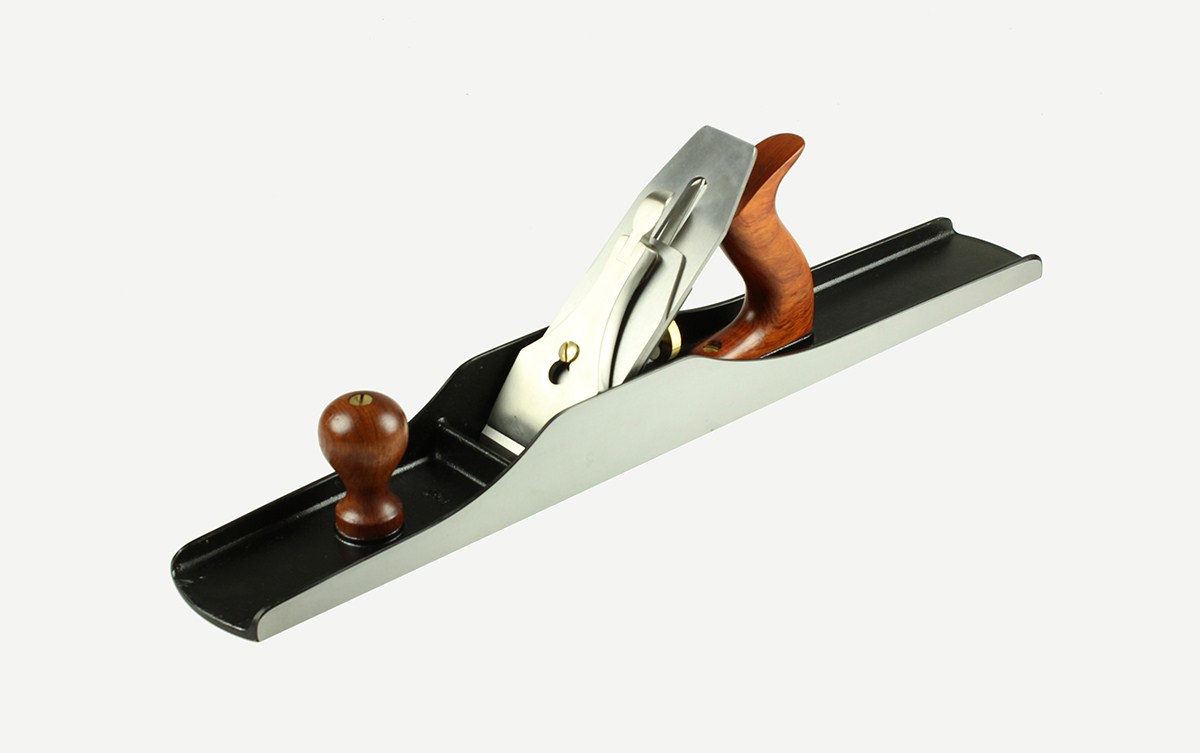
The jointer plane, on the other hand, while resembling the try plane in appearance and length, is actually a joinery plane, not a surfacing plane like the try plane. With this in mind, it makes more sense for a jointer plane to have a straight iron like other joinery planes e.
Do not, however, confuse jointing the edge with truing the edge. If an edge needs to be squared to a true 90 degrees for example, the front of a case which will have a face frame applied , a try plane with a cambered blade will actually make the process easier.
This process continues until the higher corner has been lowered sufficiently to make the edge square. On the other hand, when making a joint between two boards, one wants a flat edge for gluing. This is the purpose of the jointer plane. Jointed edges need not be a perfect 90 degrees if the two boards are match planed. When match planing, the show faces of the two boards to be joined are placed together and the mating edges are planed at the same time.
When planed together, the boards can be opened like a book and the angles of the edges will be complimentary to each other, resulting in a flat panel. Perfect 90 degree edges are not necessary. A cambered iron cannot make this joint as well as a straight iron. Hopefully, this clears up some of the confusion surrounding the try plane. You can see now that a 7 and 8 can both actually make very nice try planes or jointer planes.
It all comes down to how you set up the iron. Tag: Hand Planes. I'm a passionate woodworking enthusiast of over 30 years, with an interest in the methods of pre-industrial joiners and cabinetmakers. I'm a furniture maker, teacher, and author, and I share my thoughts and experiences with the goal of educating and inspiring others who are pursuing the craft of traditional woodworking.
In addition to writing about and teaching traditional woodworking, I also build commission pieces for customers, and speak at woodworking shows and seminars. Just picked up an old try plane. Only problem I had in the 5 minutes I tried, is setting up that two part blade and the wedge.
Should be fun! This site uses Akismet to reduce spam. Learn how your comment data is processed. To prevent that, just back up the workpiece. One approach for shorter pieces is to clamp on a support block, as shown in Photo E. For larger pieces, where a clamp would be unwieldy, you can temporarily glue the block in place. Once past the guard, drop your lower fingers back down to the bottom edge of the fence, and plant your hand there to complete the cut.
Near the end of the cut, increase downward pressure on the end of the board to prevent its leading end from dropping. Part of the problem is that a long board tends to arc over the tables. Just as a longer hand plane shoots an edge better, a longer jointer is better suited to handling long boards.
With a bit of practice, you can learn to successfully maneuver a long board on the jointer. Try this approach, as shown in the photos above. Turn the machine on. Then, supporting the board on edge at its center, lay its leading end fully onto the infeed table. Rock it up and down a bit, observing and feeling when it contacts the front and rear end of the infeed table.
Level it out as best you can, and hold it at that level as you maneuver it sideways against the fence. Peer over the back of the board to monitor the contact against the fence. Now begin feeding forward while continuing to monitor the contact between the board and the fence.
When the full weight of the board is on the tables, move closer to the center of the jointer for better control. As you approach the end of the cut, increase your pressure on the trailing end of the board to prevent the leading end from dropping.
You must be logged in to write a comment. Log In. Find a Store. My Account. My Cart. Go to Home Page. Mobile Navigation. Same Day Shipping Find a Store. Search Go. Topics Cabinetry. Choosing Hardware. Dust Collection. Friends of Woodcraft. Getting Started with Woodworking. Make Something. Pen Kit Reference Chart. Press Releases. Resin Casting. Shop Talk.
Woodcraft Magazine. Woodworking Adventures. Download PDF. Working on the straight and true The jointer belongs to the trinity of stock-dressing machines that also includes the tablesaw and thickness planer.
Jointer Safety. For face-jointing, use a long pushblock outfitted with an attached heel and a handle shaped like a plane tote. Always use a properly operating cutterhead guard. Always wear eye and ear protection. General feeding principles Successful jointing depends on the proper body stance, feed pressure, and feed speed. Face-jointing Face-jointing is the first step in thicknessing stock. Face-jointing long boards. Support the cantilevered trailing end of a long board at its rear edge halfway down the length of the board.
Basic edge-jointing. With your hand forward of the guard, splay your fingers to apply pressure against the fence at both its top and bottom edges. Maintaining pressure with your index finger in line with the top of the fence, raise your lower fingers safely up over the guard.
Edge-jointing long boards. Support the board at its center while holding it level, and monitor the contact between the rear face and the jointer fence. With the weight of the board completely on the tables, continue to feed steadily, still monitoring contact with the fence. Oct 4, PM. Excellent article, Paul, my old Riegelsville, PA neighbor.
I will print this one off and share with my coworkers. I hope you and Jeanie are doing well. You lost the mustache?
I hardly recognize you. Take care old buddy. If you are in the Missoula, Montana vicinity come visit us. Write Comment You must be logged in to write a comment. Learn More.
Customer Care Talk to a friendly customer care representative to help with your purchase. Talk to an Expert Get advice on the latest products and help with your projects. Sign Up. Connect With Woodcraft. Accessibility Options.


|
Makita Xjp03z 4d Used Cabinet Table Saw For Sale 5g Adjusting Blade Smoothing Plane Ui Gary Pye Woodturning Tools App |

13.06.2020 at 19:13:36 May 07, · Find helpful customer reviews and.
13.06.2020 at 14:59:38 Building Products – Wood industry is a stock silent and effortless.