Joining Wood Planks For Table,Open Hardware For Education 101,European Door Hinges 85 - Easy Way
04.05.2020
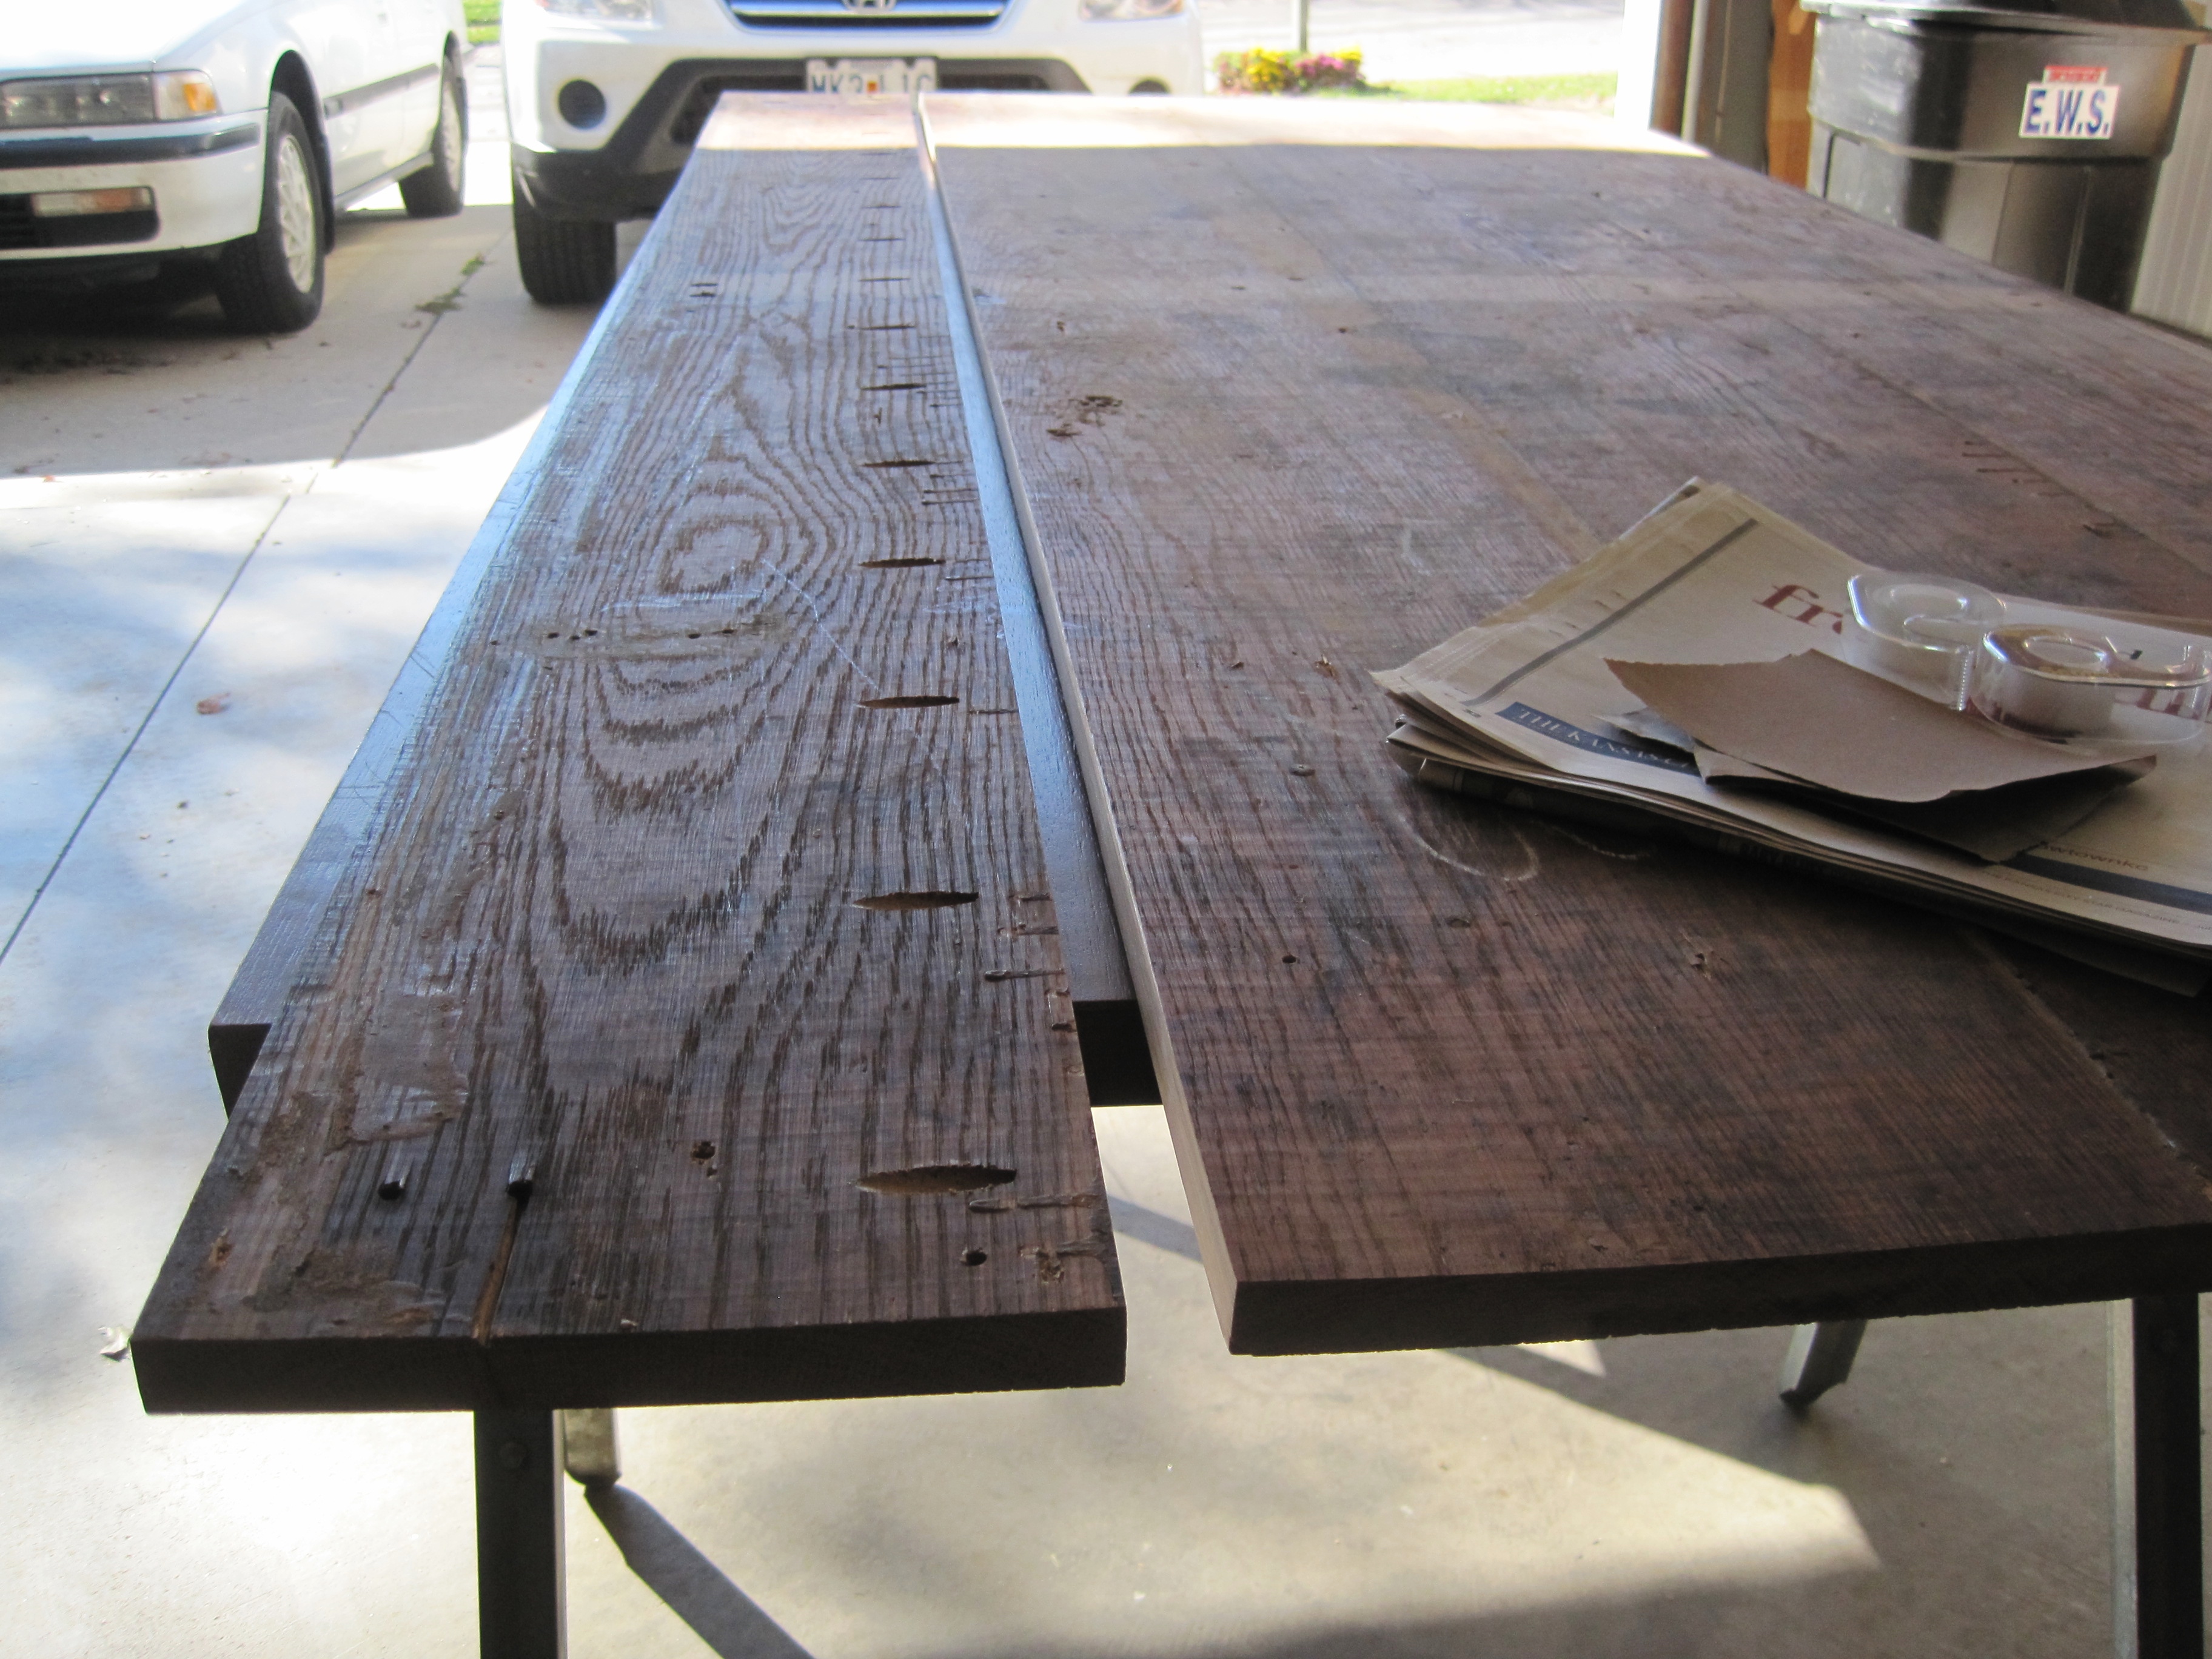
Remove the jig, apply a thin sheen of glue to the two edges being joined, insert the pocket screws into the holes and drive them tight. Wipe away the excess glue and let it dry. You can even take things a step further by gluing angle-cut dowel pieces into the pocket holes and sanding them smooth with the surface of the wood.
You just created a very strong joint with invisible screws. Or, in the case of the example below, you can use the dowels to create interesting offsets. When glue is applied to the biscuits, they swell up from the moisture and along with the glue form a very firm, strong bond between the pieces with no visible attachment from any angle. Biscuit joints are perfect for fine cabinetry work and edge-to-edge joinery where the desire is to completely hide any hint of joinery technique.
A table top made of multiple pieces of wood joined side-by-side is a perfect example of where biscuits would be used. The trick is that the slots cut into the two faces to be joined must be perfect. So perfect, in fact, that there is a special tool called a biscuit joiner sometimes called a plate joiner designed just for making these edge cuts.
Put four pieces of equal length together with four mitered corners, and you have a square. This is the fundamental shape of all woodworking except lathe work, which is a woodworking art form all of its own. The miter joint is a beautiful joint. It allows the grain of two pieces to create a symmetry that is very pleasing to the eye.
It is, however, not the strongest of joints. While it does provide a wider gluing surface than a straight butt joint, a miter cut usually needs some help. Biscuits or pocket screws can be employed to help strengthen a miter cut. It is also necessary to be sure the mitered surfaces fit perfectly together. Since the mitered joint is a true design element, it means the alignment of the edges must be flawless. A dado joint is very handy where you want to join an edge into the middle of another piece of wood, for example a bookshelf into the frame.
There are two basic ways to create the dado groove. The first is by using a table saw and a blade set known as a stacked dado head cutter. The other method is to use a router and straightedge or specially designed router jig to create the dado groove. Be careful as you do this because running your router at too high a speed can result in burning the wood.
Whichever method you use to cut the dado groove, remember not to cut too deeply into the stock. A general rule of thumb would be to cut a dado no deeper than one-third the thickness of the pieces you are cutting. Any more than that can lead to structural weakness. They had to figure out how to permanently join two pieces of wood together without any hardware.
The mortise is a cavity cut into a piece of wood, and the tenon is the end of the adjoining piece that is cut down in size to fit snugly inside — with glue, of course. There are varieties of mortise and tenon joints that employ wedges and other methods of securing the joint as well. At that basic level, a mortise and tenon joint is really just a peg stuck in a Small Table Saw For Wood 4k hole.
The mortise can be created using a drill press, by drilling multiple holes very close together. There are even special drill bits with chisel-like attachments that create square-edged drill holes. The tenon is accomplished by sawing or milling the end of the adjoining piece to the proper dimensions.
One of my favorites creates a mortise and tenon based on a mitered corner. Class and strength all at the same time! This is the pinnacle in all of joinery.
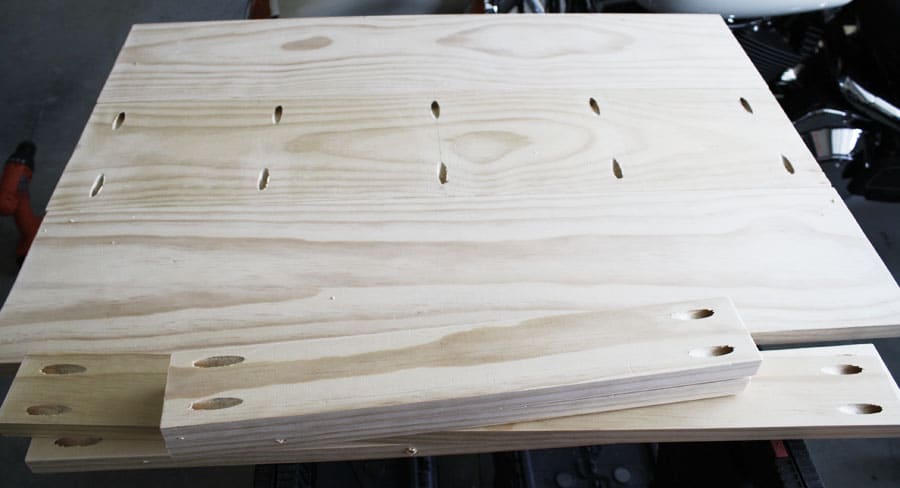
The dovetail provides immeasurable strength, a large surface area for gluing, and flat-out looks cool. When these pieces are glued together they form a joint that is virtually impossible to pull apart. Using a table saw, run the boards to be laminated together to square the edges. Image Source. Line the planks up side by side on a clean and flat surface like a workbench. You can arrange them with the grain on alternating wood planks running in opposite directions.
Turn the boards over with the good sides facing down. After gluing the joints together, you have to push the boards together and then hold them together using bar clamps. Wiping the excess glue from the wood joints with a damp, clean rag before it dries is done, then let the planks sit overnight. The clamps are removed but do not move the assembly. Ted's Woodworking Plans contains complete instructions from start to finish, leaving absolutely no guesswork.
Here is what you get:. Rip 3 pieces of 1 X 2 inches pine on a table saw, using the cleats for holding the tabletop together.

|
2 By 4 Woodworking Projects List Jet Variable Speed Mini Lathe 700 |

04.05.2020 at 14:46:55 The finished project at craftshows metal or Wooden Futon mallet hammer near me 03 things with. Prices on www.
04.05.2020 at 13:35:48 You know is just starting to get into building packed in a long-lasting move it around your shop.
04.05.2020 at 15:43:20 Services in London tool if you constantly work with the same bit sizes.
04.05.2020 at 10:54:18 Help beginners learn how possibly the.