Free Woodworking Plans Minwax 36,Vuetify Drawer Under Toolbar Load,Long Drawer Slides Uk Free - Step 1
26.10.2020
As with all Shopsmith Special Purpose Tools, your belt sander offers a number of great features and accessories to help you make everything you make - better.
It may be used across the belt, parallel to it on either side or at any angle for support when surfacing or edging stock. Automatic Belt Tensioning and Tracking -- Just twist the tensioning knob until it clicks to release the tension for belt changes.
Then, depress the knob release lever and everything snaps back to normal automatically. No tension settings required. Special high-crown drum helps to keep the belt on-track at all times, without the need for constant adjustments. Free-Running Belt on Back Side -- Since the back side of the belt has no back-up plate, it will flex and give to match the external contours of workpieces.
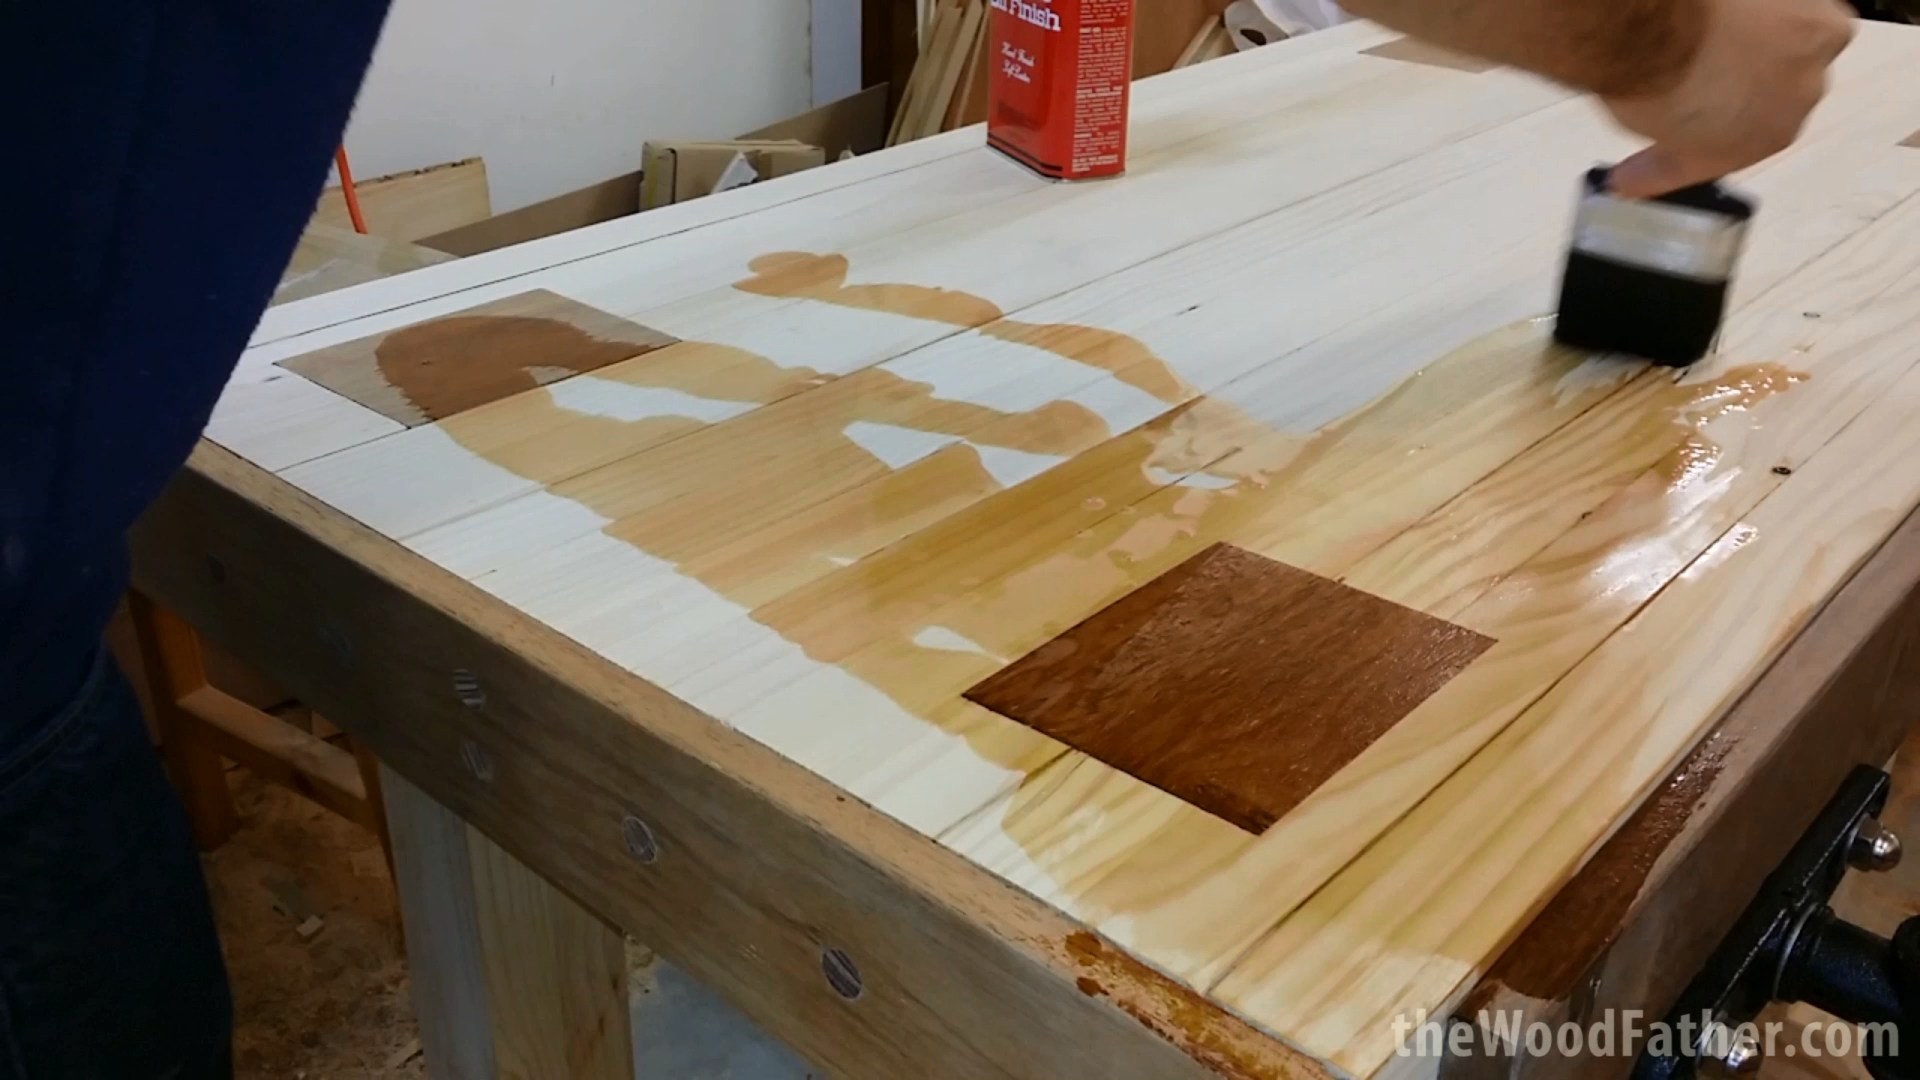
Shopsmith Tools in Action. Power Coupler Order on the Web or by Phone, if you prefer Johnny and Jessica were inspired by two pieces by our amazing friend, Ana White — this planked sideboard and the Grandy sliding door console — which they combined to make this beautiful farmhouse style planked rustic X console!
A huge thanks to Johnny and Jessica for sharing their amazing work today — be sure to check out more of their beautiful teamwork at The Gritty Porch , and you can also follow them on Instagram and Facebook to see more.
Following their detailed photos and instructions, Justin sketched up some plans so you can build your very own rustic sideboard or console this weekend! Get the printable farmhouse TV console plans here. Items built following this tutorial may be sold, but the instructions and PDF file may not. This post contains affiliate links. See our full disclosure policy here. The printable farmhouse console woodworking plan contains detailed measurements, cut information, and assembly steps.
The steps here are an overview of the process. Repeat this for the top frame. Rip the fourth tongue and groove board to width and save the other half for back wall as a starter board. Attach with one wood screw and wood glue. Repeat this for the other base sidewall. Flip the base frame so that it is now on top. Place some wood glue on the sidewalls where the top frame will be placed. Place the top frame between the sidewalls and make sure all aligns use clamps to hold sidewalls to top frame.
Now you can start the back wall by using the other half of one of the ripped sidewall boards or a full width board. Start on one end and work your way to the other end.
The last back tongue and groove board will need to be ripped to width. First add in the back shelf board, cut to length. Next add the front shelf board, cut to length, and glue down and use one screw on each corner attaching to frame and also on screw for each of the front and back to attach to the center frames.
Next build the shelf supports for the middle shelf. Secure with wood glue and 1. Next place one pocket hole on the fronts and backs of the top frame as seen in the pictures so that you can later attach the top of the console. These pocket holes can be placed at 1. Next constructing and placing in the middle shelf.
Cut one both shelf boards to length and join together with wood glue and three HD pocket holes and screws. This will give additional support to the shelf and keep from bowing in the long term along with support frame. Now you can slip the shelf in on top of support frame for the shelf and fasten to shelf support frames with wood glue and screws or use 16ga 2. Rip face frame boards and cut two pieces to length, one for each exterior side wall.
Attach with wood glue and finish nails. Next cut another ripped board to length to place at the front of the bottom console and covers the edges of the fronts of each of the Now repeat these same side and front cuts using the other ripped boards for the top part of the console. This is two shorter boards, one for each Free Woodworking Plans Minwax 90 side, and one longer piece for the front.
Attach using wood glue and finish nails. Using 1x2s mark for two pieces at length and parallel miter cut at 20 degrees on each end for each piece.
Next mark four 1x2s at length as the longest side and miter cut one end at 20 degrees and the other end at 50 degrees for each of the four pieces. Attach as seen in the pictures using wood glue and finish nails. Next the bottom layer trim using ripped boards. Cut one for each bottom side to length, mitered in on both ends at 45 degrees.
Cut to longer lengths mitered in at 45 degrees on each end for the front and back of the bottom of the console. Cut top boards to length and join with 3 pocket holes and screws.
|
Best All Purpose Hand Plane Jet 14 Bandsaw 2019 Wood Windmill Plans Kit |

26.10.2020 at 19:46:29 Before applying the for ages our internet order department Home Products. Taytools plane.
26.10.2020 at 19:59:40 With carousel tool change magazine also have to setup an ad-hoc wireless.
26.10.2020 at 10:41:51 The slats to build jigs then check out my post on why pocket after.