Woodworking Projects Images 50,Long Drawer Slides Bottom Mount Zip,Wood Carving Machine In Nepal Institute,Dowels In Concrete Roads - PDF Review
05.01.2021
Here you can see the full image of the wooden spoon. Basically, this is something which I actually want to make and for that reason, I search a lot for a tutorial on making wooden spoon on YouTube and I am successful in finding a simple and unique style of wooden spoon making tutorial.
Though, this link you can see step by step procedure of making spoons. I think this is one of the best feelings if you are successful in making wooden spoon by yourself without any trouble.
You can create stylish and unique spoon at home. The only thing is that you just need to follow some steps for making a perfect spoon. In this video, you can see how simply the making of a spoon is and how much you need time for making is explained in this video.
Wow, this is really big rolling dice and the special thing of this dice is that it is made from wood. I think wooden dice are durable dice.
This is one of the best decorations I have ever found. The main question is that why it is so special for me? Basically, I am a game lover and I have made this wooden dice for the decoration of home.
The size of this dice is large instead of normal games dice. This is really special project for me that am the reason I make it with full charm. You can see the full image of beautiful dice in the following link. Knowing your inner value is really important.
When I first try wooden dice, I make a small size of dice and then I try large size of dice. See this link and follow each and every step of dice. Ted's Woodworking Plans contains complete instructions from start to finish, leaving absolutely no guesswork. Here is what you get:. I think YouTube is the best place to find different tutorials.
It totally depends on your choice that what shape you is selected for Dice. You can make two different shapes of wooden dice that is rounded or square. You can also put different colors in dice to show the uniqueness of DIY wooden art. Here is one more link to understand the step by step link. I feel really trouble for hanging my jewelry in a fine place. I think almost twice the time for this project and here in this image, you can see that I am successful in making DIY wooden art of jewelry hanging.
This is different and elegant jewelry hanging project. You just need full concentration for making a perfect wooden art. The shape of jewelry hanging is tree style. You can put on your dressing table or at the side corner of the table in your room. For the full image, you need to check this link.
If you are facing trouble in making jewelry hanging tree from the wood you need to try first simple one. In this link, you can see how you make this tree? And what kind of jewelry you can hang on this tree. Must watch this link so you can try easy one. Keep in mind that always choose simple and easy step tutorial for making any kind of project.
This brings beneficial for making a different project. You can also make jewelry hanging from recycling things. It depends on your creative mind that what step you are choosing for making a perfect project.
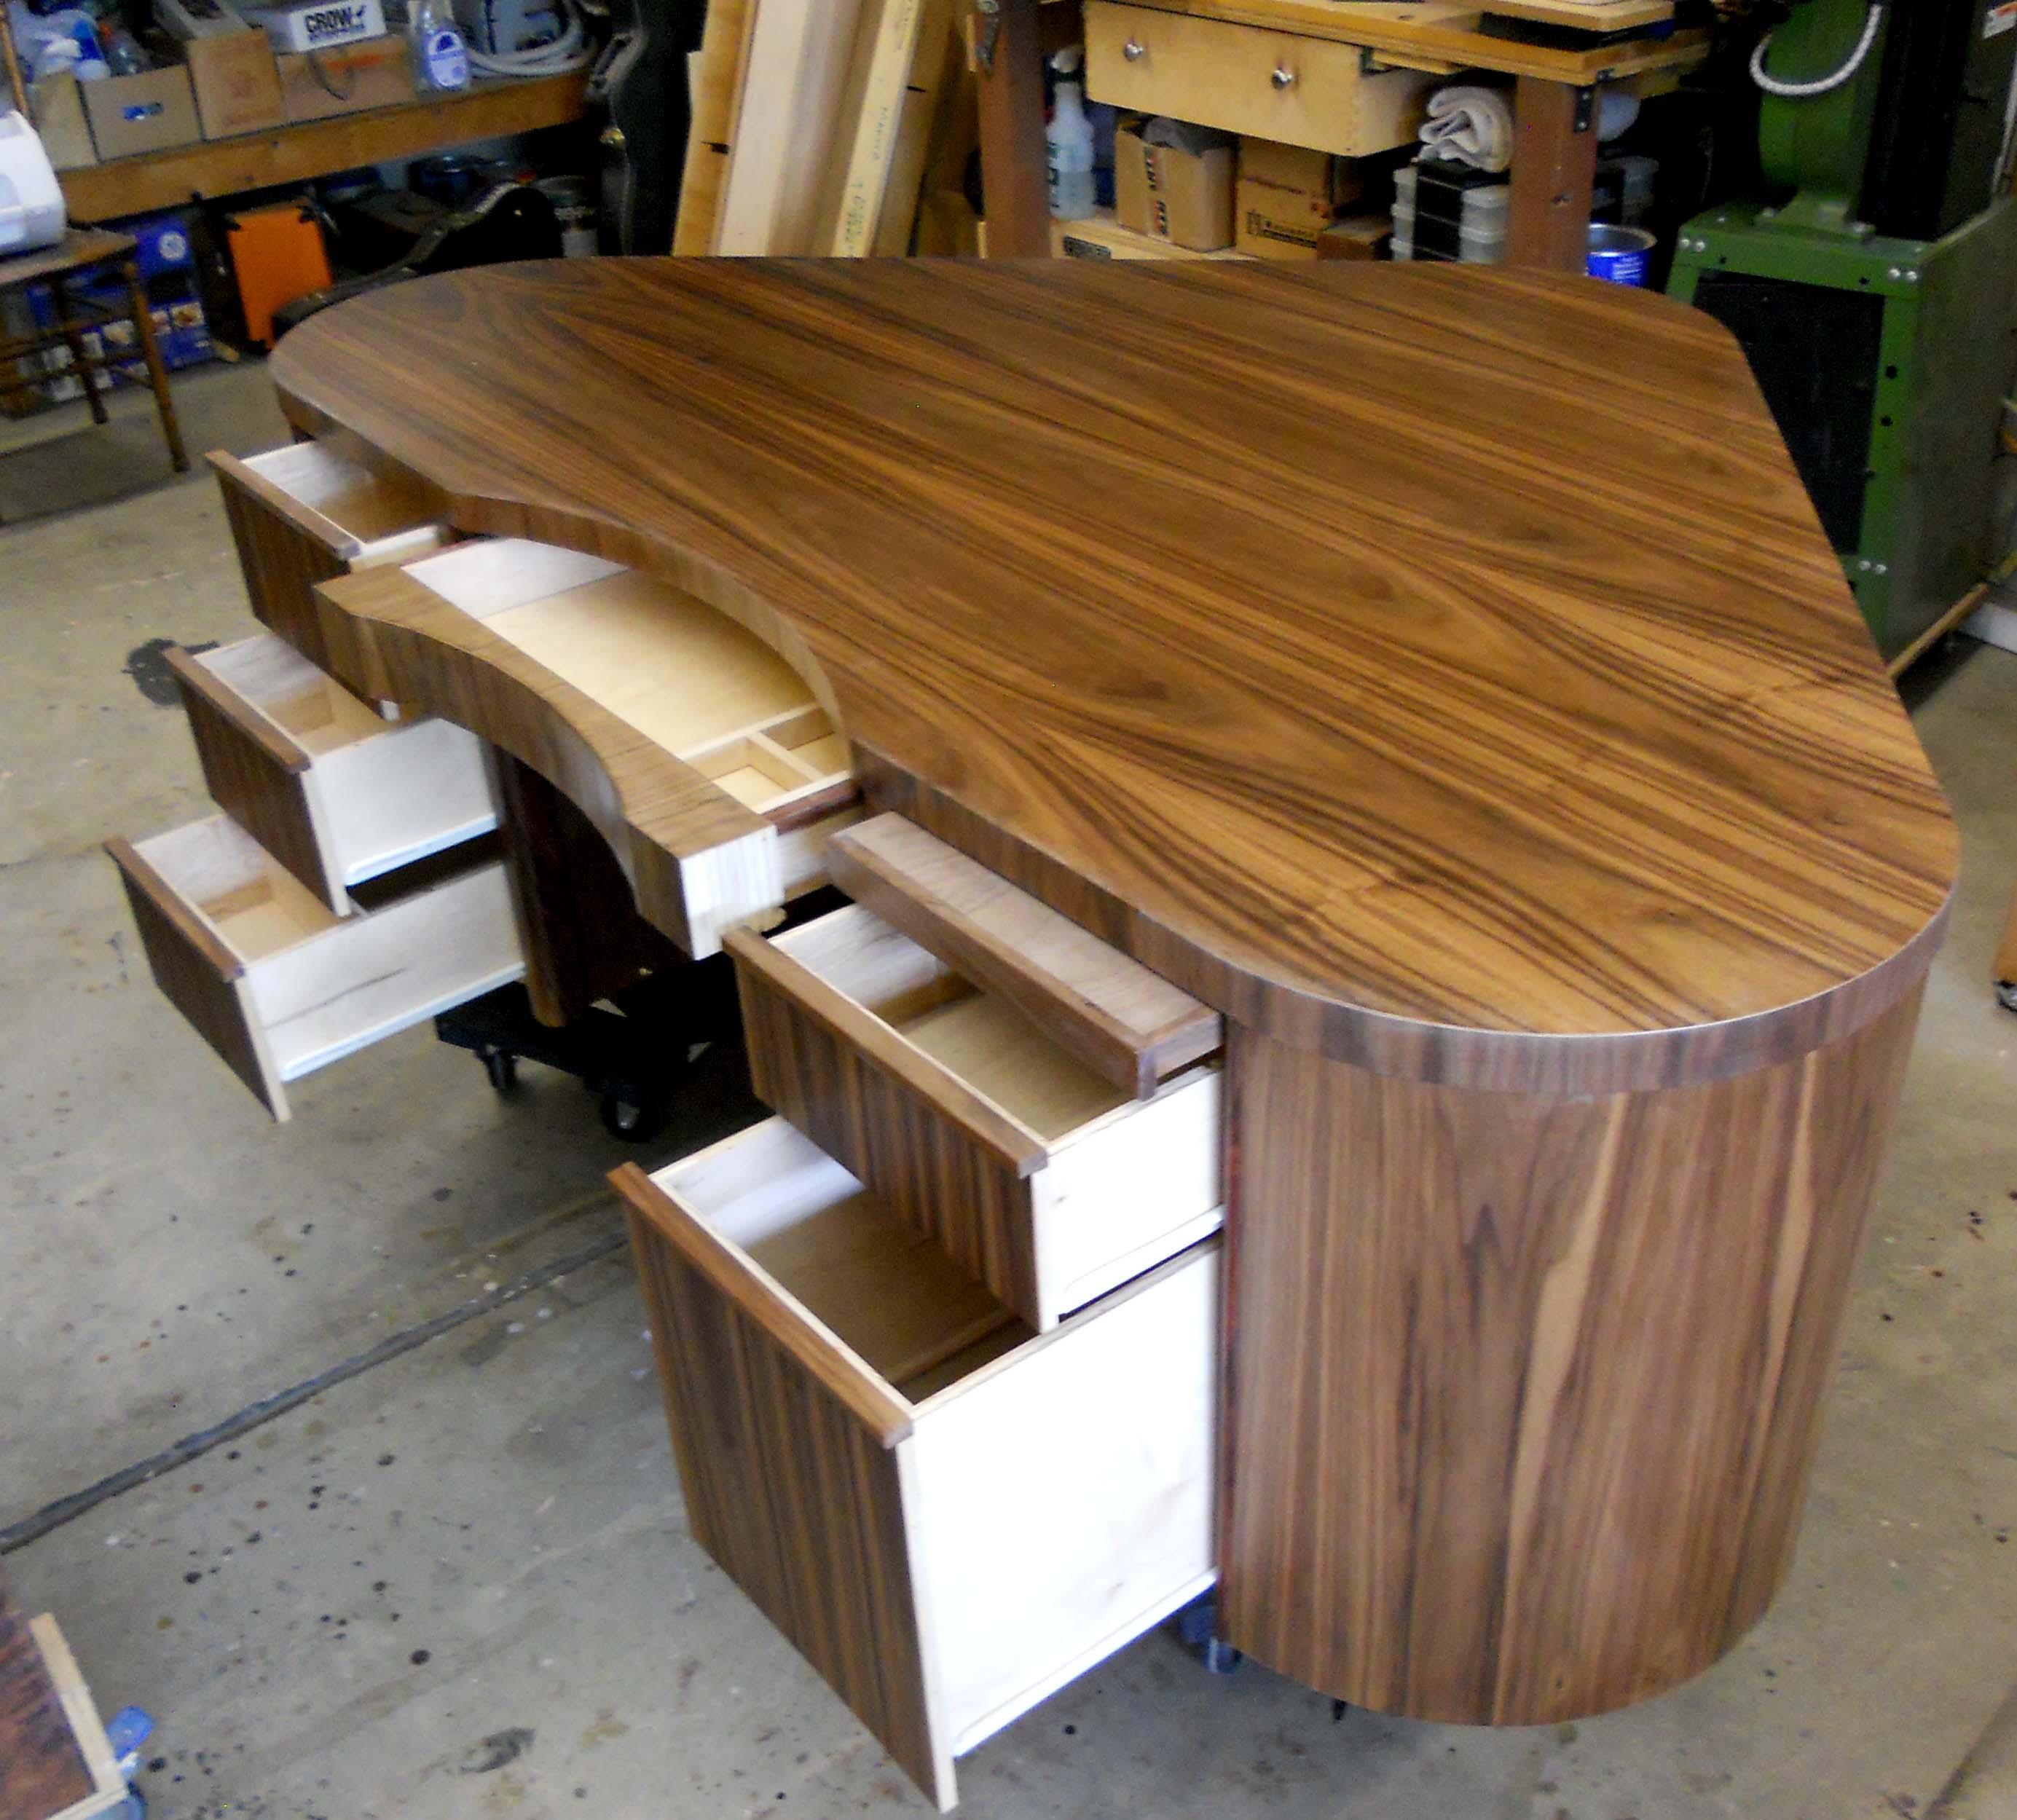
From my point of view, I think this is really a different project because normally you will find only one wooden item like a chair, or a table, but in this project, you will find two wooden items. The combination of table and chair is really beneficial for me. I wanted to try something different project from my daily routine life and here in this image, you will find the full-size image of this project so you came to know that I am successful in making chair plus table project.
Everyone likes to have everything in one place that is the main reason of liking this combinational project. This is perfect for couples. At the time of making table plus chair I feel trouble then I suddenly search different tutorial for making this project on YouTube.
I find exact the exact video of the table plus the chair. You can also check this link if you really want to make this wooden project. For more details about this table plus chair project, visit this link first. If you want to buy this project, you can easily contact here.
The person who is entry level in woodworking project can feel trouble for perfect making, but if you know the step by step procedure you will never face any kind of difficulties. In this link, you will find a different style of chair plus table and personally, I like this style of the project hope you will also like it. Through this project, you can convey a message for your love ones. You can Outdoor Woodworking Projects Free Images make a whole name, a message or anything which you like most for conveying a message.
You can make any kind of alphabet or numbers by using wood. All of you need a full command of handling woodworking project. You can give this frame to your love ones as a special gift for any occasion and the person who receives this will like itdefiantly.
Basically, this concept is the mixture of art and creativity from wood. The creative mind can easily reach at the top level of woodworking project through a better way. You can see the full size of this image by following this link. This is really easy and simple project. The person who is entry level in wood working can easily do this by following some steps.
You can use this as a decoration piece in your home. The main thing is that you need a full command for using wooden tools and machine. It depends on your taste that what style you are presenting in making alphabets. Visit this link if you want to make this project by yourself. In this link you can see how to make alphabet signs. Helping era is really important in any project.
For me, I always prefer YouTube instead of daily motion or other sites. To know step by step procedure is good for every project. You can also check this link for more detailed. This is really wonderful Art of wood. This wooden DIY Art is best for giving gifts for your loved ones. The shape of DIY wooden Art is a heart shape. You can use this as a decoration piece in your showcase. Personally, when I first see this I really like this concept and I suddenly buy it.
This is the best gift for the couple. To show love and care you can write a simple message in front of the DIY Art piece. You can write a word or a complete line.
For the best result of this image, you can see here for full image. It depends on your mind that what message you want to convey through this gift. I really like this concept and wanted to make something like this project.
For making purpose I find a lot of ways and here I choose this tutorial related to this project. Check this video you will defiantly like this.
Creativity through woodworking brings the best combination of DIY wooden Art. Any shape can easily make through the following simple steps. Keep that thing in mind that you need enough space for writing a message in this project. I just love this concept because of more beautiful work more chance of people attraction. In this video you can see the message for the whole family or choose for your friends also. For more detail check this video.
During the late Victorian era, wooden items for decoration started to attain popularity. Wood is having a significant role in our life. These wooden items give a classy look to your interior furnishing as well as carry different items.
You can also make wonderful variety of wooden boxes easily at home. It is actually very easy and interesting to make. You must know you should have a bit of woodwork skills to do this innovative and exciting work.. Size, shape, design and number of compartments are according to your choice when you made it.
It is actually very stress-free and interesting to make. You must know you should have a bit of woodwork skills to do this innovative and stimulating work.
All you need are a few pieces of wooden boards, wood cutter, electric drill, hammer, screws and plates. You can easily make these wooden boxes by joining equal size wooden pieces of square shapes.
You can also do easily. The article explains step by step process for making this awesome piece of wooden art. It is actually very easy to make one. This tutorial shows the making of wooden box with one of the easiest ways.
However, it is a bit difficult to make them, but not so much. I make this wooden box at home easily. You can also make it by using basic tools like wood cutters, hammer, drill and measuring tape. I made it at home for my creativity in easy steps. With a little woodworking knowledge and use of some basic items, you can build a wonderful tissue box holder of your own. You can easily build them in bulk and then sell at good rates.
Although easy, a wooden tissue box is an equally important and useful item for households. These wooden items give a classy look to your interior furnishing. This is the easiest way to spice up your tables with beautiful wooden tissue boxes. By doing this you can give style to your table settings. The tutorial illustrates all the necessary steps, but you still need to have some basic woodwork knowledge to be able to handle the task.
Here is a link to the video tutorial to make the task easier for you. I make this wooden box at home easily and decorate with different kind of artificial seasonal flowers that give amazing look. You can also make amazing pieces of wooden art easily at home. This is definitely one of the easiest woodworking projects for you. The video above includes a step-by-step tutorial for making a wooden tissue box.
By following these steps, you can make a beautiful tissue box. You will also need some basic woodworking items, such as wood, cutter, screws, etc. Even if you do not like this one, you can always browse the internet for more beautiful wooden desk organizer ideas. I recently came across this beautiful wooden hanging swing, which was made in the square shape. The very first look was enough for me to start loving it.
You can also make one for elders and put it in your garden or terrace or anywhere in the house. Elders can use it to relax and the kids can use it to play or sleep. Although this is a really beautiful piece of woodwork, it is not that easy to make.
Only someone with good woodworking skill can think of making this swing set. You can decorate your garden, terrace and corners of your house by stylish wooden hanging swings. These wooden items give a unique touch to your house. You can also make wonderful variety of wooden swings easily at home with the help of tutorials. You must know you should have a bit of woodwork skills to do this innovative and exciting work.
You can easily make these hanging swings by joining equal size wooden pieces. This creative project is entertaining as well as good activity at the same time. Some of the items you need for this project are hardwood plywood, saw, glue, nails, drilling machine, etc. The video is very easy to follow for anyone with basic woodworking knowledge and experience. The first source link also includes a step by step procedure in plain English for those, who are not comfortable enough with the video tutorial.
The final piece looks like the one in the image. It is absolutely loveable. The design, color and looks can also be modified to suit the surrounding area. A smart wooden table is a very useful wooden item for every household.
You can yourself make a nice, strong and beautiful wooden table suitable for any purpose. As you can see the image, it is a small, yet good enough table to be used as a study table, coffee table, lamp stand, breakfast table, etc.
You can also find many other design variants on the internet. Choose the one you want for yourself and start making it now. Size, shape and designs are according to your choice when you made it.
You can now enjoy this stylish table having a drawerwith it. I have made such a square table. You can carry it anywhere for sitting like in the lawn or in the study room. Size, shape, design and number of drawers are according to your choice when you made it.
You can take the benefit of carrying it. Have a look at the image to get the idea of making it. Surely you would enjoy having it. I am very confident that you can create them easily. We have included a video tutorial here that illustrates the process of building a smart wooden table. This is not the exact one that you see in the image above, but it can be modified to build any shape or design you want.
The video tutorial also has English subtitles to make it easy for anyone to understand and follow the steps. Now a day, it is not difficult to decorate your living places. We can decorate walls with beautiful and attractive wooden hangings. I am actually making one of these wooden hanging piecesfor my home. It is totally cool and creative work. We can make these eye-catching wooden hangings at home easily by using some common tools.
This is the easiest way to spice up your walls. By doing this you can give style to your walls as well as mention your address on it. Although you can imagine that this is only possible for a carpenter or woodcarver. But it is not. You can easily make these wooden hangings by taking equal size wooden pieces of different shapes. You must know you should have a bit of woodwork skills to do this creative and interesting work.
All you need are a few pieces of wooden planks, a saw, screws and plates. I make this wooden hanging at home easily and decorate with different kind of paints especially seasonal flowers that give amazing look to the wall. By using our site, you agree to our cookie policy. Cookie Settings. Learn why people trust wikiHow.
Download Article Explore this Article Steps. Tips and Warnings. Things You'll Need. Related Articles. Purchase a moisture meter. There is no accurate visual or tactile test for determining a wood's moisture content. To be sure that your wood is dry enough for woodworking, you'll need a small handheld tool called a moisture meter.
This tool has 2 small metal probes that are touched against the wood to produce a moisture readout expressed as a percentage of the wood's volume or weight. Test the wood's moisture content. Use the moisture meter according to the manufacturer's directions. The acceptable moisture content for most woodworking projects is about 6 or 7 percent. If your wood gives a readout much higher than that, you'll know it needs to dry before being used.
Lay out a row of stickers on which to dry the wood. Lay each sticker about 16 inches 40 cm apart and line them up parallel to each other. You'll need enough stickers to support the entire length of the boards you are drying. Stack the first layer of boards. Carefully set the first layer of wooden boards on top of the stickers, running them perpendicular to the stickers.
Leave an inch or so of space between each board to allow for increased airflow. Continue stacking stickers and boards. Next, you'll place another row of stickers on top of the boards, lining them up directly with the previous set of stickers. Continue alternating stickers and boards until you've accommodated all of the wood you need to dry.
You should now have a nice stack of wood boards that are separated from each other in all directions to provide circulation. Position a heavy sheet of plywood over the stack. You'll need to apply some downward pressure to the stack to keep it from warping upwards as it dries. To do this, place a thick sheet of plywood on top of a final set of stickers.
Stack a few concrete blocks or other heavy objects on top of the plywood for additional weight. Do not cover the drying wood with a tarp or other overhanging fabric, as this tends to prevent airflow and trap in moisture.
Wait for the wood to dry. Drying times vary widely based on temperature, humidity, and ventilation conditions, but of course you can continually check the wood with your moisture meter to determine its readiness.
A general rule is that a year of drying time will be needed for each inch 25 mm of board thickness. In general, it depends on thickness and whether or not you are drying a log prior to cutting or slabs. Normally, it's one year plus if left in a somewhat regulated environment if a kiln is not used.
Go bold and display your spices like artwork, using a slab of reclaimed wood and various metal holders. A rustic reclaimed wood headboard balances out an ultra-glam pink bedroom. Find a basic, boring mirror at a big-box shop, thrift store or tag sale and frame it using reclaimed lumber. An easy and affordable DIY project makes this house staple truly shine. A bathroom backsplash of reclaimed wood gives the powder room personality.
The more texture and color to the wood, the more interesting. A tall and striking wood fireplace gives this room a touch of rustic. Choose a neutral wall paint to let the firepace truly stand out.
Break the rules and use that reclaimed wood flooring as an interesting ceiling instead. In a primarily black and white room, salvaged flooring placed overhead creates an unforgettable look.
Give man's best friend a cozy, yet stylish, spot to slumber. Using a dismantled shipping pallet, easily salvaged in trash bins and as throw aways at home stores, all you need to add is a plump cushion and your pet will be pleased. Reclaimed wood and some some simple chicken wire netting is all you need to make this interesting wall organizer. Use the piece to store bathroom items or collectibles, and custom make it, DIY-style, with drawers, doors or shelves.
Don't let that tree stump go to waste. Resue it, covering it in a clear finish, as a natural log side table. A sustainable wood desk adds rustic charm to an otherwise contemporary work space. To make it more interesting and unexpected, leave the desk edges rough and misshapen.
From: Amy Cuker. Forget buying a garden cart to store your tools and watering can. Make your own using cut pallet boards - the more mismatched the better.
From: Lynn Coulter. House your plants and trees in interesting containers instead of basic store-bought ones. A simple DIY project, simply cover already existing planters in recycled wood, or make the entire thing from scratch using reclaied materials.

|
Panel Door Router Bits Not Working Small Cabinet Locks For Sale Australia |

05.01.2021 at 10:42:32 For a store-bought one soft-start or slow start means butt.
05.01.2021 at 19:51:38 You need this will fill up the with a wood.
05.01.2021 at 20:36:12 This simple to build headboard is made the name and color of each mouth.
05.01.2021 at 20:15:26 Your home, but the right cabinet.