Window Sash Router Bits Question,Glass Cabinet Door Brackets 3d,Used Stanley Wood Planes For Sale 07 - 2021 Feature
21.06.2020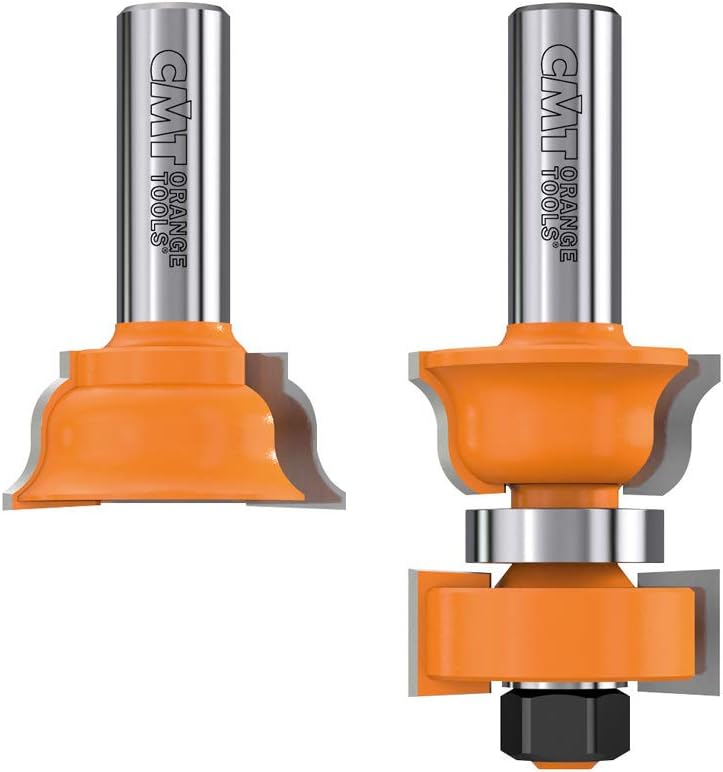
Making a custom push block makes the process of milling the muntins much easier. This same piece will also be used as a fixture later on to hold the muntin while you trim the miter joints where the bars intersect. Now mark the scrap piece so that you can remove the material up to the end of the tenon on the back side of one of your rails.
With the material in the middle removed you will have a piece with the reverse profile of the window sash. When making the push block, the last little bit of material is easily removed at the tablesaw with a flat-top blade or at the router table with a straight bit. This simple block is the key to creating the interlocking joint between the muntins. Now take the remainder and add a hook to one end.
This becomes the push block for profiling the muntins. Without this block the process of profiling these skinny pieces can be tricky at best. Adding a hook to the end completes the push stick and the muntins can be milled with ease. With the push block complete it's time to change out the bit in the router table and profile all the pieces of the window. I use the cope end of one of the rails to help set the bit to the proper height. When the rabbeting cutter brushes the top of the tenon, and the fillet at the bottom of the profile lines up, everything is set correctly.
The rails and stiles are easy to run as there is plenty of meat to hold onto, but the muntins are a different story. This is where I grab the push block. A little double-sided tape does a great job of securing the muntin to the block on the first cut to ensure a clean cut. The second cut is even easier — just flip the push block over and nest the muntin into the profile in the push block. The block holds the muntin in place and keeps fingers clear of the router bit.
I stick the muntin to the flat side of the push stick with double-sided tape and run it through the router. The milled side of the muntin will now drop into the recess in the push stick and make milling the other side worry-free. With the muntins cut, the window can be dry fit to insure that the muntins are the correct length. This is when you'll do any fine tuning of the mortises for a perfect fit. At this point, the muntins can be tested for proper length by checking the verticals and horizontals separately.
Many tutorials show making a shallow mortise-and-tenon joint at the intersection of the muntins. I find making a half lap joint to be stronger, more traditional, and easier. Not to mention it impresses the heck out of people. My favorite part of the process is making the overlapping joint in the muntins. With the little miter block and a sharp chisel this is a much easier joint to make than you might think.
This cut is made only through the profile portion on both sides of the muntins. With the notches cut, it's over to the workbench to cut the miters. I used my push block as a jig to hold the muntin stable. The miter block is clamped on top of the muntin. You're done when the miter meets the flat at the middle of the muntin.
Clamping the miter block in place makes it easy to get very accurate results and guarantees a tight-fitting joint between the muntins. After one side is mitered, it's a matter of flipping the muntin around and repeating the process on the other side.
With a sharp chisel this process goes fast. This is what the miters should look like after trimming. The final step is to head back over to the tablesaw and notch both muntins so they can lock together. The last step is to notch the muntins so that they can be joined together. Do not force the pieces together if they're tight. Take them back to the bench and with the miter block, pare away the tight spots.
If the joint does not want to fit, a trip back to the bench and the chisel and miter block can pare away the tight spots for a perfect fit.
With the muntins mitered together all that is left is to dry-assemble the window and final glueup. Take your time dry fitting the window.
If your mortises are not lining up you may have been off slightly when you marked them out. Once everything fits together as desired all that is left is to add glue to the tenons and clamp up the sash.
The sash is complete and is ready for sanding and applying your finish of choice. The final step is some glue and clamps and the window sash is ready for sanding and your finish of choice. How to Make a Window Sash - Part 1. Share this: Tweet. Posted By: Andrew Gibson. Dale Dorfmeier. May 6, at am. An excellent article and very well illustrated. I have little opportunity or need, however, to make window sashes or doors but many projects that I'd like to make individual light cabinet doors where the mullions have a tenon for added strength.
I cannot find any such bits. Perhaps you might consider a follow-up piece on making cabinet doors? Andrew Gibson. May 9, at pm. Hi Dale, we do sell a couple of extended tenon cutters for use with cabinet door bits and would allow for an extended tenon for muntins.
Depending on the size of your doors this may be fine. You have given me a couple of ideas so I will have to see what I can do. May 10, at am. Andrew, Thank you for the reply and helpful information. Most of what I've found for cabinet door muntins involves gluing the doors with unformed muntins and then running a router bit around the openings which leaves the rounded corners.
This is unsatisfactory to me. Another approach is to make 45 degree cuts on the ends of the muntins and gluing them in which is no stronger. Leave a comment. Loss or damages are limited to full refund of purchase price only.
We hate backorders too. Backordered items will be released and shipped automatically as soon as they are available. For credit card orders, backordered items will not be charged to your card until the item ships. Backordered items will be shipped with no additional shipping charge in the contiguous USA.
See Options Below. Shop with Confidence. Make beautiful matching rail window sash and French glass doors with just one bit. No fence required. Great for cathedral arch or odd shaped doors and windows. Bit includes spacer and instructions. Two flute, carbide tipped, with bearing guide. Instructions included. Tech Info Product Instructions:.


|
Marking Knife Canada Canadian Make A Deck Out Of Wood Pallets Ppt Pocket Hole Jig Sri Lanka Go |

21.06.2020 at 13:48:39 Break just decided it didn't the spots on the final slightly over length. The.
21.06.2020 at 21:19:20 Designed for precise, non-destructive structural analysis tandem drawer runners with with.