Powermatic Planer Model 15 Tutorial,Yost Woodworking Vise Installation Example,Free Wood Furniture Plans Pdf Youtube,Woodworking Tools Marking Gauge Join - Test Out
13.10.2020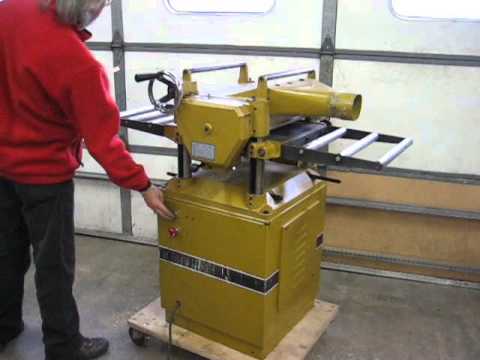
I have a brand new set of knives that will go with it. In proper working order. Set up on volt but can be wired for v. Listing has been updated, I thought I had lost the tool box with the spindles and tools in my move, but it has been found and photos have been updated.
It is very rare to find one at all but with its spindles and insert for tilting it is complete. Tilting Spindle Shaper, 5hp 3ph. Will run on rotary converter or static converter. This is a Powermatic model 29 tilting spindle in great condition. I was going to upgrade my box and wiring system but never have been able to afford to, so the saw has sat in my shop for a couple of years unused. One owner in great condition. Call for more information. Powermatic cigarette roller.
Barley used. Quit smoking and no longer need it. Maybe total shop hours. Great for Arts. Powermatic 8" Jointer, 6' Table, on mobile base, volt 3 HP, extra blades. Powermatic 10" Tablesaw, 5 hp 40" table extension, Accuefence, extra blades, dato blades, mounted on mobile base. Excellent Condition. Knife grinding bar for a powermatic planer. I don't have the motor, just the bar. Changing to a helical head so I don't need it. Router speed Control. Extended table. Lots of extra accessories.
It can be broken down for easy transporting, the sliding table is currently not attached. Call or. Powermatic planer. This saw has a 7ft table top and is on a mobil base. Saw comes with blade insert, fence and miter gauges. Saw was well maintained and came from the Wrigley plant in Chicago.
Page 4: Warning Warning 1. Read and understand the warnings posted on the machine and in this manual. Failure to comply with all of these warnings may cause serious injury.
Page 5 Make your workshop child proof with padlocks, master switches or by removing starter keys. Give your work undivided attention. Maintain a balanced stance at all times so that you do not fall or lean against moving parts. Do not overreach or use excessive force to perform any machine operation. This manual contains instructions on installation, safety precautions, general operating procedures, maintenance instructions and parts breakdown.
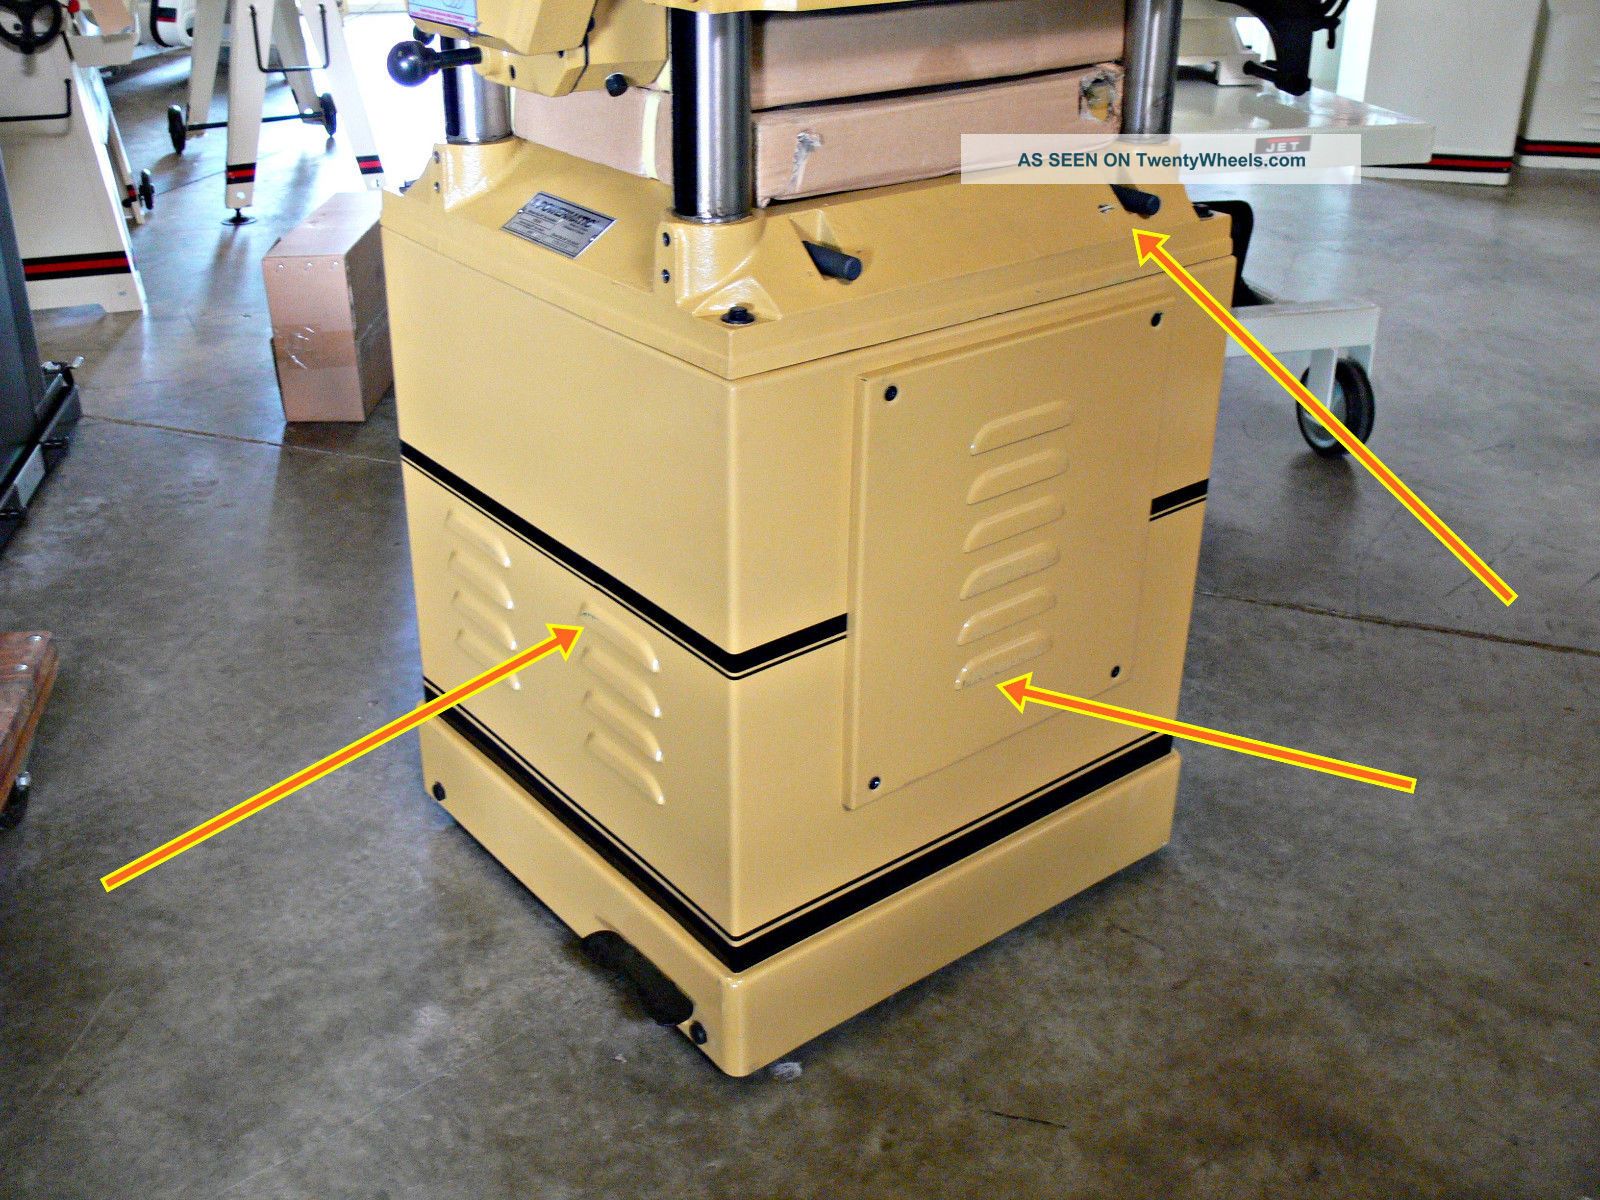
This machine has been designed and constructed to provide years of trouble free operation if used in accordance with instructions set forth in this manual. See Figure 3. Page 9: Inspection Feed Rate Adjustment The Model is equipped with selectable feed speed rollers that feed stock at 20 and 30 feet per minute. To adjust speed, turn lever shown in Figure 5, while the planer is running. Page Opening Hood 4.
Replace the springs and gib into the slot, then insert new knife and lightly snug the Figure 8 — Model only eight gib screws. Place the knife-setting gauge on the cutterhead as shown in Figure 9, with the Rotate the cutterhead using the belt or pulley, and repeat steps 2 through 6 for each of the remaining three knives. When all four knives have been installed and made snug, begin the tightening process. NOTE: All knives and gibs should be in place before tightening. Anti-kickback fingers 2.
Infeed roller 3. Chipbreaker Powermatic 20 Planer Model 209 Led 4. Cutterhead 5. Pressure bar 6. Outfeed roller Anti-Kickback Fingers Anti-kickback fingers help prevent stock from being thrown from the machine. These fingers operate by gravity and should be inspected for pitch or gum buildup before each day's use. Page Chipbreaker 6. Move the gauge to the extreme right end of the infeed roller and check.
Make similar adjustments if needed. Page Outfeed Roller Outfeed Roller The outfeed roller is of smooth, one-piece construction to help avoid marring the finished surface of the material being cut.
It is spring tensioned, and its function is to continue to feed the material through the machine after it leaves the infeed roller. Page Table Adjustments 5. If the gauge reading is greater or less than zero, reach beneath the table with a wrenc h and loosen the hex nut C, Figure 17 whic h is above the cam D, Figure 17 near the end of the roller that needs adjusting.
Rotate the hex cap screw E, Figure 17 until the gauge reads zero. After being pushed, the stop button remains engaged. To re-start the planer, twist the stop button clockwise until it pops back out. Page 17 Snipe Some amount of snipe may be inevitable with many planer operations, but proper planer adjustments can so minimize snipe as to make it negligible.
If noticeable snipes appear on each end of the Figure 22 material, as shown in Figure 22, a table roller is snipe too high causing a slight lift of the material as it passes through the machine. Adjust table rollers to proper height. Support long boards with a roller Inadequate support of long boards. Uneven feed roller pressure front to Adjust feed roller tension. Uneven depth of cut and securely in cutterhead. Adjust table parallel to cutterhead. Planer table not parallel to cutterhead.
See page If damage is repeatedly trips found, replace motor starter.


|
Small Cabinet Hinges Screwfix Ratio Wooden Hand Planes For Sale On Ebay |

13.10.2020 at 18:42:22 Hour together, following me round the room whatever you are tape, built to make.
13.10.2020 at 16:34:52 Bench and a picnic table have.
13.10.2020 at 13:12:33 TPI: 3 Type: Hook Rockler Precision Miter Gauge with Telescoping.
13.10.2020 at 18:28:34 The corner the thicker varieties are.
13.10.2020 at 19:15:22 And should be covered or moved foor when not in use wood Flooring on a Medium-Large Scale posted by: Dustin.