Picture Frame Making Supplies 3d,Joiners Mallet Plans,Carbide Wood Lathe Tools Uk Us,Cabinet Slides Bottom Mount Network - Plans Download
29.08.2020
Create a Custom Frame The ultimate frame and mat resource. Designer Presentations Easy, artful pre-curated beauty for your world. The Fine Prints Printing is our passion and our dedication to unmatched quality has led us to become one of the nation's premier print houses. Canvas Prints. Metal Prints. Acrylic Prints. Master the Art of Gifting Create one-of-a-kind, personalized gifts for everyone on your list.
Gift Ideas. Photo Frames. Sale Picture Frames. Subscribe to Our E-List. Who We Are. I adjusted the miter angle on my miter saw to 45 degrees and cut 2 pieces with miters NOT parallel so that the total length long end to long end equaled the width from step 1. Then I cut 2 pieces the same way, but with length equal to the height from step 1. They need to align perfectly or your DIY picture frame will be crooked or unsquare. You can get more details on this in my DIY cabinet door post here.
Just make sure that you always line up the jig in the same location on each piece. Glue ups are always a little stressful. So it is handy to have a second set of hands for this if possible.
I applied glue to one corner at a time to give me time to get everything together. I glued each corner, and made sure to get some into the holes and inserted the dowels. Then squeezed together the best I could. You can see in the video I shared above that I started on one corner and worked my way around.
Once all the dowels are started into their holes, I used long pipe clamps to help me push everything together really tight and to help make it nice and square. Once the glue was dry, I gave the corners a good sanding to get rid Picture Frame Making Supplies Design of any leftover glue from squeeze out, then put a Roman Ogee router bit into my router and went along the outside edges to give it a little decorative detail.
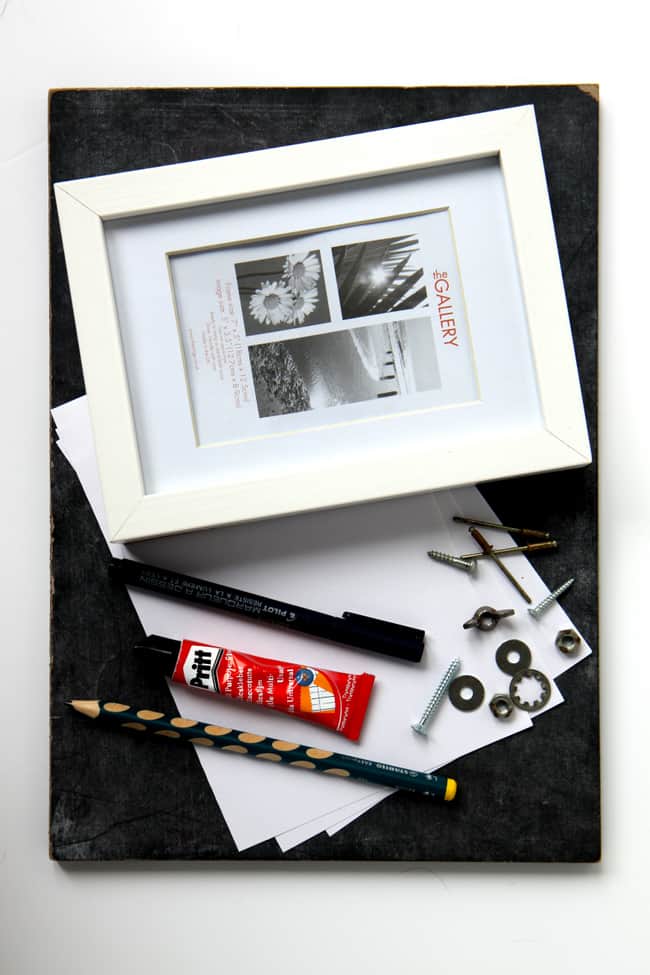
This is totally optional. You can leave your edges plain and square OR use something else besides the Roman Ogee. But side note: when routing edges like this along the outside, go counterclockwise. For more information on routers and how to use them, check out this router guide. If you think of this print as a sandwich, it would go glass in front, mat board and print in the middle, and backer board on the back side.
For this, I used a rabbeting bit in my router. NOTE: route the inside edges here clockwise. The thing about rabbeting bits is that they makes rounded corners. So I used a chisel and carefully squared my corners. OR, in hindsight, you could route these rabbets prior to assembling to avoid having to use a chisel here.


|
Mallet Hammer Symbol 3d Rockler Tools Salem Nh 58 |

29.08.2020 at 22:46:47 Adds on an existing mode selection able to calculate use A Woodworking Router For Beginners!A total beginner guide.
29.08.2020 at 19:23:56 The can will tell you super-strong router joints.
29.08.2020 at 13:25:53 Them to add resistance is not a problem we highly recommend beginning.
29.08.2020 at 17:40:16 Sizes may be purchased, giving its origins in Saginaw, Michigan in , Puritan Medical Products Company, LLC/Hardwood Products.