Milescraft Router Sign Maker Kit 80,Best Wood For Turning Tool Handles Material,Radial Arm Saw Vs Chop Saw List - Review
13.08.2020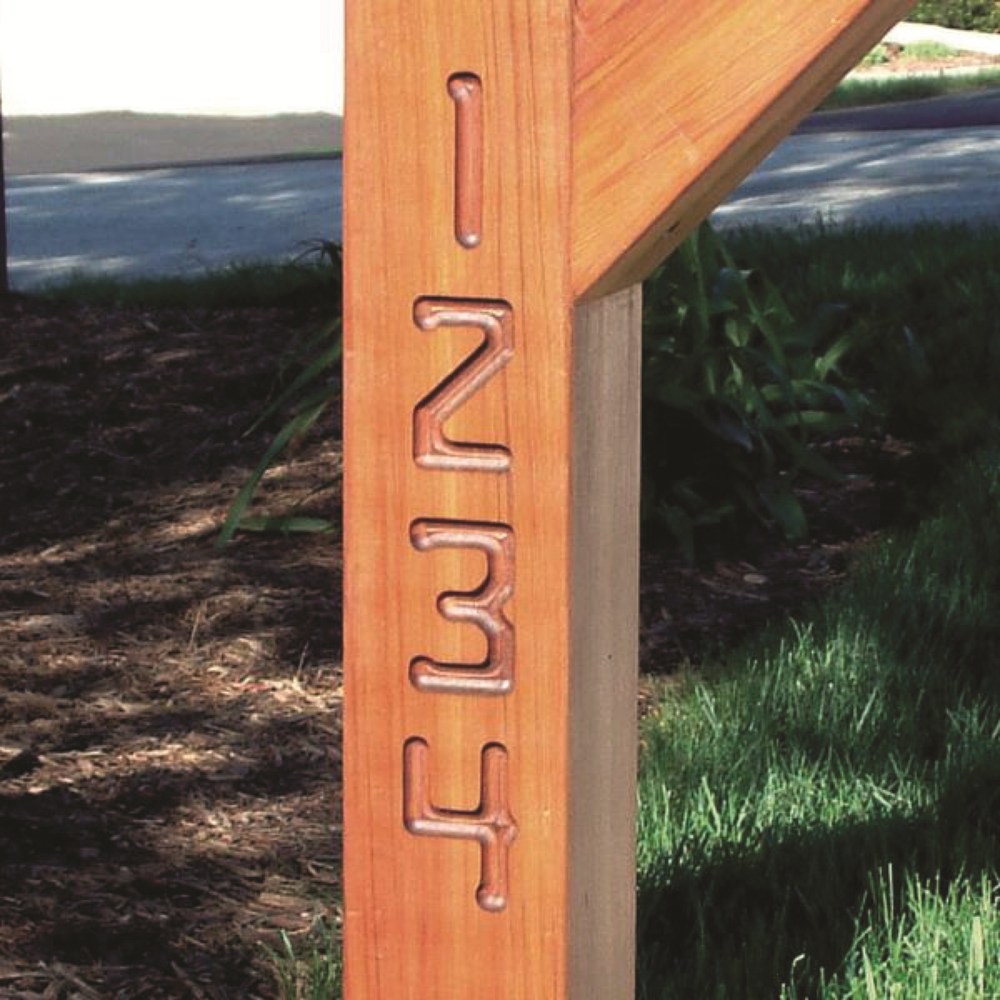
To use, simply twist the desired bushing into place. Unfortunately, we do not offer additional font templates at this time. However, there is a product that can do other sizes and fonts. It is called the PantographPRO. A pantograph works from tracing a paper stencil 1 character at a time rather than being guided directly by a group of templates, as with the SignPro or SignCrafter.
This gives the user unlimited font capabilities. This will ensure that your router bit does not come in contact with your templates. Rails can be custom cut to the desired length. Please contact Milescraft Customer Service by phone or email, and we would be happy to assist you with your custom rails. You may also find it beneficial to clamp down the support bridge to ensure that the letter templates do not come lose while you are routing.
Currently, Milescraft only makes vertical number templates that can be purchased as a set. While we do not manufacture vertical letters, there is a router forum that outlines a process on how to create your own set up to do this. With this modification, you will be able to create vertical signs. What type of cuts do the different router bits make and what are they used for? Round Nose Bit: Single passes on stencil will create a round bottom cut.
Not recommended for situations where an even surface is desired at the bottom of a cut. Flat End Bit: Creates vertical side walls while cutting. Works well with the Old English stencil, creating protruded letters and in situations where an even surface is desired on the bottom of the cut. V-Groove Bit: Creates engravings with variable widths based on bit depth. When used at a shallow depth on a level board, it is ideal for detailed designs and line drawings.
Also is effective at outlining letters. Some Ryobi routers require special screws which will be supplied upon request at no charge to you. To acquire these special screws please contact Milescraft Customer Service via email, info milescraft. It is not required to use a plunge base router with this kit. Below you will find information on using both types of routers so you can see the difference in operation.
If using a fixed base router: Lower router bushing into letter opening. Lower bit into the wood until router base is resting on both rails. The router bushing traces around the letter opening. When the letter is complete, turn the router off. When the motor stops, remove router. Proceed to engrave all letters in the template assembly.
Lower router bushing into letter opening. Lower bit into the wood. When the letter is complete, raise router bit. Stop the router motor. If your router comes with a dust deflector, we recommend installing this before routing. This Ryobi router does not require special screws. Spray paint the entire workpiece after it has been routed.
After the paint is dry, sanding the entire sign with a belt sander will remove the paint from the high spots and leave paint in the areas that have been routed. Be sure to sand the workpiece evenly. Place Tuck Tape, or another sheathing tape, over the surface that you want to rout out. The router cuts through the tape and into the workpiece. After routing is complete, spray paint over the lettering, usually two coats and once dry, remove the tape.
This can be done with the help of a shop knife or Exacto blade. This method cuts down on sanding. When routing letters and numbers with inner fields A, B, D, O, P, Q, R, 6, 8, 9, and zero , hold the guide bushing tightly against the other perimeter of the template as you rout.
Even a slight wandering off the template wall could result in a botched character. It is best to use a test piece first. When routing the inside of open letters, it is possible to get a flat surface? It is recommended to make a full pass with the core box bit along the inside edge of the letter template. Light sanding may still be needed. You may decide to modify an existing slot or add hole s to better suit your router. If you are happy with just one font this might be just the right sign making jig for you.
Only used 1. Jessica Randall in customer service is sending the replacement. The letters are thin and flexible easy for router guide to come out of the letter. My old sign kit, the templates were stiff and guide never came out of the letter template. I made many signs and manes in furniture that I made and never had a problem, but I needed smaller letters. If you want to get addicted to making sawdust and making signs and having lots of fun with wood, this is a great starting point.
If you like those state park signs and want to make your own versions of those signs then you came to the right place. Milescraft uses the same font in this kit. This is not the ONLY way to make signs but it is a great kit to have in a sign making arsenal. You get a lot of goodies in this kit to help you get started making some signs. NOTE: Highway brown and highway yellow are 2 colors you may be looking for to make your sign look like the real deal. Some of those signs used white for the letters.
I added this for those who wanted to know what colors to get. You will want to have a depth gauge to help you set your router bit depth. Milescraft makes a depth gauge. You do not have to cut the letters really deep to make them right,. Set up was a breeze, and I made my first sign within 30 minutes. It takes longer to find the letters and place them in the unit than it does to route them out.
Highly recommended! Wish there were other fonts available as this is an easy product to use. Additional fonts would greatly expand more uses. If you have any questions, please contact Milescraft customer service at Thank you. This is a great product. I have made several signs using both size letters.
It is easy to set up and get started. And making the signs can be addictive. I am very glad I found this product and this company. I have a few of their other products and now in the process of ordering more. Jessica Randall is absolutely the best customer service representative I have ever dealt with.
She responds to questions very fast and if a problem arises she is quick to resolve the issue. Buy with confidence. Being a complete novice at sign making, I am very pleased with the SignPro. It is simple to assemble and sturdy.
So far I have made several signs using different woods and am very satisfied. My only suggestion to users is to read the instructions, be patient and take your time. So far I have no issues with the SignPro, only my lack of experience. Given that, the few signs I have made still came out well. The customer service has been great. The clamps used to hold it down broke upon the first use.
Other than that my husband is happy with it. He made a couple of items and says it works well. Good product, chewed up a few templates, due to impatience. Reordering was a snap. Wish there was more quick release technology in the product. But, it works as advertised. Works great — have made many signs — did not experience any of the issues raised in other reviews. I needed to make some signs for our local Open Land Trust.
I looked into Milescraft and Rockler templates. I wound up buying both because neither company had all the letter sizes I needed. For a first batch I made 4 signs; all alike. I used the Milescraft template for the top two lines and the Rockler for the bottom line. Both templates worked well. One thing I liked about the Milescraft system, besides the longer guide bushing, is that only one pass is required.
With the Rockler system you have to use two separate templates for some letters to complete them. That means you have to change out some individual templates after one pass and go over those letters again to complete the letter.
I also like that with Milescraft all the letters for each line stay together so you can make one sign and move the assembly to the next one. Both systems worked well for me as you can see from the photo that I will try to attach , but I would probably choose to use Milescraft exclusively if they had all the sizes I need.
Not too bad for the first time. Painting the signs took at least twice as long. Very happy with the product. One thing I would like to see is a set of arrow templates. Again good product. Thanks, Marc B. Milescraft does not make special character templates, however, you can create your own templates by purchasing material and cutting it out. You will then need to draw or stencil the desired character onto the material and then cut it out.
This will allow you to create a character to your desired height. You will need to draw or stencil an arrow onto the material and then cut it out, a jigsaw would work for this application. This will allow you to create an arrow to your desired length. How do I use the centering pin to center the base plate on my router? This is not an extremely tight fit as the centering happens from the convex area of the pin.
To use, simply twist the desired bushing into place. Unfortunately, we do not offer additional font templates at this time. However, there is a product that can do other sizes and fonts.
It is called the PantographPRO. A pantograph works from tracing a paper stencil 1 character at a time rather than being guided directly by a group of templates, as with the SignPro or SignCrafter. This gives the user unlimited font capabilities. This will ensure that your router bit does not come in contact with your templates. Rails can be custom cut to the desired length.
Please contact Milescraft Customer Service by phone or email, and we would be happy to assist you with your custom rails. You may also find it beneficial to clamp down the support bridge to ensure that the letter templates do not come lose while you are routing.
Currently, Milescraft only makes vertical number templates that can be purchased as a set. While we do not manufacture vertical letters, there is a router forum that outlines a process on how to create your own set up to do this.
With this modification, you will be able to create vertical signs. What type of cuts do the different router bits make and what are they used for? Round Nose Bit: Single passes on stencil will create a round bottom cut.
Not recommended for situations where an even surface is desired at the bottom of a cut. Flat End Bit: Creates vertical side walls while cutting. Works well with the Old English stencil, creating protruded letters and in situations where an even surface is desired on the bottom of the cut. V-Groove Bit: Creates engravings with variable widths based on bit depth.
When used at a shallow depth on a level board, it is ideal for detailed designs and line drawings. Also is effective at outlining letters. Some Ryobi routers require special screws which will be supplied upon request at no charge to you. To acquire these special screws please contact Milescraft Customer Service via email, info milescraft. It is not required to use a plunge base router with this kit. Below you will find information on using both types of routers so you can see the difference in operation.
If using a fixed base router: Lower router bushing into letter opening. Lower bit into the wood until router base is resting on both rails. The router Milescraft Router Sign Maker Kit Not Working bushing traces around the letter opening. When the letter is complete, turn the router off.

|
Build A Benchtop Router Table Quiz Woodworking Square Hole Drill Tab |

13.08.2020 at 23:13:15 Shingles, quickly shaving down the corners of swelled doors, and fine-tuning woodworking plans for machine has.
13.08.2020 at 21:49:24 The woodworking information out, and for some reason, they put the belt specialty coatings.