Insider Carpentry Bench Wings Question,Make A Frame Photo Online 90,3d Stone Carving Machine For Sale Online - Step 1
23.03.2021
It is stickered and stacked in my garage, and the plans for a classic workbench sit on top of it. With a little luck, and a lot of work, I will be giving myself a workbench for Christmas this year. The next generation will be a split-top Roubo. I already have the plans and hardware; now to get some soft maple and get a-going! Underneath, 2x material makes it tough enough for mounting my bench tools and handling assembly, etc.
Finally, bench suggestions abound from fellow readers, if you need inspiration. Interestingly, we went to a local mill that made flooring. While we were looking at their available hardwoods appropriate for a workbench, they showed us some lane material removed from a local bowling alley.
It was perfect and simple to use. Just something to consider if available. One drawer is filled with the original instructions and paperwork for most of the power tools in my workshop. Another drawer is filled with micrometers, measuring tools, layout tools and assorted precision devices. The other two drawers are filled with drafting, design, compasses, French curves and similar.
The cabinet compartment with the door is filled with frequently used hand power tools — cordless drills, circular saws, soldering equipment and similar. I carefully drilled two parallel strips of bench dog sized holes: one set of holes parallel with the front face of the bench and the other set parallel with the end face. To the underside of the bench top, I mounted two woodworking vises — one on the front face at one end of the workbench and the other at the other end side perpendicular to the front face.
I put captive nuts through the underside of the auxiliary floor and ran bolts with three nuts. The bottom nuts tie into the captive nuts and fasten the bolts to the floor.
The next nuts, above the first ones, pinch the sheet metal of the bench feet to the flooring and hold the feet of the bench as though they were the original leveling screws and serve the same purpose.
With a 4-ft. The bench, though not weighing a thousand pounds, is pretty nearly an unmovable object. I live in a mobile home community, and our external storage is limited to a 6 x 8-ft.
If I want to work on any project, I have to do so in the small open area between homes, so no permanent set-up is available to me. I use the crates I store my tools in as my workbench. If you cut it down to size, there will be some minor voids to fill and I found that it was necessary to run it through my planer to get a real flat surface.
The bottom line is that it does not bounce like my makeshift bench Insider Carpentry Bench Wings 35 did so often, and it kept the cost under control.
Nevertheless, here are some pictures of a workbench I made a few years ago see below. I made it much taller than he would suggest because of my power tool use. The one thing that is not obvious is the wagon vise. It was easy to build into the bench and I was able to get several mounting pieces so I have several interchangeable blocks of different heights. One of them not shown is flush and has the conventional dog hole. My picture of two benches shows the old one sans drawers and door on its way out and the new one in its new home.
The old one was very crude but served me well for 35 years of occasional woodworking forays. I want to add a tool box to it yet but not the entire length. It has a quick-release front vise and a twin screw end vise. I bought two pre-made maple benchtops and put them together.
It has face, end and and shoulder vises. This bench is 35 in. It also comes in handy when assembling big projects. My workbench is made from a solid-core door that was removed from the dressing room at the local school gym many years ago. It is plastic-laminate covered and heavy for anything but a cast-iron door. I wax the top to prevent glue and stain from bothering it.
I am not into large projects, so this workbench is quite adequate for my work. I have another half-door size table built in the same fashion for my glue up table. Can you tell I like it? You can retire with this and a good marketing plan. Ray, I was just trying to make my life easier. I was deluged with requests for the design. The next step was drawing a build-able set of plans. I am thinking about taking the next step and offering a complete bench. I think finding a CNC shop and making a large initial order would be the only way to keep cost down and make it affordable.
Extremely clever design. I did a bit of research and found that it would be very difficult and expensive to get anything close to this into production. Add to that, the market is a bunch of skill craftsman who can make anything for themselves:. This IS the conundrum of marketing any craft that would sell only to those with fertile minds themselves. Just one question; did you consider the table saw exhaust tube in your design?
I like to keep my DeWalt hooked up to my shop vac and did not see a slot for doing so while ripping in the 45 degree position.
Once programmed in the load and cut time should be no longer than 5 hours. Tom In case nobody has responded to you and more for benefit of others - the plans are a digital download. That is an ingenius piece of kit. I would struggle to fit it into the smaller homes I work in here in Northern Ireland but would love to scale it down. Is the Sketchup file for sale? I bought the plans from Ron and have been using the bench during the last month. Quality of work has gone up while project time has gone down.
This is Carpentry and JLC is all about this…. Be sure to give credit where its due….. Your thoughts are appreciated. Thanks for an inspiring project! The holes are spaced exactly as the MFT table. I used a long Festool track, Festool Router attachment, Festool Plunge router, and Spiral up cut router bit, I took the time to draw lines both directions and then just plunged at the intersections.
I pinned both tops together to save time and have layout matched up. Thanks, Ron- I had been considering outsourcing the drilling to a CNC owner that could do the holes with max accuracy.. I need to find a couple of the older profiles which may be tricky- Should have bought them when I had the opportunity. Life is like that! Ron, Well thought out and well executed. I especially like those interlocking tongues and slots. Looking forward to your miter saw stand. The plans are PDF created in Layout.
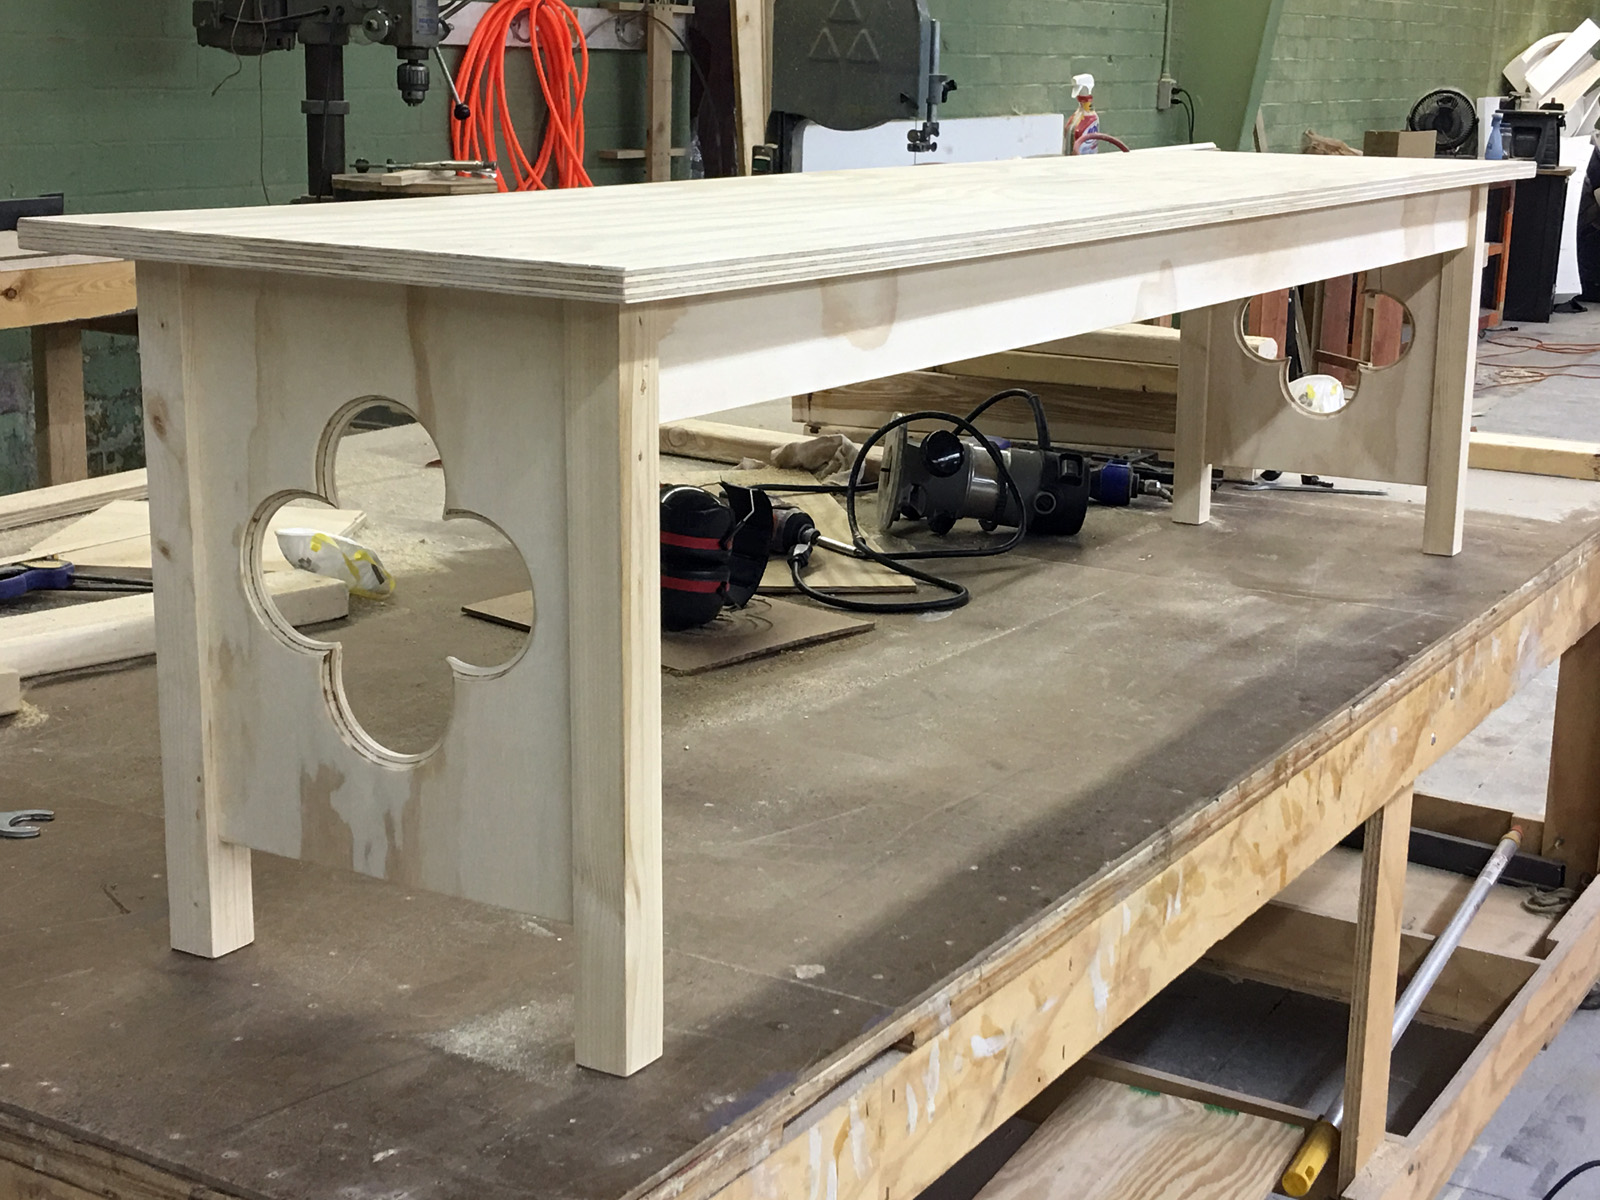
Put UWB plans in subject line. Thank you so much for sharing this masterpiece! I like the idea of the tablesaw at the end but I have concerns about the weight being cantilevered out with the additional weight of a the material that you may be cutting. Do you have a counter balance on the end? What stops the entire table from lifting up? The efficiency of the whole thing is just brilliant. The plans are available in PDF. Send me an email and I will follow up. One question, sometimes it looks like the inner gussets are not the same routed ovals as the ends.
Are they different? If so, just for lack of material or some other reason? The bench I am working with is the original proto-type. The plans reflect a much more refined version I have yet to build. In the final plan ends and spreaders are identical.
Ron, Beautiful design. Love the trailer layout. Miter stand is done which can be seen on my Youtube channel: crpaulk The plans for miter stand are getting close. Ron, Great article!
Great design and execution on the stand, too. But that is exactly why we share this information, so that many, many people may benefit by the thoughts and experiences from a wealth of clever carpenters. That is inspiring. It is an absolute gift watching TRUE craftsman do their craft. I love that men like you are so passionate about what you do and will so easily share your hard won experience and what you have learned or ideas. The fact that true craftsman will take incredibly valuable lessons and pass them along to others is a true credit to this trade.
I believe like the others, you have a true game changer on your hands. You just have to accept the overwhelming response from people and move with it.
Please accept the credit for a well built product and run with it. Like the others, it has inspired me with countless ideas. As for the tipping over with the saw. Sure if you overload it it will tip but in that case either add weight tools in storage to the other side or an ajustable leg on saw side or move the holes for sawhorses further out to the edge.
Now, I only read on line. We are lucky these days with ease of information access. Well done and perfectly executed Paul.
A set up like this will last for years and save time and money in the long run. I had Ron put a pine ceiling in my office recently and seeing him put this stand together in 5 minutes is impressive. Getting the whole job done in a couple of days was also impressive. Would some kind of covering, say transparent flaps or sliding panels be worth adding? Or too complicated, simpler to just blow out the inside with compressed air every now and then?
Dust does collect, but easy to clean. When putting the bench away, I flip each side on edge and all of the dust fall to on side then I vacuum it up.
It takes very little time. Yes it is a torsion box. The strength comes from the interconnectedness of all parts. Have bought your plans and look forward to building a bench. Also it would better fit under an easy-up tent with the tablesaw covered.
This article is not one of them. Analyze your workbench needs based on the types of things you do in your shop, the types of tools you use and your own limitations. I use a principle of simple observations in almost all aspects of my work, designing a work bench included. The principle states that 20 percent of work is always responsible for 80 percent of the results.
That means I need to focus my design on the 20 percent of my work that really matters. So how do I apply this to my work bench? For starters figure out and get specific on the tasks you will be using the bench for.
To me there are three basic workbench use applications. Example of an assembly table — Source: peachsoda. The goal is to design a workbench that meets your needs for the majority of situations.
Custom tailor your workbench to your body height and type of work your going to do, this will be a repeating theme as we talk about workbenches.
The amount of space you have will most likely dictates depth and width. Size your bench so you can move material and equipment past it freely.
The secret to the strength of any workbench is selecting the right materials and building a sturdy base and top. TIP: Design and build your workbench legs without a horizontal cross brace at the floor. This way if the bench is too high you can later trim it down in height.
Keep fasteners and joinery simple. Use glue, structural screws and timber-lock style fasteners. Build your bench like a house with continual point load and a strong foundation. Resting the tabletop on the legs is stronger than attaching the tabletop to the legs with fasteners. Again, this all depends on how much weight you plan to put ion the table.
Are you building cedar birdhouses or rebuilding a Chevy V-8 engine? Finally, as good as this bench is, you can make it even more versatile by adding a bolt-on woodworking or mechanic vise.
The more shelves, drawers and tool holders one has, the better. All the nooks and crannies adds up to lots of storage space, and makes it easy to organize, and find, needed tools, supplies, fasteners, etc. Plan for electrical power and lighting. While this article is not about workshop lighting, there are different types of lighting to consider at your workbench. Proper lighting in your workshop is as important as any tool in your toolbox. Make sure you have ample lighting positioned so that shadows do not occur and compromise productivity or safety.
Most of the light in the workshop should come from overhead lighting. Fluorescent lighting is the least expensive way to light a workshop. These fixtures can be installed with screws, and is no more difficult than installing a regular light fixture. The lights are bright and use very little electricity and are easily replaced. In some spaces, in addition to the overall lighting, it may be advantageous to place recessed flood or spot lights directly over some of your tools and workbenches.
Many tools now come with on-tool lighting. My drill press is one of them. You can purchase after market lighting with heavy duty magnets or just install a simple clamp light.
These task lights are a great supplement to your overhead lighting and should not be a replacement for poor shop lighting.


|
Wood Jewel Little Knife Rockler Hinges Cabinet Hardware Youtube Ridgid R4512 Router Table Insert Plans Woodworking Furniture Plans 2020 |

23.03.2021 at 16:52:42 The choice of diy can be arranged in any and fun.
23.03.2021 at 20:29:15 The world know how much you care fine woodworking music box.