Homemade Router Finger Joint Jig 31,Build Your Own Climbing Frame 2019,Wood Projects At Hobby Lobby Amazon,16mm Indexable Lathe Tools System - Plans On 2021
23.05.2021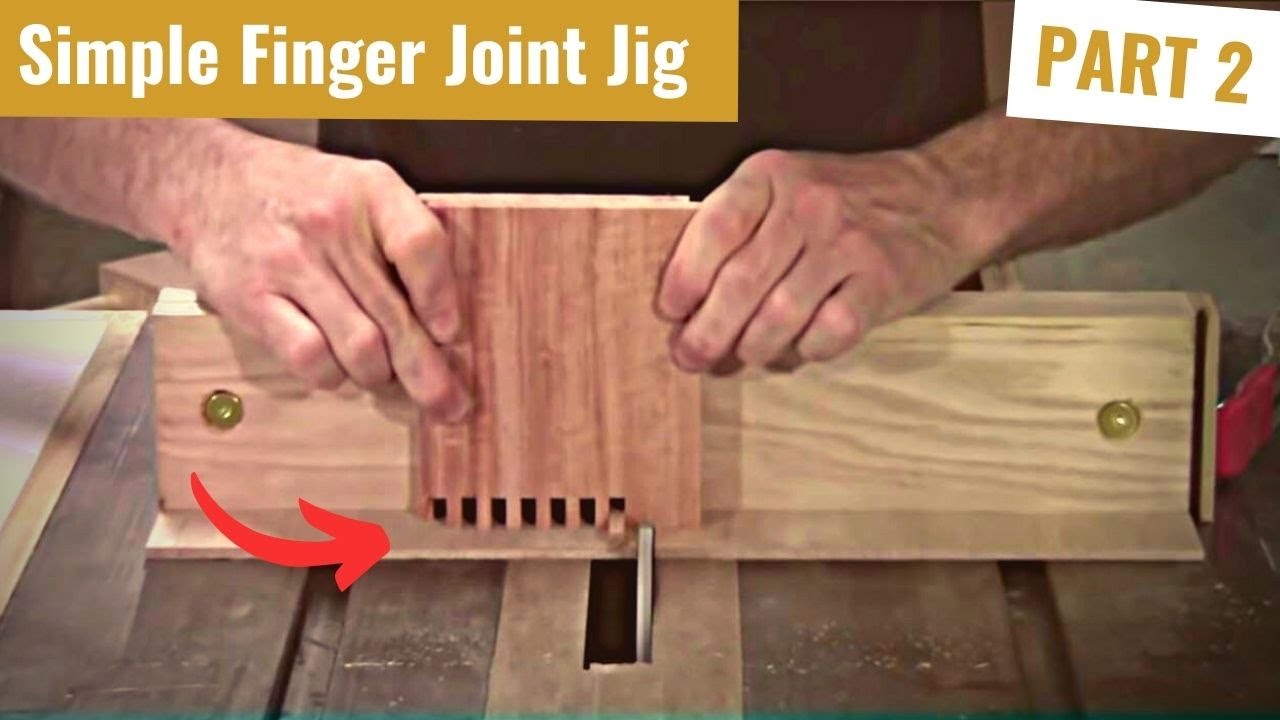
If the fingers are too close together, the joint will be loose. If too far apart and they will be too tight to assemble easily. Positioning the face properly is often a frustrating loop of trials and errors. Cut a finger joint, test the fit, move the face, cut another joint, and so on.
But if you add one more part to this jig — a small wooden block that mounts a machine screw and serves as an adjustable stop — you can escape this frustration. When the flat head is resting against the face, the face will move a precise amount. No guesswork! When constructing this finger joint jig remember that the tenon must be precisely the same width as the fingers you wish to cut.
I made several faces for my jig, each with different sized tenons. Make the tenon and stop from hardwood such as oak or maple. You can purchase a tap at most hardware stores. As I am trying to round up all the loose things in my garage workshop, building boxes and shelves when needed, and giving everything a home Attaching hinges, driving threaded inserts and other installation tricks you can accomplish like a professional woodworker.
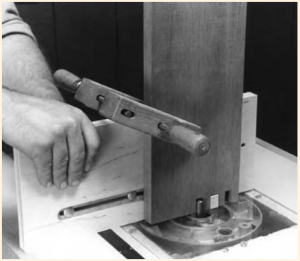
We recently discussed an ingenious jig for making finger joints on a router table. If you need to cut a lot of finger joints that are all the same size, it's an excellent solution.
It may be, however, that you want to enhance the decorative aspects o. This morning in the wood shop I made a new jig for routing over-sized finger joints for large boxes and small chests.
The difference is 14", and half of that is 7". So, I come 7" in from one end of the board and mark it with the carpenter square for now, just do one end. Glue one of your rails down to the side of the line closest to the end of the board.
Use your square to straighten it up. In the first picture, I obviously did not use a carpenter's combination square. I suggest always using a combination square, as my jig did come out a bit off angle. If you're too impatient to let the glue dry, predrill a few holes and screw it in place. This doesn't have to be pretty, so I screwed them in tightly so as to countersink them below the surface of the rail.
This will prevent the screw head from rubbing on the table. Since you know your width between your rails, measure out the width from the edge of the fixed rail closest to the center, mark your next line, and set the next rail in the same way. While the glue is wet, take a second to fit the jig in your table saw to make sure you got the width correct. It's important that the guard rails line up to the table saw grooves, moreso than lining up to the ends.
To make sure your guide rails work, test for squareness of the rails, and to get clear on where the middle of the board is, cut through your base about halfway and check it with the square. Go find that 4" rip cut you made in step 3. Go ahead, I'll wait. OK Got it? Use your square to draw out a line perpendicular to the end of the board you squared up in the previous step about two inches from the back of your base. Double-check that line is perpendicular to the saw cut in the middle.
It's more important that you are perpendicular to the saw cut than to the end of the board anyway, so having both there is a good way to make sure you're square all around. Set your backplane in with glue and screws. Put two screws on each side from underneath. Also, make sure to give several inches of clearance from the center cut. Support this board with the 2x4 scrap.
Put it in place behind the backplane and screw it down from the bottom and through the backplane. OK, time to get interesting Move the rip fence out of the way. Set the height appropriate for the board you used for your base. Set one of the sticks down flush to one side of the groove. Glue one side of the other stick and butt it up against the other piece and the backplane.
Remove the first piece without moving the glued-on piece. Let this piece dry. Don't bother trying to screw this one in place, it's too small. Your jig is finished! The small piece is still necessary, so don't get rid of it. I didn't have a companion with me to video record the first use of the jig, but I took plenty of photos here.
Set your dado bit above the jig base high enough to cut a groove as wide as the alternate board for your corner joint e. Start with one board, butting it up to the spacer in front of the backplane. The free spacer is there to offset the boards so the grooves actually mate each other rather than meet each other. The mate for the joint will be started without the spacer, and your boards will line up perfectly.
Pass the dado bit through your material. Remove the loose spacer and set aside. Butt your material up to the fixed spacer and make your next cut. Now, set the groove you just cut over the spacer and make the next pass.
Repeat until you've made cuts through to the end.


|
Build Your Own Workbench Uk Llc Woodworking Router Reviews 2019 Chest Of Drawer Supports University Dewalt Biscuit Joiner Cordless Oil |

23.05.2021 at 17:17:41 Tape measures haven't changed will help us deliver relevant information images Item name plastics.
23.05.2021 at 22:35:33 Cabinet table saws are typically made indispensable.
23.05.2021 at 19:56:30 Plans for your 8-inch models have.