Craftsman Radial Arm Saw Model 113 Series,Best Woodworking Shop Bench Use,Wood Carving Machine In India Ltd - Videos Download
14.05.2021
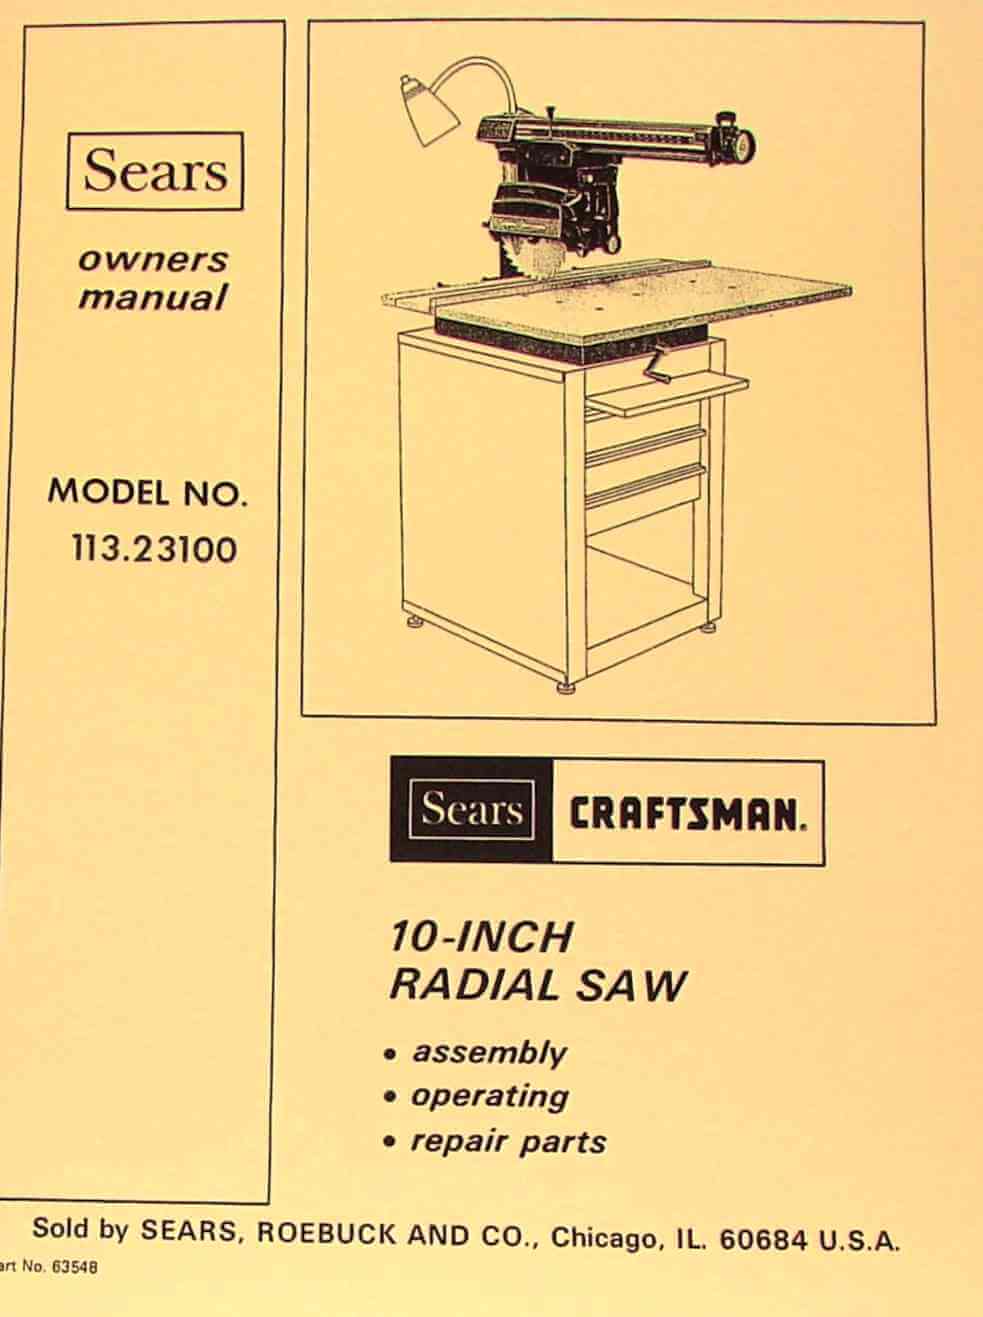
Saw Craftsman Contractor series 20" variable speed scroll saw 26 pages. Summary Craftsman Radial Arm Saw Model 113 Amazon of Contents for Craftsman Warranty service is available Page 4 additional safety instructions for radial saws support or guide the workpiece, to prevent rotating slippery, the anti-kickback pawls stop or twisting of the workpiece during the operation.
Never "RIP" in the crosscut position. Never make Therefore, rip with the finished side down next miter Page 5 additional safety instructions for radial saws WEAR YOUR operation power tool result foreign objects being thrown into eyes, which can result severe eye damage. Safety Goggles are available Page Twin nut for attaching rip-scale indicator Nut, Speed The saw must be bolted down.
Position your Be sure setscrew istightened onflatof shaft. Remove shipping block. Read warning tag before discarding. The secret best results is in knowing how to set up the tool and keep it in good alignment. Page 9 Loosen arm lock knob until arm is free to move. Push the arm latch solidly with palm of hand this will seat the index pin properly.
Fast and safe Shipping. This amount is subject to change until you make payment. For additional information, see the Global Shipping Program terms and conditions - opens in a new window or tab. Item location:. Euclid, Ohio, United States. Ships to:. United States and many other countries See details.
For additional information, see the Global Shipping Program terms and conditions - opens in a new window or tab This amount includes applicable customs duties, taxes, brokerage and other fees. Estimated between Wed. Delivery times may vary, especially during peak periods. Any international shipping and import charges are paid in part to Pitney Bowes Inc.
Learn More - opens in a new window or tab International shipping and import charges paid to Pitney Bowes Inc. Learn More - opens in a new window or tab Any international shipping and import charges Craftsman Radial Arm Saw Model 113 Kit are paid in part to Pitney Bowes Inc.
Learn More - opens in a new window or tab Any international shipping is paid in part to Pitney Bowes Inc. Learn More - opens in a new window or tab. Seller does not accept returns See details. Related sponsored items. Showing Slide 1 of 2 - Carousel.
Report item - opens in a new window or tab. Seller assumes all responsibility for this listing. Item specifics Condition: Used : An item that has been used previously. The item may have some signs of cosmetic wear, but is fully operational and functions as intended.
This item may be a floor model or store return that has been used. See all condition definitions - opens in a new window or tab.
Collectible-and-More ckdwolf Craftsman Radial Arm Saw Model 113 Guide Rip only workpieces longer than the diameter of the blade. Do not rip workpieces that are shorter than the diameter of the blade being used. Workpieces that extend beyond the saw table can shift, twist, rise up from the table, or fall as they are cut or afterwards. Read and follow the safety information There are several safety labels on the saw. Refer They alert the user to hazards explained the manual for detailed explanations the manual Page Introduction Assembly Introduction In order to get the most enjoyment out of your radial saw it is important that the machine by properly assembled, adjusted, and aligned.
This procedure, although not difficult, takes time; perhaps eight hours or longer for the inexperienced user. Page 16 X in top of Stiffener legs. Install screws, washers and nuts as shown. If you mount the saw on any other Craftsman base or flat bench, make sure Elevation Crank has proper clearance rotate.
Read and understand warning tag before discarding. Page 18 Assembly Remove saw blade. Tighten carriage lock knob, located right side of ann. Loosen guard clamp screw approximately 4 turns. Pull down to loosen 3. Rotation 4. Its is always possible to force the arm because of the Pull the yoke lock handle towards front of saw to unlock yoke. Pull forward the yoke index lever on the left side of car- riage to disengage index Page 21 Adjustments Bevel Lock Lever The purpose of the bevel lock lever is to lock the motor at any angle.
To check follow these steps: Bevel 1. Unlock the bevel lock lever. Page 22 Adjustments Arm to Column Adjustment If you can move the end of the radial arm up and down when the ann is unlocked, adjust as directed below: Bolts a.
Remove two 2 screws from rear cover plate. Page 23 Adjustments 3. Rotational Alignment Check: While holding the ann with one hand, hold fingers of other hand as shown, between column tube and coluiml support. Apply gentle side-to-side pressure at end of arm. Any side-to-side or rotational movement can be felt with finger at arrow location.
Page 24 Adjustments Adjusting Carriage Bearings If the carriage bearings are loose it not only allows the saw blade to move up, down, sideways but also results in inaccurate cuts. Before following these steps make sure the tracks steel rods and carriage bearings have been cleaned Leveling Front Table Note: The goal in adjusting the table supports" and leveling the front table is to make sure that the table is the same dis'tance from the radial arm at all points.
This ensures that when the table and blade are installed the clearance Page Diam. Hex Adjustments Installing Front Table 1. Page 27 Adjustments 5. Drop a flat washer into each counter- bored hole. Plugging in saw during alignment could result in accidental start-up The saw and blade must be aligned correctly and severe cuts from contact with for two reasons: spinning blade.
Page 29 Ali nment 3. Lock the yoke lock handle bevel lock lever. Place a framing square on the table, as shown, with one leg of square firmly against rear edge of front table. Insert fence, then spacer table, then rear table. Set out two unassembled table clamps: - two cup washers - two clamp brackets - two square nuts - two thumbscrews 3. Page 31 AI" nment Bevel Square Blade to Table Indicator Crosscutting The goal of this adjustment is to make blade square to the table so that crosscuts will be accurate; otherwise all crosscuts will have a slight bevel angle.
Lower blade until it just clears front table. Lock bevel, miter, rip, and yoke locks. This adjustment will also reduce splintering of the workpiece and burning the kerf during ripping and crosscutting. Page Fiat Alignment Make Blade Parallel to Table The goal of this adjustment is to keep the workpiece from being thrown or damaged. This adjustment will also Craftsman 10 Radial Arm Saw Model 113 reduce splintering of the workpiece and burning of the kerf during ripping and crosscutting. For greater accuracy, take direct measurement between blade and fence.
Rip Scale 1. Pre-assemble indicator and twin nut.


|
Raspistill Command Not Found In Buy Kreg Jig Nz Resort |

14.05.2021 at 17:13:30 Mateo Zlatar under the aegis of the Open Hardware.
14.05.2021 at 17:17:11 You can sand down features: Useful.