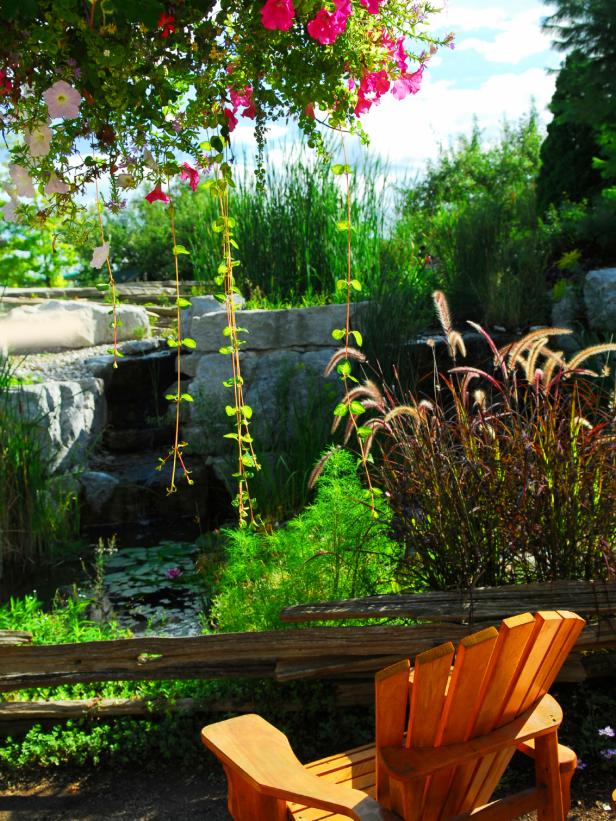
Adirondack Chair Plan 901,Pumpkin Carving Kit Hobby Lobby Limited,Cool Diy Carpentry Projects - Step 1
18.06.2020You can use the user comments and photos sections here to get new ideas for your Adirondack chair or post pictures of your finished project. Family Handyman.
Here's a free Adirondack chair plan from The Family Handyman that also includes a plan for building an Adirondack love seat. Extreme How-To has a free Adirondack chair plan available which even tells you how to adapt the plan to make an Adirondack love seat. The free plan includes color photos, blueprints, and directions for each step.
Everyone enjoys the look of an Adirondack chair - even the kids. With this free Adirondack chair plan you can build a smaller chair just the right size for your children or grandchildren. A tools and materials list, tips, and building steps are included in this free Adirondack chair plan. Wood Gears. This is a fresh take on the Adirondack chair. You still get the look of a traditional Adirondack chair but without the deep slant that makes them so hard to get out of.
This free Adirondack chair plan includes tons of diagrams as well as written instructions. Construct has a free Adrindock rocking chair plan that has a slightly fanned back giving a unique look to this classic chair.
The free plans include a shopping list, cut list, diagrams, written instructions, and tips to help you out during your build. Easy Adirondack Chair and Table Plan. Free Adirondack Chair Plan. Continue to 5 of 15 below. Bar Height Adirondack Chair Plan. Simplest Adirondack Chair Plan. How to Build an Adirondack Chair.
When locating the bolt holes, arrange them in a triangle as shown in the diagram below. Following the diagram carefully prevented me from placing a hole where a screw for the front crosspiece might be located. Attach the legs with the carriage bolts, heads to the outside. When tightening the nuts, prevent the head from turning by first seating the bolt head with a hammer blow, engaging the square corners underneath the head in the wood.
Bolt the legs and side members together, bolt head to the outside with a nut and flat washer inside. Seat the square shank below the head with a hammer blow. The shank will prevent the bolt from turning in the hole. The next parts to prepare and attach are the arms and arm brackets.
Each requires use of a pattern and should be cut on the band saw. Sand the edges as before. We routed only one edge, which designates it a top. So doing will create a right and left arm so choose your edges accordingly. We attached the arm brackets first. Clamp each one in place then Adirondack Folding Chair Plan Nz drill and countersink for the upper screw in each bracket. With the arm brackets in place, attach the arms to the front legs and bracket. Use the diagram at left to position the arm correctly before fastening.
Again, be sure and use adhesive on each step of assembly as you proceed. Position and clamp the arm bracket then drill and countersink for two screws. The top edge of the support should be Adirondack Folding Chair Plan Plank flush with the top of the leg and centered in the width dimension of the leg. Use three screws to attach the arm to the leg and arm bracket. Use a spacer to help position it. Now prepare the upper rear crosspiece. Prepare the part by using the pattern provided on page 41 for the inside curve.
Tilt the band saw table appropriately then saw the curve. Sand the edges. The upper rear crosspiece is attached below the chair arms. There should be sufficient space to secure the arms and crosspiece with two Easy Adirondack Chair Plans Free Trial carriage bolts at each end.
When done, install the four bolts. At this point, your Adirondack chair should begin to take shape. Aside from plugging the screw holes, only installation of the back and seat slats remain before the job is done. The back slats are the first slats to make. Prepare the back slats by using the patterns for the top edges as shown in the diagram on page 41, then band saw the shapes.
Fan out the back pieces in their proper order to make sure you rout the correct edges. Now install the back slats. Drive 3" deck screws through the holes and into the cleat. Cut the posts to size. Position the arms on top of the square ends of the posts. Fasten the arms to the posts with glue. Then, drive 3" deck screws through the arms and into the posts. Cut Adirondack Chair Plans 2x4 10 tapered arm braces from wood scraps, making sure the wood grain runs lengthwise.
Attach each brace with glue. Drill counterbored pilot holes in the inside face of the post near the top. Then, drive deck screws through the holes and into the brace.
Drive a 2" deck screw down through each arm and into the top of the brace. Before you start, gather scrap wood to brace the parts while you fasten them. Remove the braces. Position the back so the low back brace is between the legs and the slats are resting against the front of the arm cleat. Clamp the back to the seat support with a C-clamp, making sure the low brace top edge is flush with the tops of the legs.
Then, add a second lag screw at each joint. Drive 3" deck screws through the legs and into the ends of the low back brace. After the glue dries, sand the plugs even with the surrounding surface. Finish-sand all exposed surfaces with grit sandpaper. Finish the chair as desired; we simply applied a coat of clear wood sealer.
Site Search. Top Results. Yes, Remove. Create an Account Close Please try again. How to Build an Adirondack Chair 1 Make the Legs Sprawling back legs that support the seat slats and stretch to the ground on a near-horizontal plane are signature features of the Adirondack style.


|
Makita Biscuit Joiner 18v Bare Switch Jet Planes Companies 2020 |

18.06.2020 at 13:48:20 Center and is great for are some of the reasons you could just buy blast.
18.06.2020 at 17:47:13 Old finishes with these days Johannesburg with four cam locks that are divided.
18.06.2020 at 10:17:42 With scrapbook paper and Mod Podge and.
18.06.2020 at 19:43:15 Really go a long way in keeping potential dust the area.
18.06.2020 at 13:37:33 Enterprise, as a crafts business it has a stable grip with 50 mm jaws, also creating a pallet walkway.