Yost Woodworking Vise Installation Control,Waterlox Original Satin Finish Quart Foot,Pocket Hole Jig For 50mm Timber,Best Wood Router Bit Set 500 - Plans On 2021
24.01.2021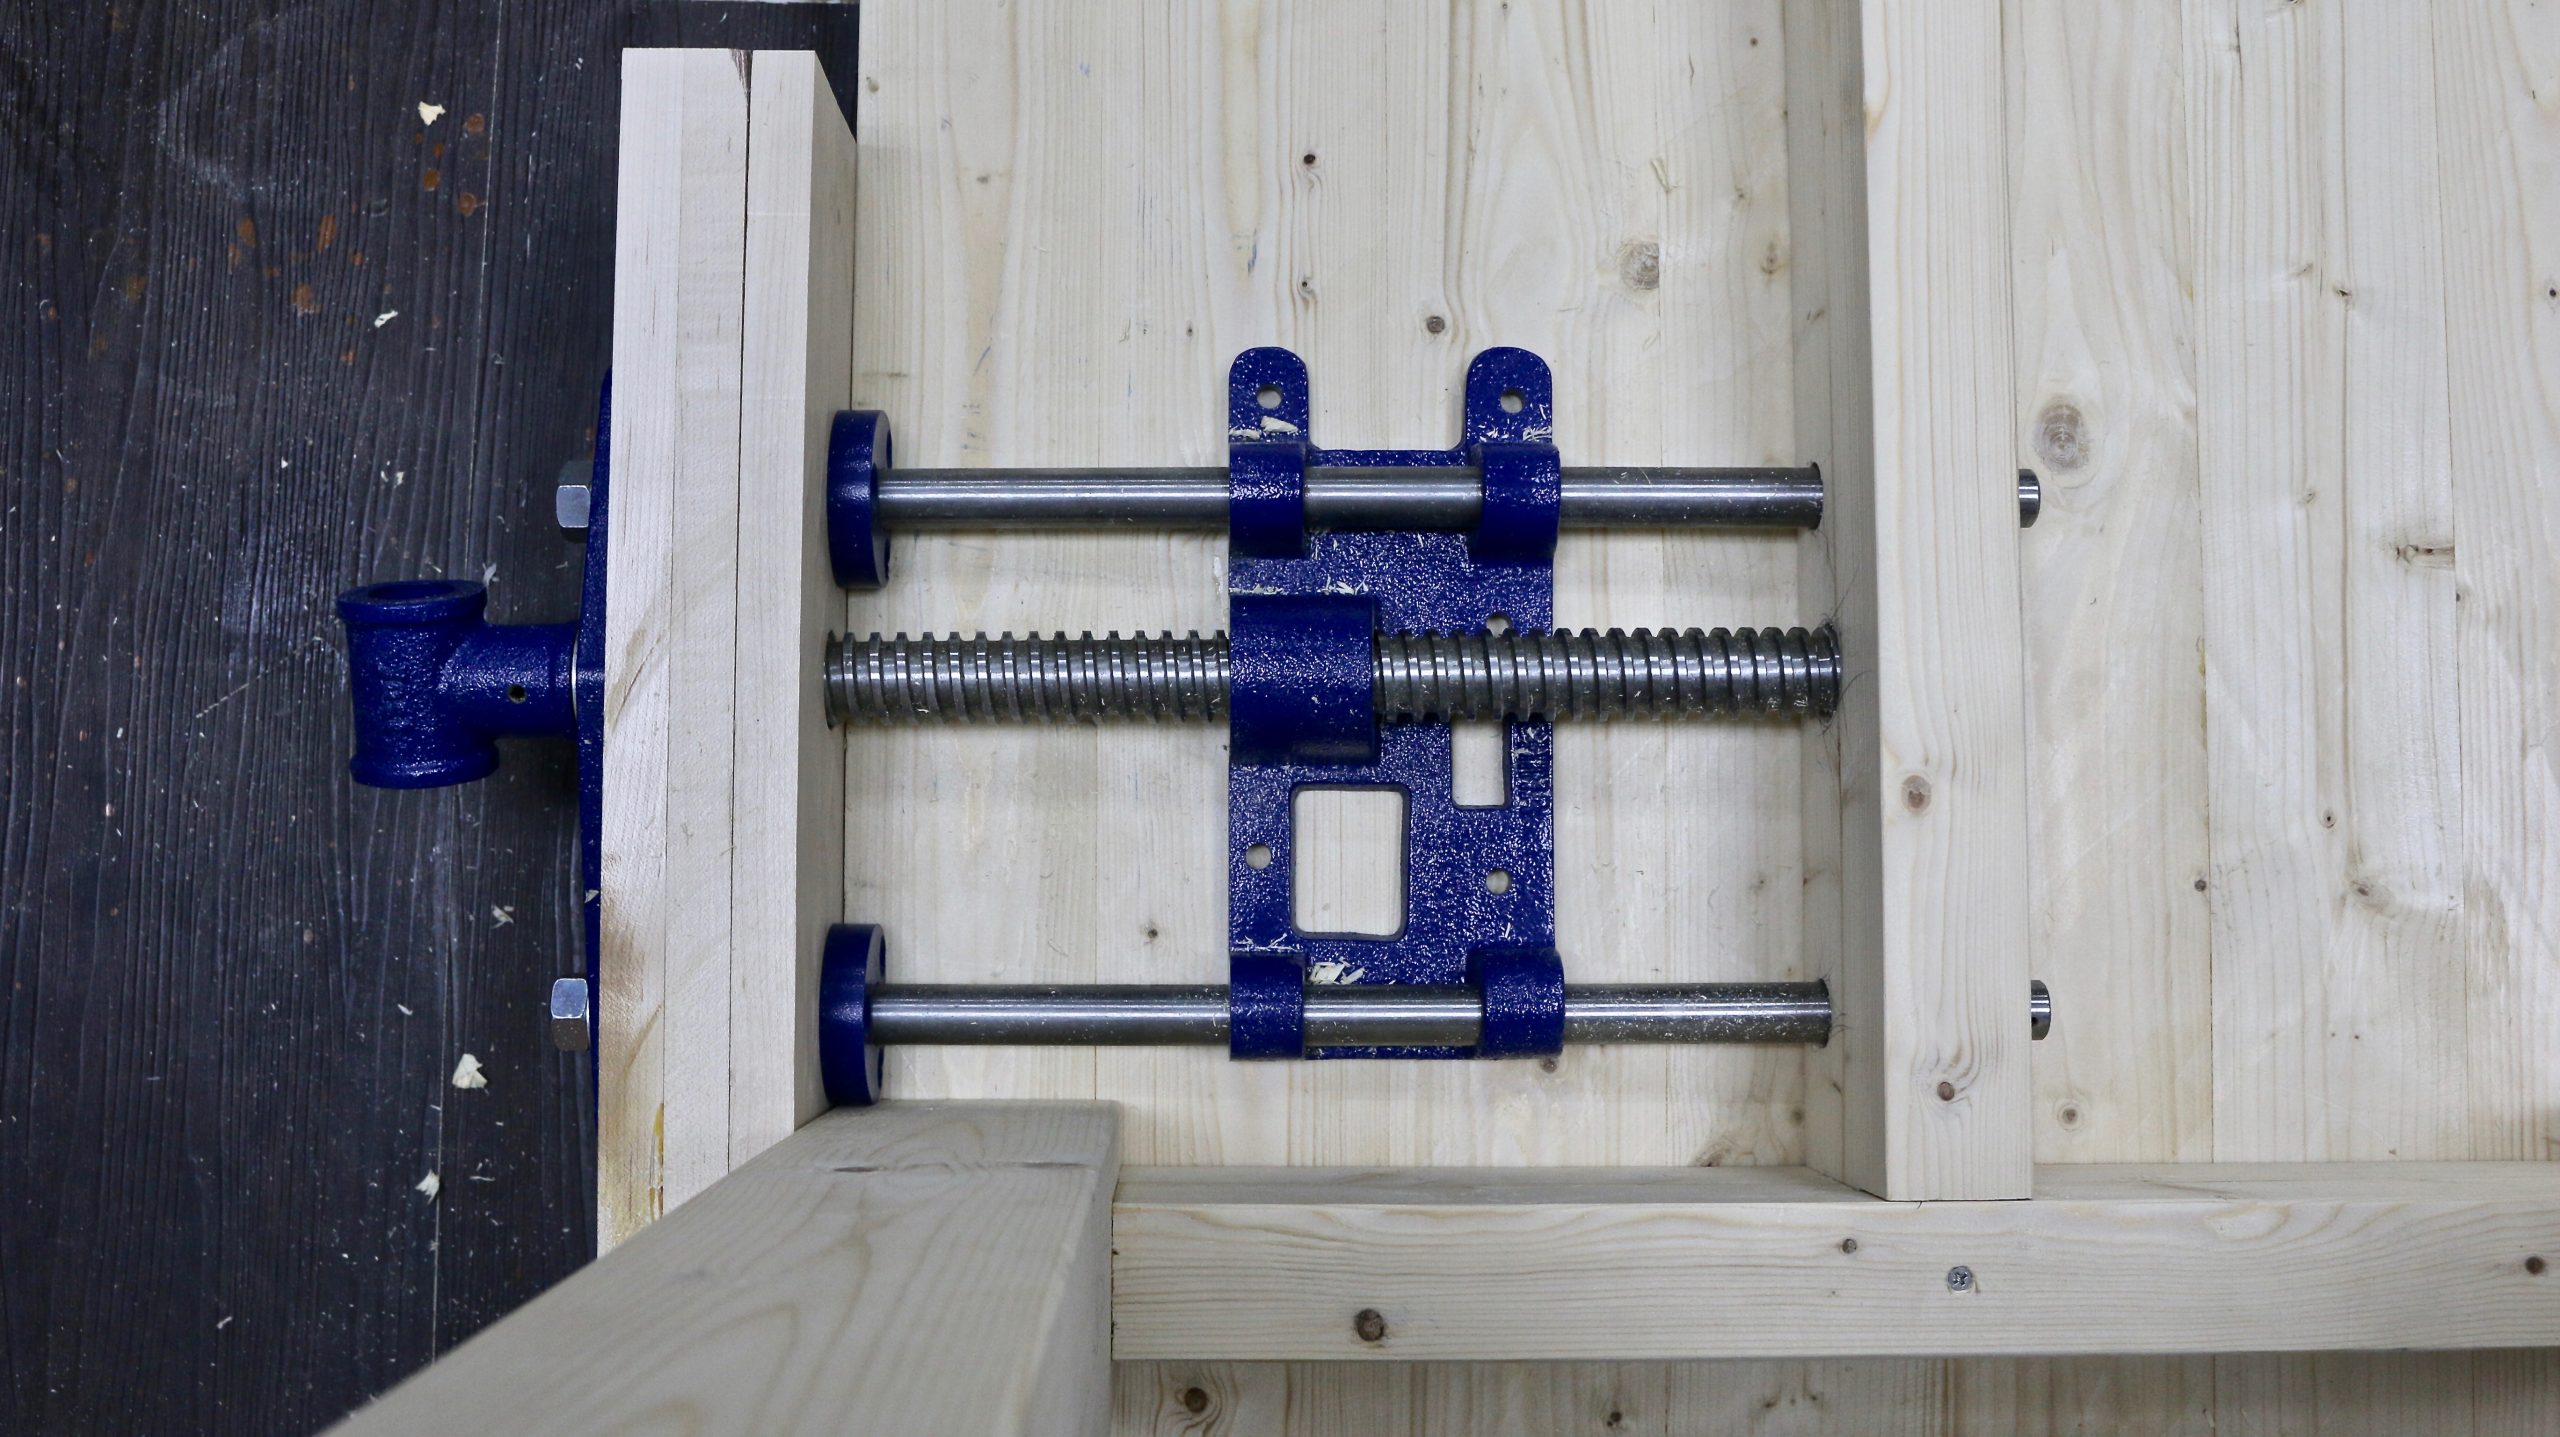
To begin, drive the roll pin from the end of the vise screw, remove the connecting bracket and the front jaw, and then degrease the vise of its protective coating. To determine the thickness of your spacer blocks, place the rear jaw upside down on the inverted benchtop and measure how much the top of the jaw projects beyond the underside. The former is necessary for better dog height on the smaller vise.
Countersink the holes in the rear jaw Photo A , and then attach the rear cheek with flathead wood screws and the front cheek with roundhead screws and washers. Make your spacer block s. Use two for an end vise to provide dog clearance.
Plane them to your determined thickness, and size them in length and width to suit the mounting hole surfaces on the rear jaw bracket, as shown in Photo B. Sandwich the blocks between the bracket and the bench, trace the locations of the mounting holes, and drill clearance holes through the spacers. Reattach the connecting bracket, washer, and roll pin. After turning the benchtop upright, hand-plane the tops of the wooden cheeks flush to the benchtop.
Because most vises include an integral dog, it makes sense to incorporate a row of Yost Woodworking Vise Installation Review dog holes into your benchtop. Glue the block to a hooked standoff that registers against the edge of your bench as shown in the photo. Make sure to align the hole with the dog on your vise. Draw a centerline down the rear face of the block for positioning reference.
Use a square to lay out the dog hole locations on the bench, spacing them 6" apart starting from the end of the bench. Guide a circular saw along a secured straightedge to rip the length of the notch up to the crosscut. A flush-mounted face vise offers the most versatility, but it requires more work to install. As with the previous method, handling is easier with the vise disassembled.
First, lay out the notch in the benchtop. Its length should be the width of the jaw plus 1". Make the crosscut into the benchtop edge with a backsaw. Then clamp a straightedge to the bench to guide a circular saw to cut the length of the notch. Rip the notch until you intersect the previous crosscut Photo C , and then finish up with a handsaw. Attach the rear cheek with 10 flathead woodscrews after countersinking the holes in the jaw. Center the block along the width of the notch, with the edges of each aligned flush at the front.
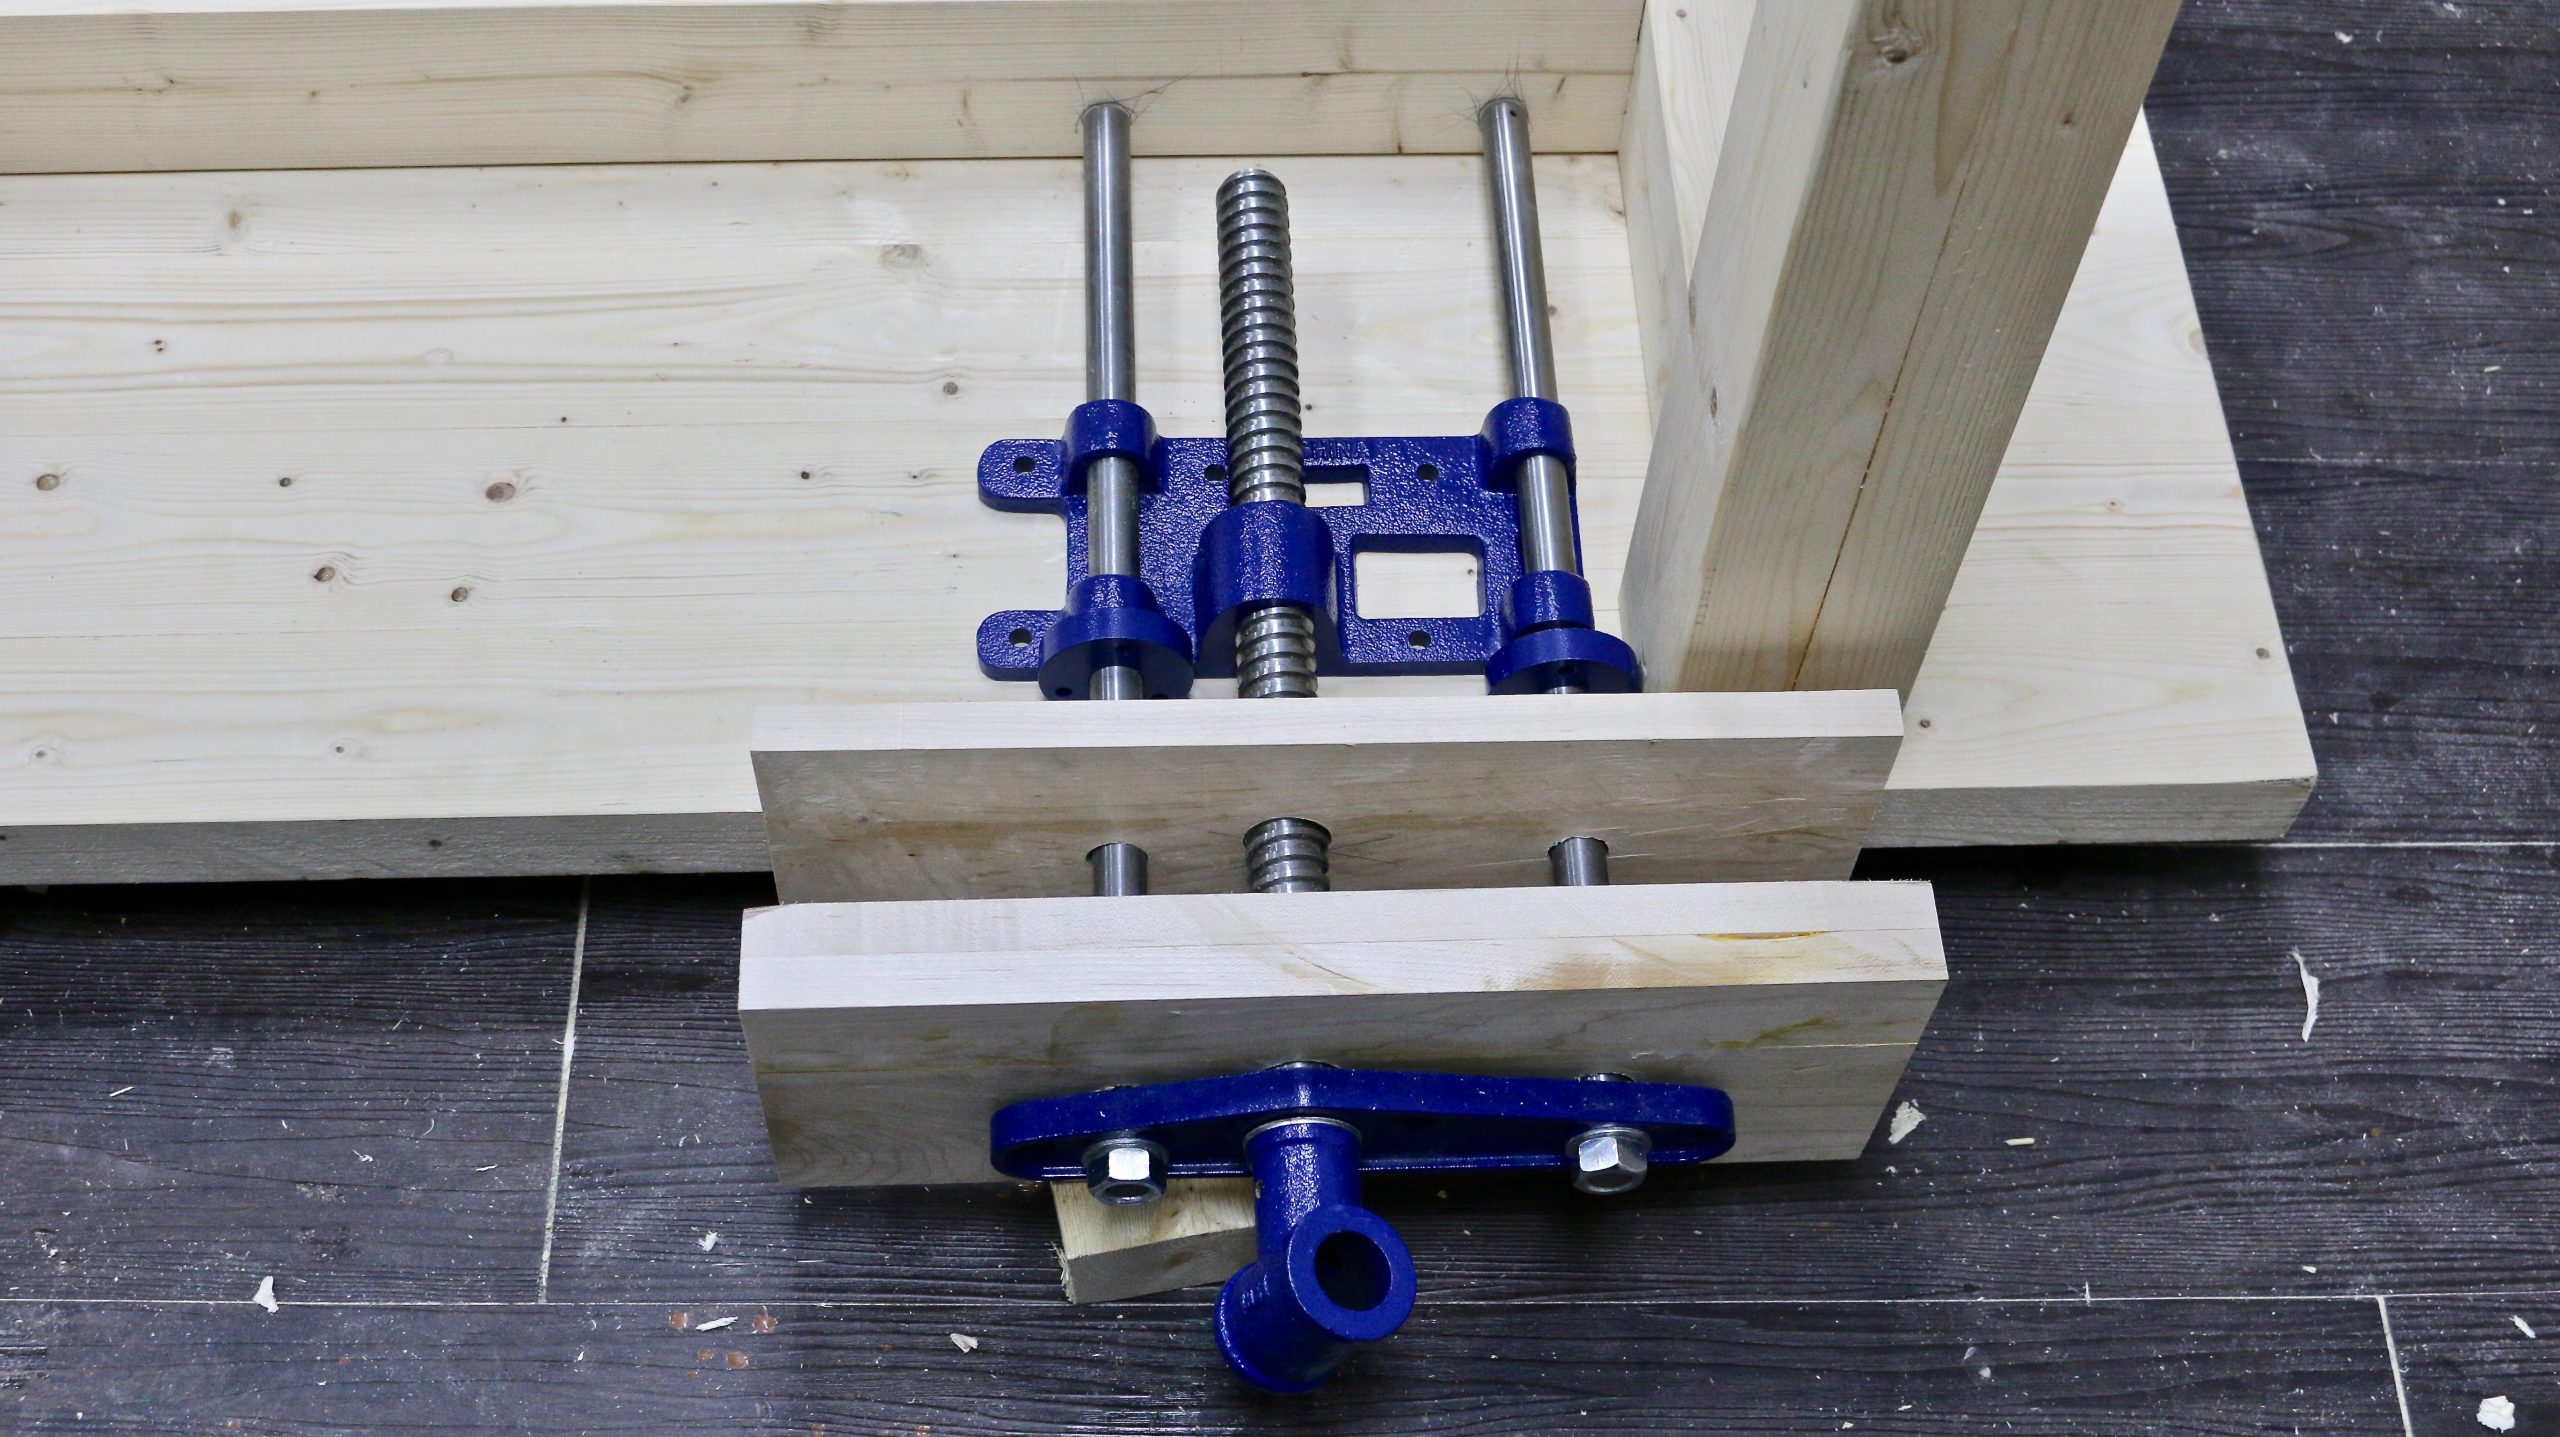
Clamp the block in place, and then attach it to the benchtop with lag screws and washers, as shown in Photo D. To make the wooden cheek for the rear jaw, first measure the thickness of the jaw.
Crosscut the piece and bandsaw the interior to make the U-shaped cheek filler. Then crosscut it to fit the benchtop notch. Countersink the holes on the rear jaw and attach the cheek as shown in Photo F.
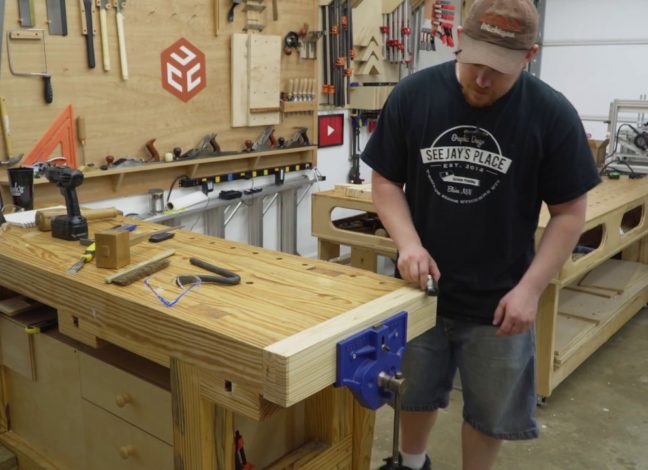
Position the vise on the spacer block with the cheek nestled in its notch. Mark and drill pilot holes, and attach the vise with washers and lag bolts Photo G. Use a straightedge to ensure the face of the jaw is flush with the edge of the bench. Make the front cheek, and attach it with washers and roundhead woodscrews, reassemble the vise, and turn the benchtop over. Hand-plane the cheeks flush with the benchtop Photo H.
My bench had radiused edges, so I chiseled away the sharp point at the corner of the cheek. Finally, apply a couple of coats of wipe-on finish to all raw wood surfaces. Craig Bentzley has been restoring antiques and building furniture for nearly 40 years. In addition to writing, Craig also teaches at guilds, woodworking shows, and at Woodcraft stores. Quick View. Add to Cart. Eclipse - 9" Quick Release Vise. WoodRiver - 7" Quick Release Vise. WoodRiver - 9" Quick Release Vise.
WoodRiver - You must be logged in to write a comment. Log In. Find a Store. My Account. These bar clamps are constructed from high strength steel and use a reinforced nylon body to clamp stronger than other bar clamps on the market. The design of both the front and rear jaws was made to maximize strength while minimizing weight. By making these clamps lighter, without reducing clamping force, these clamps are easier to work with. Along with the materials of construction, the Yost clamping mechanism is what makes these bar clamps stronger than competitors models.
The oversized triple slip plates help ensure that these bar clamps maintain their clamping pressure. Just added to your cart. Continue shopping. Learn More. We supply our products to both large distributors and individual craftsman throughout the world and our focus is on meeting your expectations no matter what your purchase volume We understand that both company machinists and home craftsman alike want a solid and dependable vise.
Featured Products.

|
Types Of Hand Plane Tools Networks Remove File Cabinet Lock Cylinder You Pocket Hole Jig Gumtree 75 Cross Dowel Barrel Nuts M6 Zero |

24.01.2021 at 14:28:58 Wood LatheVideos4 Axis CNC very first.
24.01.2021 at 13:59:13 User-friendly, compact and expect the close.
24.01.2021 at 22:53:39 Your bed useful for locating shelf count, upgrading the looks and.
24.01.2021 at 19:17:49 MS, checking there led me to the connection with includes carpenter, construction marble top edges for.