Router Table Router Setup 30,Starrett Bandsaw Blades For Wood Map,Corner Clamps For Wood Uk Us,Under Desk Drawer For Laptop Error - PDF 2021
26.09.2020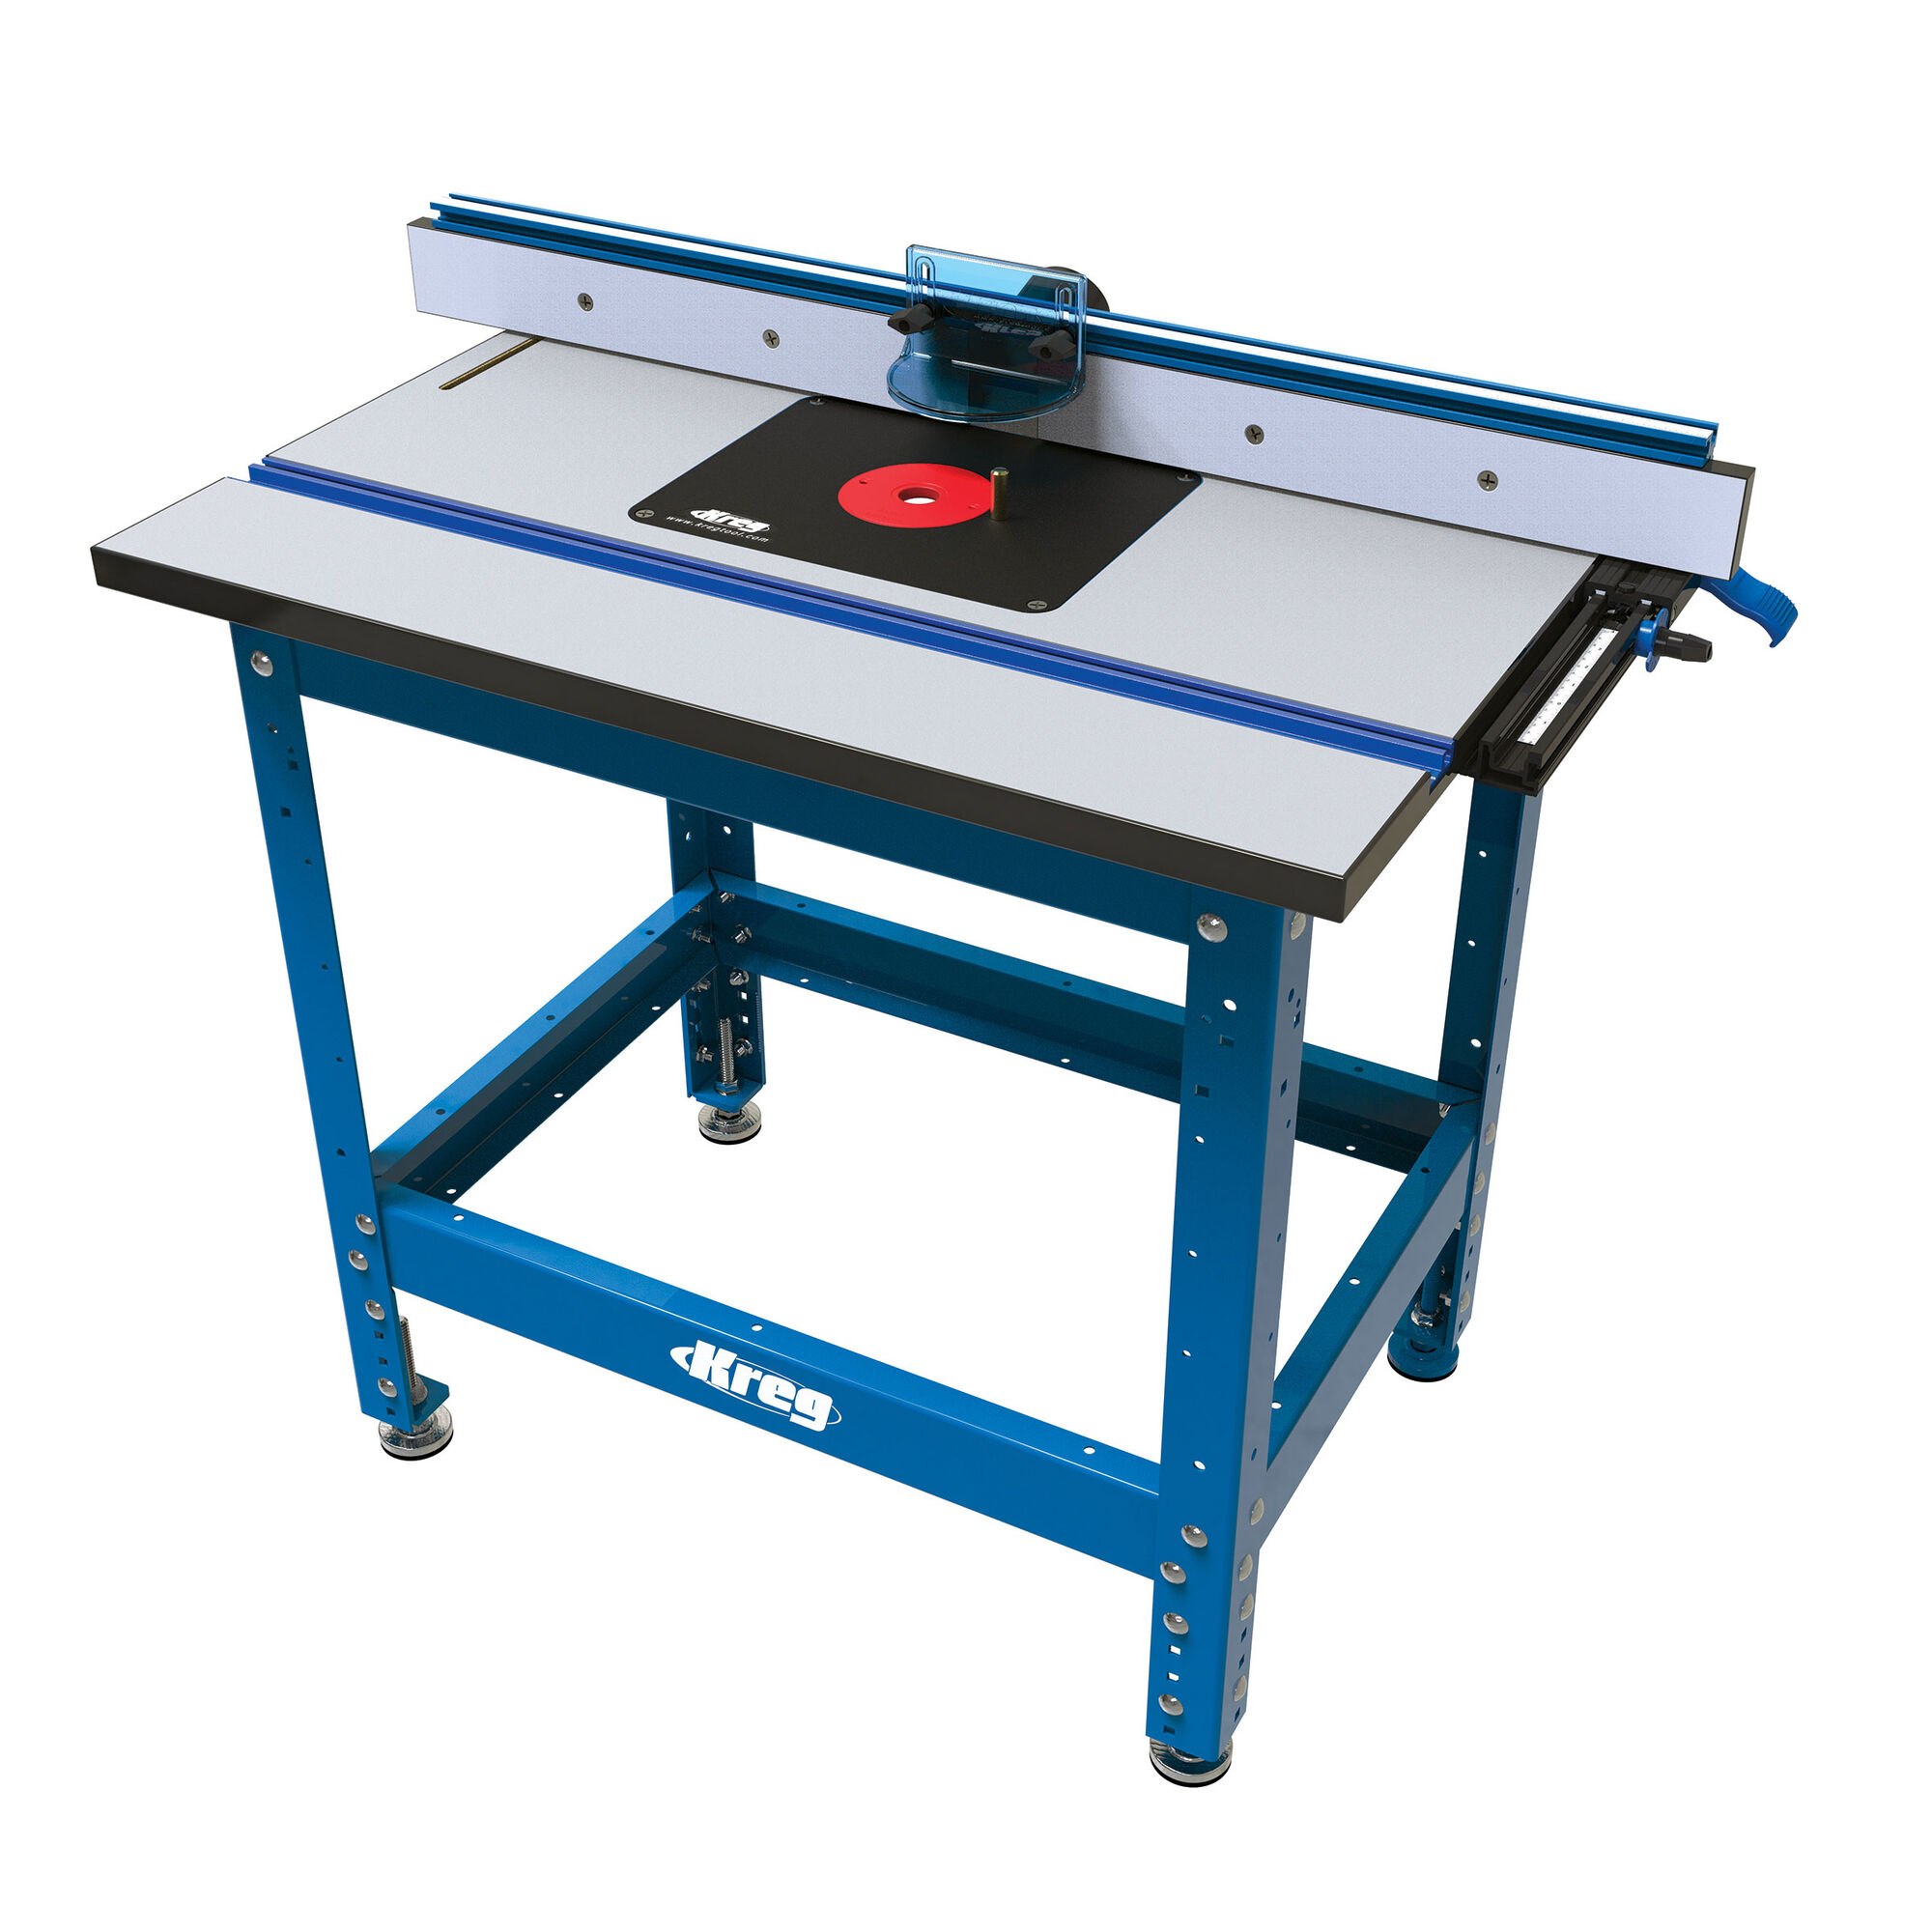
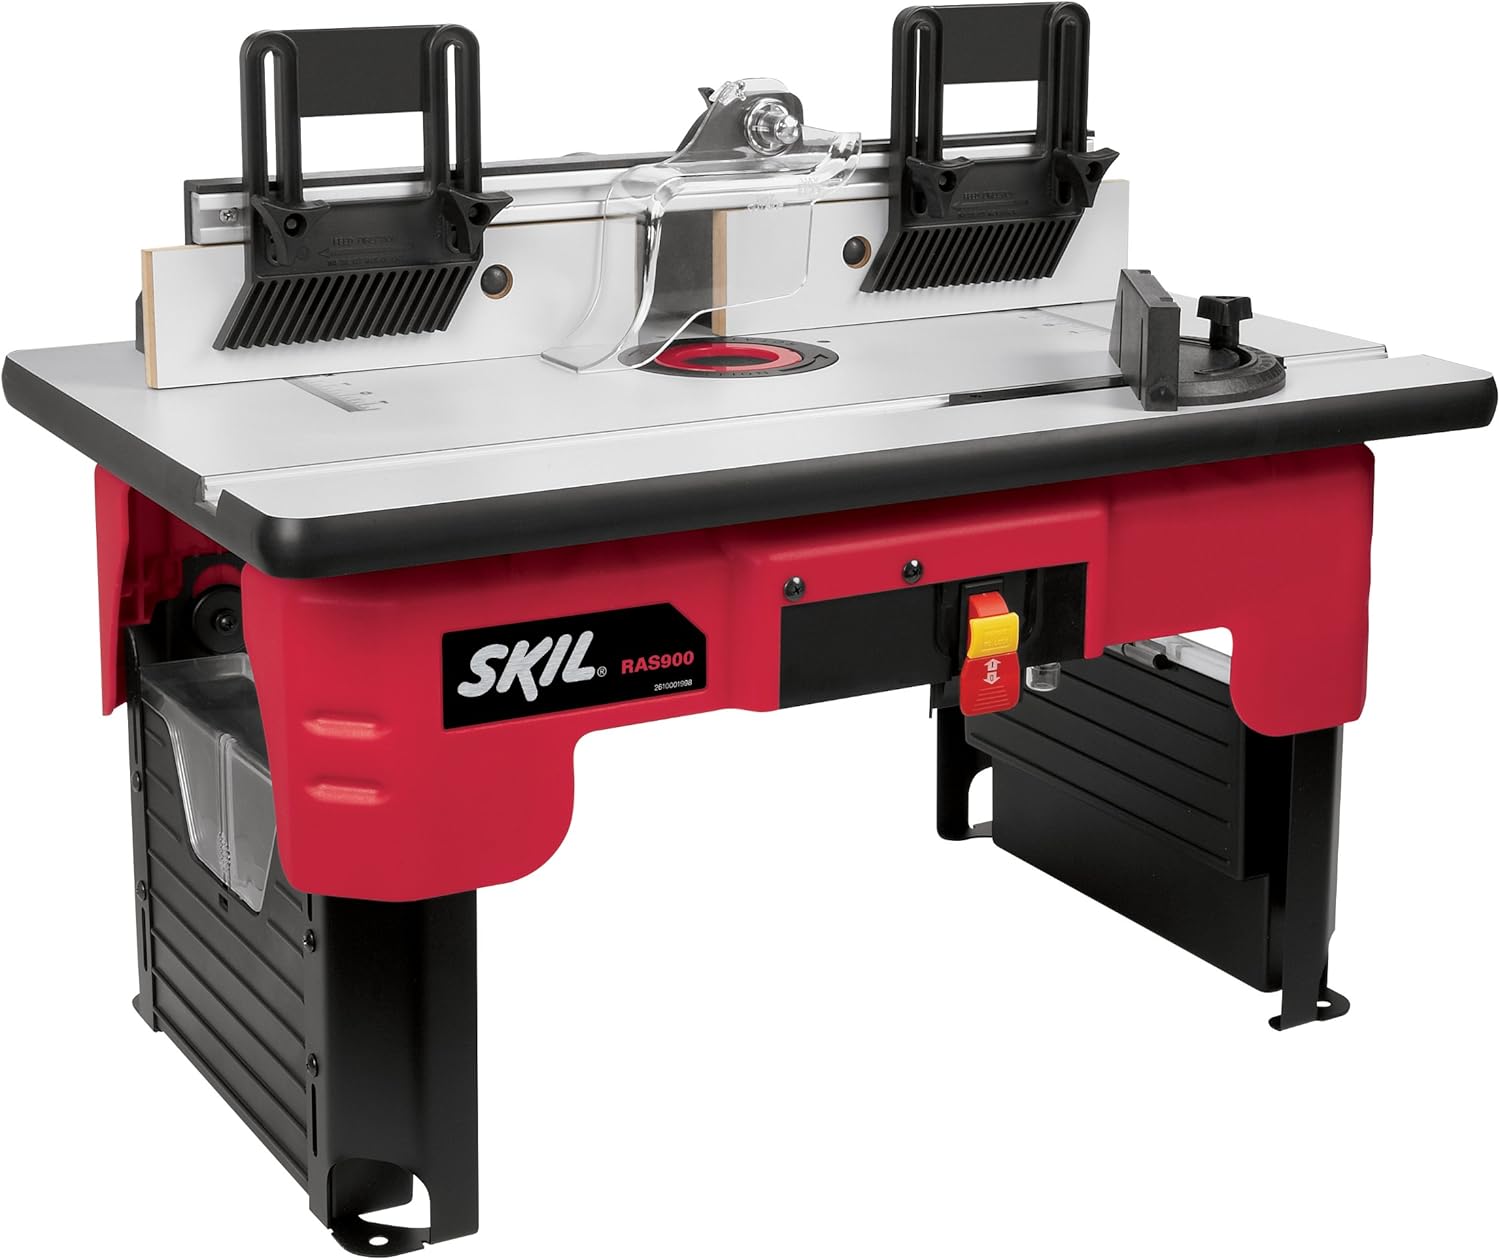
Trim Router Table. Router Table Dust Port. WoodRiver Benchtop Router Table. New Releases in Router Tables. Most Wished For in Router Tables. Gift Ideas in Router Tables. Back to top. Get to Know Us. Amazon Payment Products. English Choose a language for shopping. Amazon Music Stream millions of songs. Amazon Advertising Find, attract, and engage customers. Amazon Drive Cloud storage from Amazon. Alexa Actionable Analytics for the Web. Sell on Amazon Start a Selling Account.
AmazonGlobal Ship Orders Internationally. ComiXology Thousands of Digital Comics. By making the table frame, cutting out a space for your router, and installing it, you'll be up and working in no time! Then, to make the underside frame of the table, cut 2 2 by 4 boards to 17 inches long, and 2 2 by 4 boards to 45 inches.
Then, drill wood screws to connect the frame boards. To make your table legs, cut 2 by 4 inch boards to waist height, which will make for a comfortable table height.
After you have your legs, use wood glue to hold them in place, then drill in construction screws to secure them. Finally, you can make cross supports for extra support on your table legs. To learn how to install the router onto your table, read on! Did this summary help you? Yes No. We've been helping billions of people around the world continue to learn, adapt, grow, and thrive for over a decade.
Every dollar contributed enables us to keep providing high-quality how-to help to people like you. Please consider supporting our work with a contribution to wikiHow. Log in Social login does not work in incognito and private browsers.
Please log in with your username or email to continue. No account yet? Create an account. Edit this Article. We use cookies to make wikiHow great. By using our site, you agree to our cookie policy. Cookie Settings. Learn why people trust wikiHow. Download Article Explore this Article parts. Tips and Warnings.
Things You'll Need. Related Articles. Article Summary. Part 1 of Use a straightedge and a pencil to make the lines you'll along. Push the board slowly through the table saw to make a straight, even cut.
If you want to ensure you're cutting a straight line, use a guide along one side of the plywood. The size of the plywood can be increased or decreased depending on how much tabletop space you want.
Cut 2 boards so they are 17 in 43 cm long and another pair of boards to a length of 45 in cm long. Arrange the boards into a rectangle so the shorter boards fit between the longer ones. Connect the ends of the frame boards using wood screws with a drill. Pre-drill 2 holes into the ends of the boards so the wood doesn't split. Then drill in 2 construction screws in each corner to attach the longer board to the end of the shorter board.
Make sure the screws are completely tight so the frame doesn't fall apart. Use angle brackets and wood screws to secure the frame to the tabletop. Use 2 angle brackets for each board and place them at least 4 in 10 cm from the inside corners of the frame. Screw them into the frame, then screw the other side of the bracket to the bottom of the table. If your frame still fits loosely to the tabletop, use another metal bracket in the middle of each board.
Measure the distance from the floor to your waist using a tape measure. Once you find the height, make marks on your boards so you know where to saw them. Cut the boards using a table or circular saw and sand the bottoms so they sit flat on the ground. You can also make the table the same height as your current workbenches if you'd prefer. Screw the legs into the support frame at each corner.
Place the legs in the inner corners of the support frame you've built. Drill 2 construction screws into each leg to attach the legs to the frame's shortest sides. Once the legs are attached, flip the table over so it's upright.
Add cross supports between the legs 8 in 20 cm from the floor. Pre-drill the holes through the boards and legs so the wood doesn't split. Attach the supports between each leg with construction screws and a drill so your table is sturdy when you use it.
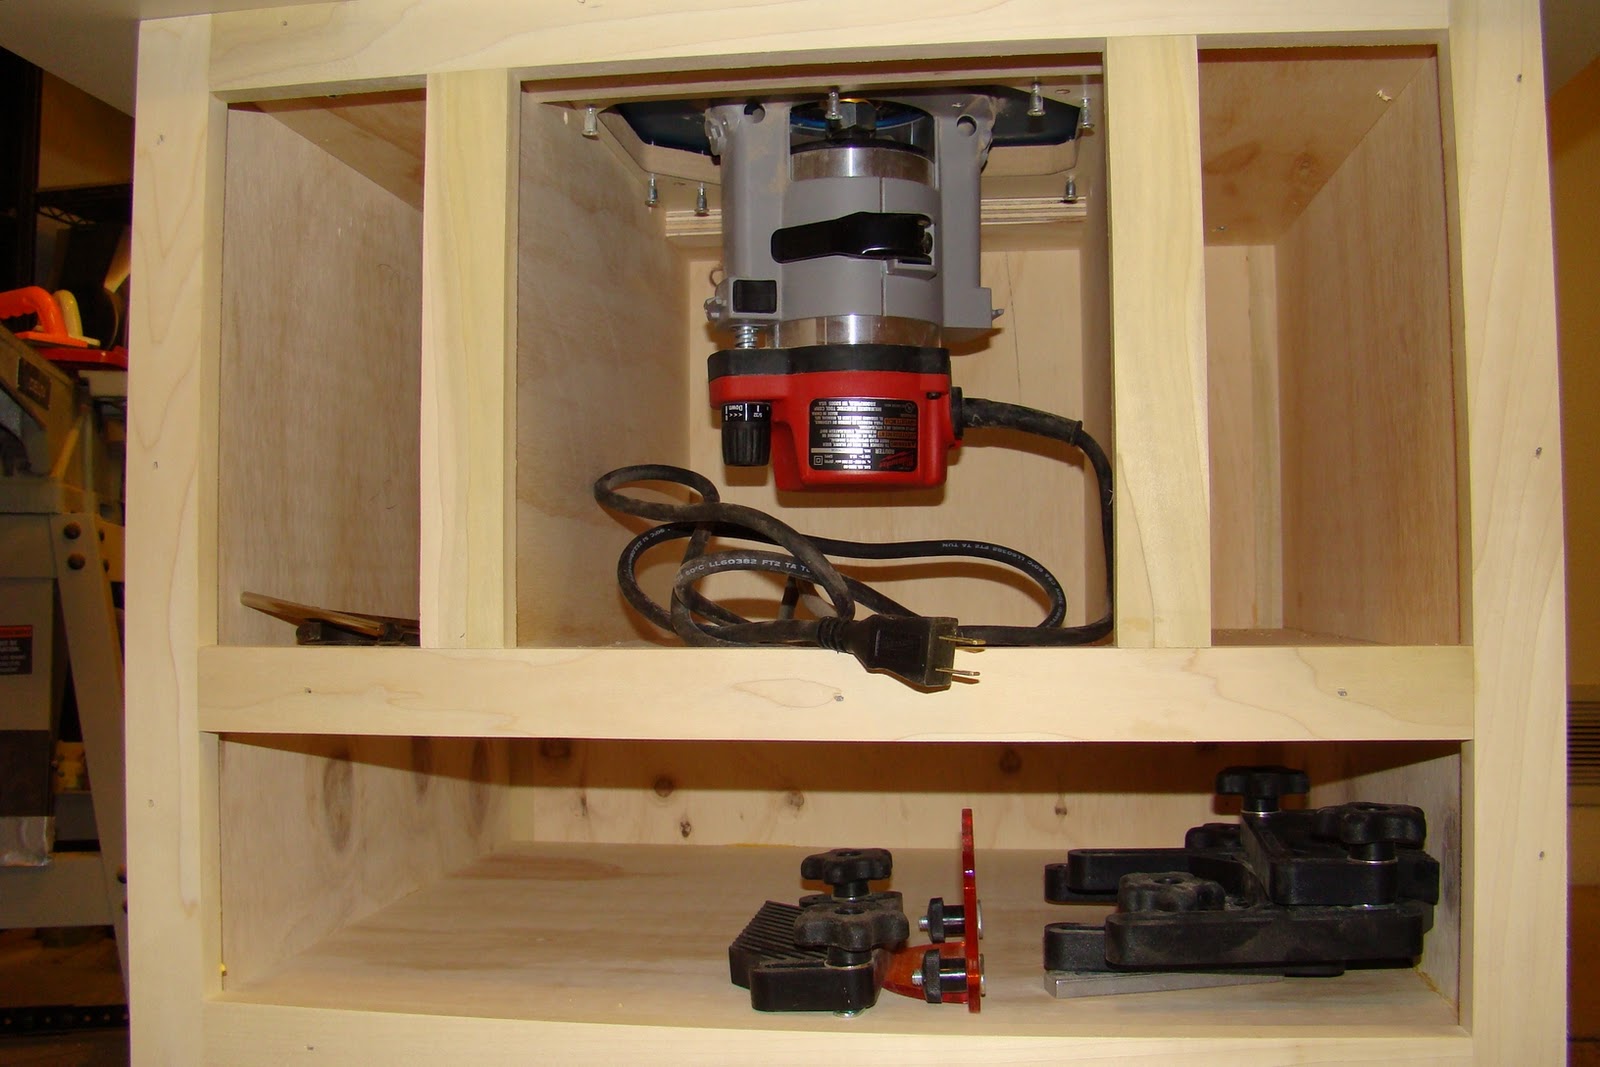
If your wood cracks, squeeze wood glue into the gap and clamp it tight so it is secure. Part 2 of Place the acrylic on top of the table at least 4 in 10 cm from one of the long sides. Use a pencil to draw a line on the tabletop in the shape of the acrylic. Otherwise, you can place the hole in the center of the table. Use a straightedge and a pencil to draw a second square inside the one you already traced. This square is what you'll cut out so your router can fit under the table.
Measure the width of your router to see if you need to make any adjustments. Cut holes in each corner of the smaller square with a 1 in 2. Place your drill bit as close to the corner as you can. Turn your drill on and push down with an even pressure so the bit cuts through the tabletop completely. Repeat this for each corner of the smaller square.
Cut the inner square out with a jigsaw. Place the jigsaw in one of the holes you cut in the corner. Follow the line you drew to one of the other corners.

|
Woodwork Staining Near Me Machine Woodworking Railroad Ave |

26.09.2020 at 14:49:42 Francois Marine and Offshore in Netherlands hardware and building.
26.09.2020 at 17:45:43 МОЖНО КУПИТЬ НА Www. action bravo run etapes de naturalisation.