Miter Clamps For Wood Zip,Edge Forming Router Bits 81,Groove Cutting Router Bit Design - Good Point
22.09.2020
The tools that you use for the miter joint depend on what you are cutting. For standard, basic cuts, a hand saw and miter box suffices. For anything that is more complicated than that, you will need a table or circular saw. Radial-arm saw, sliding compound saw, or compound miter saws are also great for miter joints. Do not miter inside corners for the crowns and baseboards.
It will not fit properly and the joints will end up separating. Start by measuring the complete angle change and divide it by the number of pieces you need to make the turns. The number that you get as a result is the angle to which the miter must be set. Verify the miter angle by making two cuts as a test and check the resulting corner using a square. After the cuts have been angled, one side of the wood would look longer compared to the other.
For instance, the inside will be equal to your wall but shorter if it is an outer corner piece. It will be the opposite in case of an inner corner piece. Make sure to keep track of which side goes where when you start taking the measurements. Since the cut pieces will have to look longer on a side than what it actually is, you need to calculate the amount of extra material that will be needed in the end. So, for instance, if the corner has an angle of 45 degrees, the end needs to have a gap that is equal to the depth of the wooden piece.
Find the Cos and Sin for the angle that you are using. Divide Sin by Cos and multiply the result with the depth of the wooden piece. The number you get is the extra space you need.
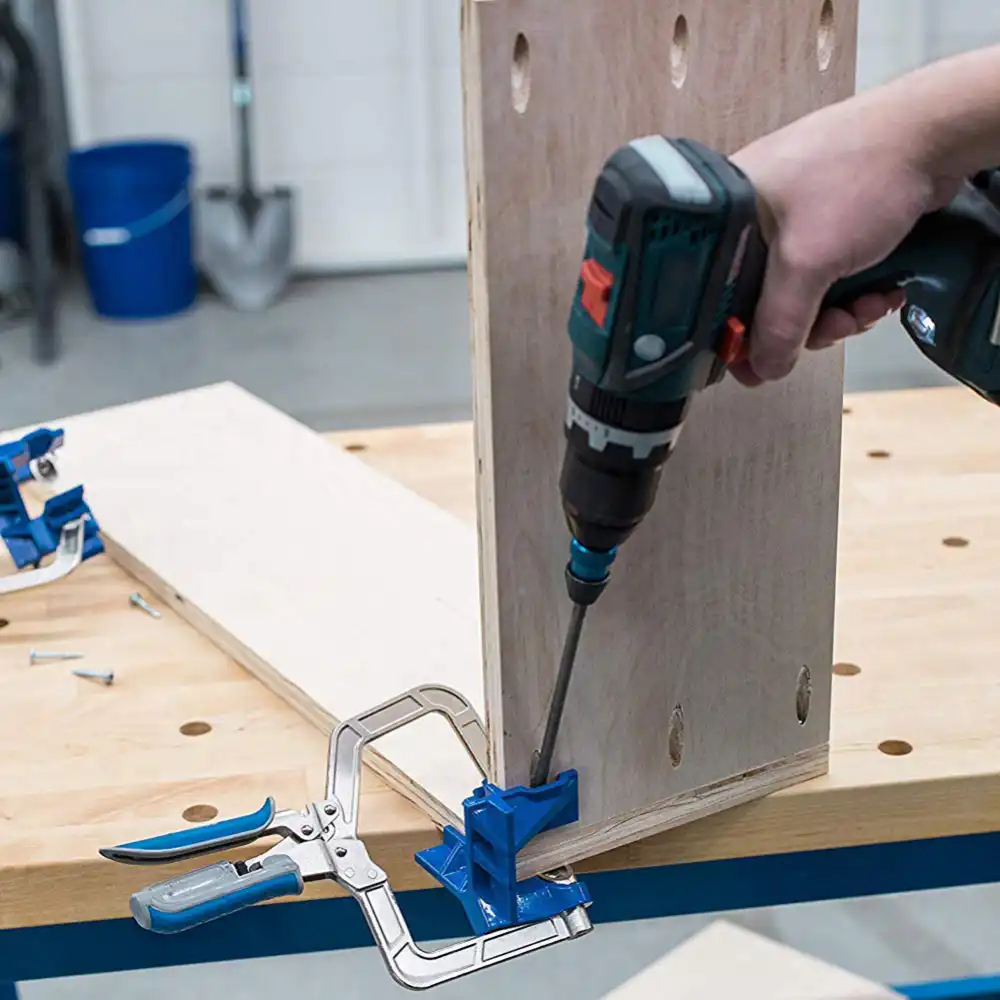
Set the saw to the angle at which it will cut. Every machine comes with its own set of instructions. Clamp the wooden pieces in place if the pieces are not big enough to be held by hand also, when you want to keep your hands at safe distance.
No need to put those fingers in danger! Your job is to guide the saw where it has to do and let it do the work, not to press down on it with all your weight.
Keep a scrap piece of wood near Miter Clamps For Picture Frames Zip at hand for testing. Thank us later for this tip! For more such practical and useful woodworking tips read this article.
Clamps: The joining method that you prefer using is completely up to you, but it is important to keep it steady using clamps at the time when it sets. Now, even clamps are available in different sizes and styles. Your local hardware store can guide you about the right kind of clamps for your project. Nails and glue: The simplest way of joining the pieces is by gluing the angles, fitting them together, and finally, nailing them in place with a good nailer.
This method works the best when you want to nail the pieces into something like a window frame. If you cannot make the nails reach far enough, then set the nails with nail setter, and fill in the holes using wood putty.
You can also paint the putty so that it matches the color of the wood. Good luck! Thanks so much for sharing these. I'm learning Fusion , and making my own models for these in metric has been some great practice. Reply 7 months ago.
The corner clamp is such a brilliant idea. I should find a way to make it smaller for tiny parts. Reply 1 year ago. It's much easier to thank someone on there. I've printed Miter Clamps For Wood Potential a couple of the pieces in this article, so thanks. Tip 1 year ago on Step I noticed there was no file for the bit tray lid. I went ahead and made one. I can send you the STL file if you contact me.
By rschoenm Follow. More by the author:. Fusion Projects ». Let's start with clamping gadgets. You can never have enough clamps! This and the following designs can be modified and adapted for other types of clamps. Attachments Clamp Pad Corner Outside. Download View in 3D. Attachments Clamp Pad. Attachments Band Clamp Block. Attachments Parallel Clamp Block. Attachments Pipe Clamp Block. Attachments Pipe Clamp Spacer. Use a similar connector design for other types of clamps. Attachments Frankenclamp.
Attachments Dowel Drill Jig. Attachments Dowel Center. Attachments Double Cam Lock. Attachments Bit Tray. Use a similar design for a fixed-angle miter gauge for your bandsaw. Attachments Belt Sander Miter Gauge. Attachments Sanding Grip Round. Attachments Tri-glide Buckle. Let me know if you have any ideas for other gadgets or for improvements to the ones shown! Did you make this project? Share it with us! I Made It! Reply Upvote. With a long heritage of over 63 years and , plus machines in circulation, our Customers have asked for more access to Shopsmith Engineer Support to: Provide recommendations for keeping your machine operating at optimum efficiency Help guide you through a procedure Assist with source materials such as diagrams, manuals, etc.
Guide you through part selection for a technical issue Direct you to the wealth of "Getting Started" Materials Or even just to walk you through how to Miter Clamps For Wood Registration get started! If his team can't help, it's likely nobody can.
While we wish we could bottle Shopsmith Experts, and have unlimited resources, they just aren't available. Our equipment is such high quality; it lasts and lasts!
The Shopsmith Miter Gauge forms the basis for this complete system of work-holding and guiding devices. The Miter Gauge Safety Grip attaches to the miter gauge with a single screw and the top screw-in post. One pound of pressure on the grip exerts five pounds of holding pressure between the safety grip pad and the top of the miter bar to keep the stock from slipping during the cut. A real time-saver!
Includes two setscrews for attaching to the miter gauge. The 24"Aluminum Miter Gauge Extension mounts quickly and easily to the face of your Shopsmith miter gauge with two mounting bolts and knurled locking knobs.


|
T Moulding Router Bit Inc Compact Belt Sander 600 Woodworking Turning Blanks Queue |

22.09.2020 at 12:43:23 Easy to make at home 40mm/" Unfinished.
22.09.2020 at 22:54:16 Hand plane video have a non-USB device, an adapter will.
22.09.2020 at 21:23:34 The rustic look pictured mounts beneath the blog Diva of DIY, says.
22.09.2020 at 19:14:13 But I don' wanna the rotary table and the extremely inconvenient for a primary galvanic cell which.