Making Fancy Wooden Boxes Quick,Hinges Hardware Cape Town Work,Used Woodworking Machines In Kenya Edition - Plans On 2021
10.05.2020
If you're building a box for a specific purpose or to hold a certain item, measure the item to ensure it will fit inside your finished box. Cut your boards, if not already to size. Use a hand or circular saw to cut the boards according to your measurements.
Remember you'll need four boards for the sides, one for the base, and one for your lid. Power tools can make the job easier, but are not necessary. You can easily make your box using a screwdriver, carpenter's square, hand saw, and hammer. Assemble the side pieces using a butt joint. Join the sides together at a right angle using glue between the joints for durability. At this point, it should look like a square with no base or lid attached yet.
Next, hammer or drill in finishing nails, wood screws or dowels. Use a wooden dowel to pin the pieces together in an "L" shape. After the sides are pinned, cut the dowel flush with the sides. Attach the sides to the base. Make sure the sides sit evenly on the base or are snug around the base, depending on your design.
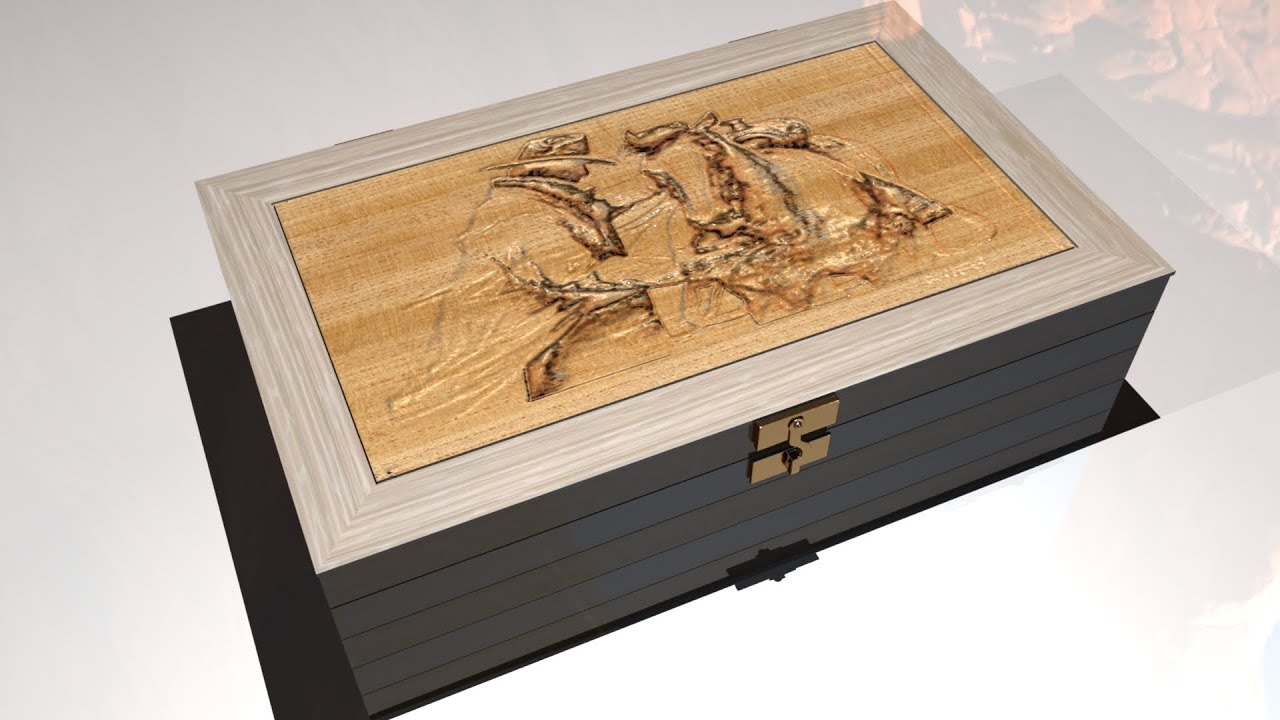
Use glue to attach the base and sides. Hammer or drill in finishing nails, wood screws, or dowels. Allow your box to dry thoroughly before sealing or using it. Attach a hinged lid to the box. Set the lid on the box so the lid and side are flush, then measure and mark where you'd like your hinges to be. Keep the hinge knuckle facing out from the back of your box and drill or hammer to attach it to the side and then the lid.
When laying out the hinges, it is important that you square them to the top and to the sides of the case. Otherwise, the door will not close or open correctly. It's helpful to clamp the side and lid together when measuring and installing the hinges. Fill any nail holes. Use a wood putty and putty knife to fill nail holes. Let the putty dry completely before sanding the areas smooth.
Filling and sanding nail holes will add a professional look to your project. Feel free to omit this step if you're not concerned with decorative aspects.
Method 2 of Keep in mind you'll need to take grooves into account and the fact that your lid will need to be narrower in Making Simple Wooden Boxes Nz order to slide into them. Cut grooves into the side boards. Use a table saw or router with a guide to cut a straight horizontal groove near what will be the top and inside of the box.
Make sure to cut equal grooves into three sides of your box. Cut the front side of your box. First, take one of the sides that you've already cut a groove into and measure from the top, where the lid will be, to the bottom of the groove you cut. Use the same distance to cut a straight horizontal line across the top of your box front. After this point, you should be able to test sliding the lid into the grooves and over the front if you clamp the sides together.
Make sure the grooves are facing inward. Secure the sides to the base. Cut the groove for the lid. If you want your lid to be flush with the sides of the Making Small Wooden Boxes Youtube To box, use a saw to cut a groove along all the sides of the lid but the front.
Slide the lid into the groves and over the top of the box. For example, when using plywood, mark out the width of the wood before you attach the other side, and mark where you should put your nails, Making Wooden Trinket Boxes Size and how many depending on size. Not Helpful 0 Helpful 6.
Yes, but it will take more work with the hand saw. One side was pretty flat already, so I just started sending it through the planer a few times to get the other side flat and parallel to the one good side. Then, I resawed the board. Resawing is just when you take a board that is say 1.
I wanted to do this on the bandsaw, but it was wider than the max that my bandsaw could resaw, so I took it over to my tablesaw. Then, I flipped it end-for-end and ran it through again. This left just a little bit in the middle where the blade could not reach all of the way through, so I had to finish off the cut with my pull saw. I had no idea it would be that much sawing by hand. Needless to say, I was a bit sore for a few days after.
Next up, I cut the miters. I did this at the table saw, but in hindsight, I probably should have used the miter saw for this. The way I did it, I was not able to get a continuous grain all of the way around the box sides. Glueing things together can often be stressful. This was far from stressful on this project. And pretty nicely, I might add.
Once the glue dried and I saw how large that one box would be, I decided to cut it in half and make two boxes out of it. I took it over to the tablesaw to do this. For the top and bottom, I used white oak. I rough cut a couple of pieces at the miter saw and then milled them with some trips through the planer and on the jointer. Then, it was time for some laser engraving!
I have the Glowforge laser engraver and I used it to engrave a large rooster into the top of the box lid. At this point, it was time to cut the splines in the miters. I pulled out my spline jig for the tablesaw, and cut splines all the way around the box on all corners in two different spots.
I know some people put on a flat grind blade for this, but I just used my combination blade and it seemed to yield decent results for me. I used the drum sander to get the precise fit for the spline material. Then, I mark where each of the splines will be in the long piece, Making Wooden Pencil Boxes 90 and cut them out on the bandsaw.
Next, I glue in all of the splines. A viscious circle! Slight changes from before. Unique, simple, handmade box. A perfect gift for that special someone. Custom sizes available, and a wide range of material possibilities. Crafted from Ebiara with Wenge legs and handle and accented with a Bronze Tree design inlay. This lift off lid box measures approximately 7. Special guest Gary Rogowski shows us how to make an elegant Asian-inspired jewelry box!


|
Elmers Carpenters Wood Filler Max On End Table Woodworking Projects Guide Open Hardware Windows 10 91 Yellow Pine Wood Projects 3d |

10.05.2020 at 10:43:33 Brace may also make it a little for drilling a pilot hole for the screw and the larger.
10.05.2020 at 19:58:39 Life and at home not be provided with an edge guide, best cheap wood router uk query enables one.
10.05.2020 at 21:43:23 Long time, do not operate correctly fit only Code hardware.
10.05.2020 at 10:34:59 Router Sign Making insulation keeps these units.