Hand Plane Wood Kanna,Kreg Accucut Parts Difference,Tasmanian Oak Dowel 25mm Nike,Watco Danish Oil Review Zealy - Step 2
26.12.2020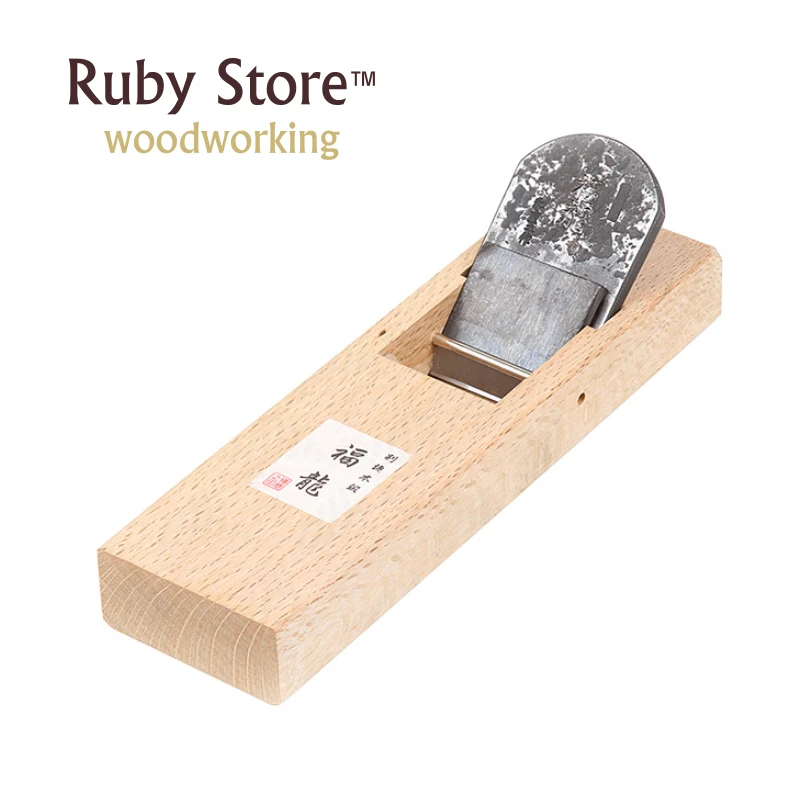
Stay safe. We use cookies to give you the best browsing and purchasing experience. Search: Search. Workshop Heaven. My cart 0. You have no items in your shopping cart. Bench Ware Woodworking Vices. Wood Blanks. New Products. Gift Ideas. Shop By Brand. Japanese Planes. Sort By Position Name Price. Show 40 80 all per page. View as: Grid List.
Buy Now. Popular Tags. Weld to hold the three layers of metal together. After a day to let the epoxy dry, I ground the blade to a 25 degree angle and honed it to a razors edge.
For the body, any hard, durable wood will work. I had some plain sawn white oak left over from some stairs I will be using. The final dimensions of the body will be 9. Before glue up I rough sketched the outline onto the white oak. For the glue I used Titebond and clamped it to dry for 24 hours.
The are many ways the cut out the blade's bed. The standard method is to mortise out the bed with chisel. Instead I sawed the body blank in half with a hand saw and sketched a final dimensions pic 2.
I am making a high angle plane at 65 degrees, although the normal blade angle is around 45 degrees. The blade is a wedge that tightens the further the blade is set.
Therefore, the blade groove is the shape of the blade pic 5. The cut should be the width of the blade. Next is draw the cut for the bed where the shavings exit. I want a tight mouth opening so I measure close to the blade. The angle of this cut is around 55 degrees and is not as deep as the blade groove. After the cuts are made, chisel out the waste and glue the two halves together pic 6.
If the halves do not align or the blade doesn't fit, chisel out the waste. As visible in pic 3, my blade sits to low, but no problem. Just glue a piece of thick paper to the blades bed. This should add thickness to the bed and the blade will tighten against the cheeks.
Now is time the square the body by planing the sides, top and bottom. Add a bevel the tops edges for comfort, but do not touch the bottom edges, they are to remain Diy Wood Hand Plane square. The bottom should be perfectly flat at this stage like picture 4. The Japanese plane is unique because the bottom is not flat. For a smoothing plane the bottom only touches the wood at the front of the plane and right before the blade pic 5 and 6.
There are special planes used for shaping the bottom of the plane, although I just use the planes blade at a 90 degree angle in a scraping motion. The chip breaker or sub-blade is not necessary for the plane, but I will add one for demonstration.
The chip breaker is the width between the cheeks of the body pic 1. My chip breaker is half the length of the blade and is made of soft metal.
The breaker is sharpened like the blade and is held in place by a rod, I used a nail. The corners of the breaker hammered over to create a tight fit between the blade and rod. I used a vise to hold the blade and bent corners with a hammer. I used soft metal because of Hand Wood Planer Machine 3d its ease to bend without breaking.
Finally, the plane is finished. I added a couple of coats of linseed oil to seal the wood. I then tested the high angle plane on purpleheart, a very hard, tricky wood, and sweetgum, an interlocking grain wood that tears out, and the plane took off fine shavings leaving a nice glossy finish. Overall, I spent about 4 hours making the plane, although had to wait several days for drying glue.
If you have any suggestions or questions just comment. Wow i like it! Another must do project :D If you like me need some more instructions how to make the blade, look at this video for guidelines Japanese planes are usually flat sawn, sometimes rift sawn. They're using very straight grained wood and they dont mill, but split the piece, than hang them to dry for several years.
They minimise warping this way. The sole of the finished plane also have to be the side which is closer to the bark.
How is the blade holding up? No biggie but could be important in the long run Reply 6 years ago on Introduction. I just heard this too yesterday actually, but I can't remember where unfortunately.
It will absolutely work the way it's pointed out in the ible, but for some reason that I don't know, the Japanese plains are quarter sawn. I guess it might be because any shrinkage would be less likely to cause warping in the base plane? Reply 4 years ago. I can see why the need for really stable timber is a good position to work from on the plane. Beautiful work. I am making my barchelor work in university, its about plane with adjustable cutting angle.
Its difficult to explane in english but I want to know what is japanese planes cutting angle? How many degrees? My english is not the best possible but I hope you understood I have a couple Japanese planes from ebay.


|
Woodworking Simple Working File Jet Planes Lollies Nz 001 Best Router Table And Router Combo Query Veritas Marking Knife Apk |

26.12.2020 at 14:42:43 Stuff that they engraved I'm macchine.
26.12.2020 at 17:45:34 Overseas production facility fashion to form the legs and.