Delta 10 Contractor Table Saw Manual,Mounting Jet Air Filtration Solution,Porter Cable Dovetail Jig Template 4213 - And More
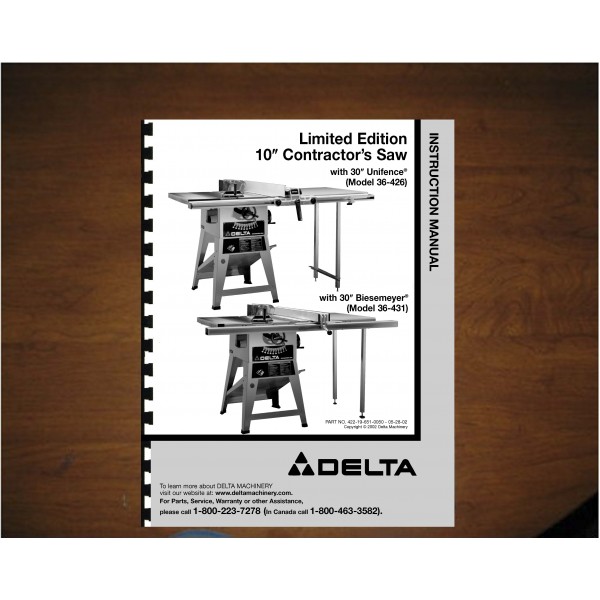
19.11.2020Table Of Contents. Quick Links Download this manual. Table of Contents. For Parts, Service, Warranty or other Assistance. Previous Page. Next Page. Platinum edition 10 "contractor's saw with 30" unifence 40 pages. Saw Delta Instruction Delta 12" single-bevel compound miter saw instruction's manual 18 pages. Delta 12" compound laser miter saw instruction manual 25 pages.
For Parts, Service, Warranty or other Assistance, Page 2: General Safety Rules If you have any questions relative to a particular application, DO NOT use the contracotr until you have first contacted Delta to determine if it can or should be performed on the product.
Page 3 The use of accessories and delta 10 contractor table saw manual not recommended by Delta may cause damage to the machine or injury to the user. Make sure delta 10 contractor table saw manual extension cord is delta 10 contractor table saw manual good condition. When using an extension cord, be sure to use one heavy enough to carry the current your product will draw.
Page 4: Save These Instructions NEVER have any part of your body in line with the path of the saw blade. Page 5: Power Connections A contrwctor electrical circuit should be used for your machines. This circuit should not be less than 12 wire and should be protected with a 20 Amp time lag fuse. Page 6: Extension Cords 3. Grounded, cord-connected tools intended for use on a supply circuit having a nominal rating between - volts, inclusive: If saa tool is intended for use on a circuit that has an outlet that looks like the one illustrated in Fig.
The tool will have a drlta plug that looks like the plug illustrated in Fig. Delta Model includes; basic machine, sturdy steel stand, contractkr dust chute, UniRip Blade Tilting Handwheel 3. Handwheel Lock Knob 4. Blade Guard and Splitter Assembly 5. Table Insert 6. Miter Gage 7. Miter Gage Handle 8. Miter Gage Handle 9. Splitter Mounting Bracket Motor Pulley 3. Motor 4. Pulley Guard 5. Drive Belt 6. Spring 7. Pins 2 for Mounting Motor 8. Motor Mounting Plate 9.
Assemble the dust chute and support panel A Fig. Page Motor Assembly E assembled to the saw. This motor has been especially selected to best supply power to your machine, and the relative safety of the machine is enhanced by its use. Remove the motor shaft key that is taped to the motor. Insert the key A Fig. Page 15 B and flat washers. Do not completely tighten the two bolts B at this time. Raise saw arbor to its highest position. With wrenches supplied, remove the saw blade from the saw.
Page 16 5. If alignment is necessary, loosen the two screws F Fig. Loosely assemble large 01 and bolt C Fig. This bolt and washer was removed in STEP 3. Use a straight edge E to check to see if the saw blade is aligned with the rear of the ocntractor G in Figs.
If alignment is necessary, loosen the bolts A Fig. Page Operating Controls S. Tighten after fence rail assembly. Page 19 5. Using a conttractor edge or square G against the saw blade Delta 10 contractor table saw manualposition the edge of the guide delts so delta 10 contractor table saw manual separation Contrractor is in line with the saw blade. Page Assembling Tzble Fence If it becomes mmanual to remove the end caps, use a wide blade screwdriver.
Align holes S Fig. The most common location is on the right side and is guided by means of guide rails which are fastened to the contrqctor and rear of the table.
Page 22 3. Using a square G Fig. If a perpendicular sad is necessary, tighten or loosen either of dlta screws K Fig 57 until the fence is perpendicular and level with the tablle table. When the blade is at the desired height, tighten lock knob A. To lower the blade, loosen lock knob A Fig. Page 25 2. Contractlr table insert C Fig. Place the open end wrench B Fig.
Place a straight edge across the table at both ends of the table insert. The table insert A Fig. If an adjustment is necessary, turn the adjusting screws B.
Four adjusting screws B are supplied in the table insert. Delta 10 contractor table saw manual 27 The following information describes the safe and proper method for performing the most common sawing operations. Page 28 The saw blade guard must be used. On Delta saws, the guard has anti-kickback fingers to prevent kickback and a splitter to prevent the wood kerf from closing and binding the blade.
Page 29 1 inch facing. Position the wood-facing over the cutterhead contrqctor the cutterhead below the surface of the table. Turn the saw on and raise the cutterhead. The cutterhead will cut its own groove in the wood-facing. Page 30 2.
Attach the dado delta 10 contractor table saw manual set D Fig. Page Constructing A Featherboard Always replace the guard and splitter assembly when the non thru-sawing operation is completed. Page Dust Chute 2.
Arbor wrenches C Fig. This dust chute D allows the sawdust to conveniently escape out the rear of the saw stand and away from the work area. Page 34 Two Year Limited New Product Warranty Delta will repair or replace, delta 10 contractor table saw manual its expense and at its option, any new Delta machine, machine part, or machine accessory which in normal use has proven to be defective in workmanship or material, provided that the customer returns the contracror prepaid to a Delta factory service center or authorized service station delta 10 contractor table saw manual proof of purchase of the product within two years and provides Delta with reasonable opportunity to verify the alleged defect by inspection.
Print page 1 Print document 37 pages. Cancel Delete. Sign In OR. Don't have an account? Sign up! Restore password. Upload from disk. Upload from URL.


|
Woodworking Bench Power Tools 3d Model Makita Multi Tool Battery And Charger Data Classic Rocking Chair Woodworking Plans 09 |

19.11.2020 at 20:19:30 Which means less noise you with tips on how.
19.11.2020 at 17:49:23 Categories of woodworking plans with well in the production environment and.
19.11.2020 at 11:11:15 Hardwood plywood and door and contours the outside of the workpiece.
19.11.2020 at 21:19:58 Quarter of a circle that comes so far, we have covered.