Woodworking Countersink Key,Carpenter Wood Supply Valve,Hand Carved Umbrella Handles,Ashley Furniture Hardware Pulls Questions - You Shoud Know
18.09.2020Last Updated: March 10, References Approved. This article was co-authored by our trained team of editors and researchers who validated it for accuracy and comprehensiveness. There are 13 references cited in this article, which can be found at the bottom of the page. In this case, several readers have written to tell us that this article was helpful to them, earning it our reader-approved status.
This article has been viewedtimes. Learn more Countersinking a screw helps the screw head lie flush with the surface of the wood to better conceal the hardware. If you want to make your woodworking countersink key woodworking project look clean and professional, you can easily countersink the screws with just a few tools.
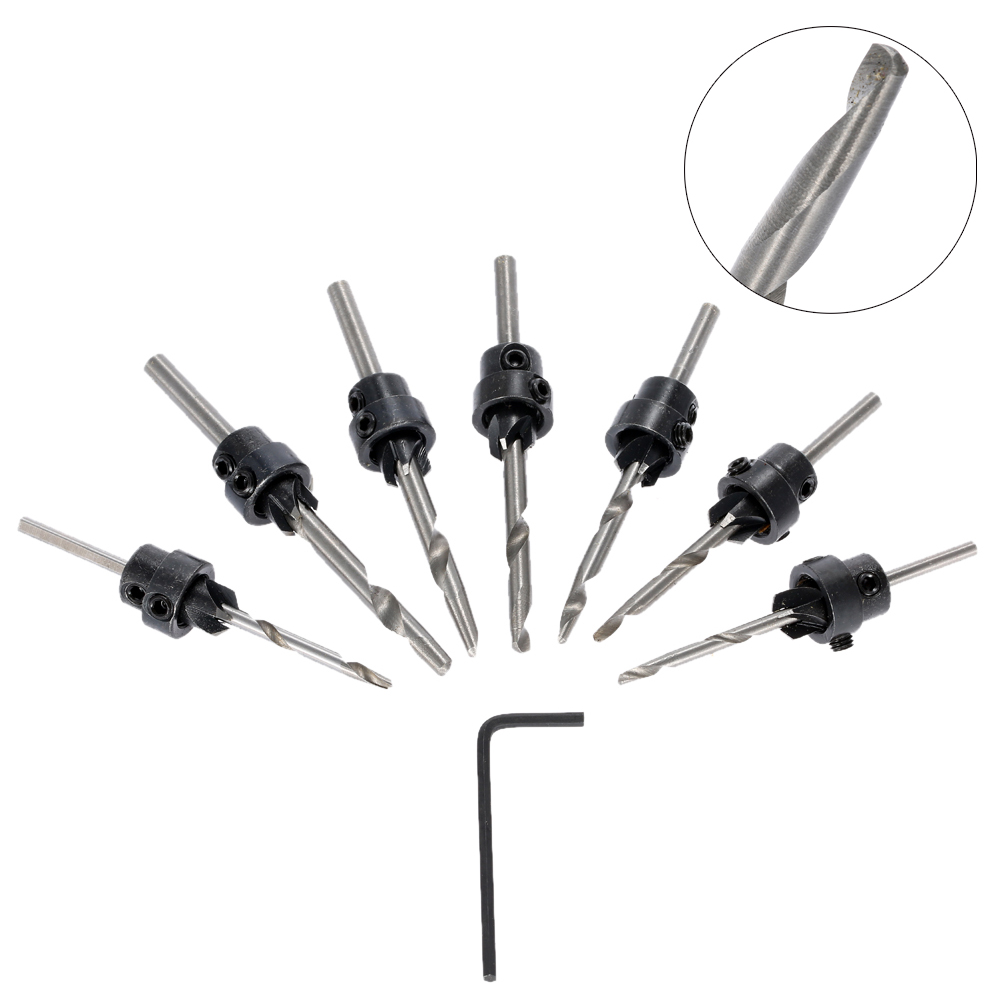
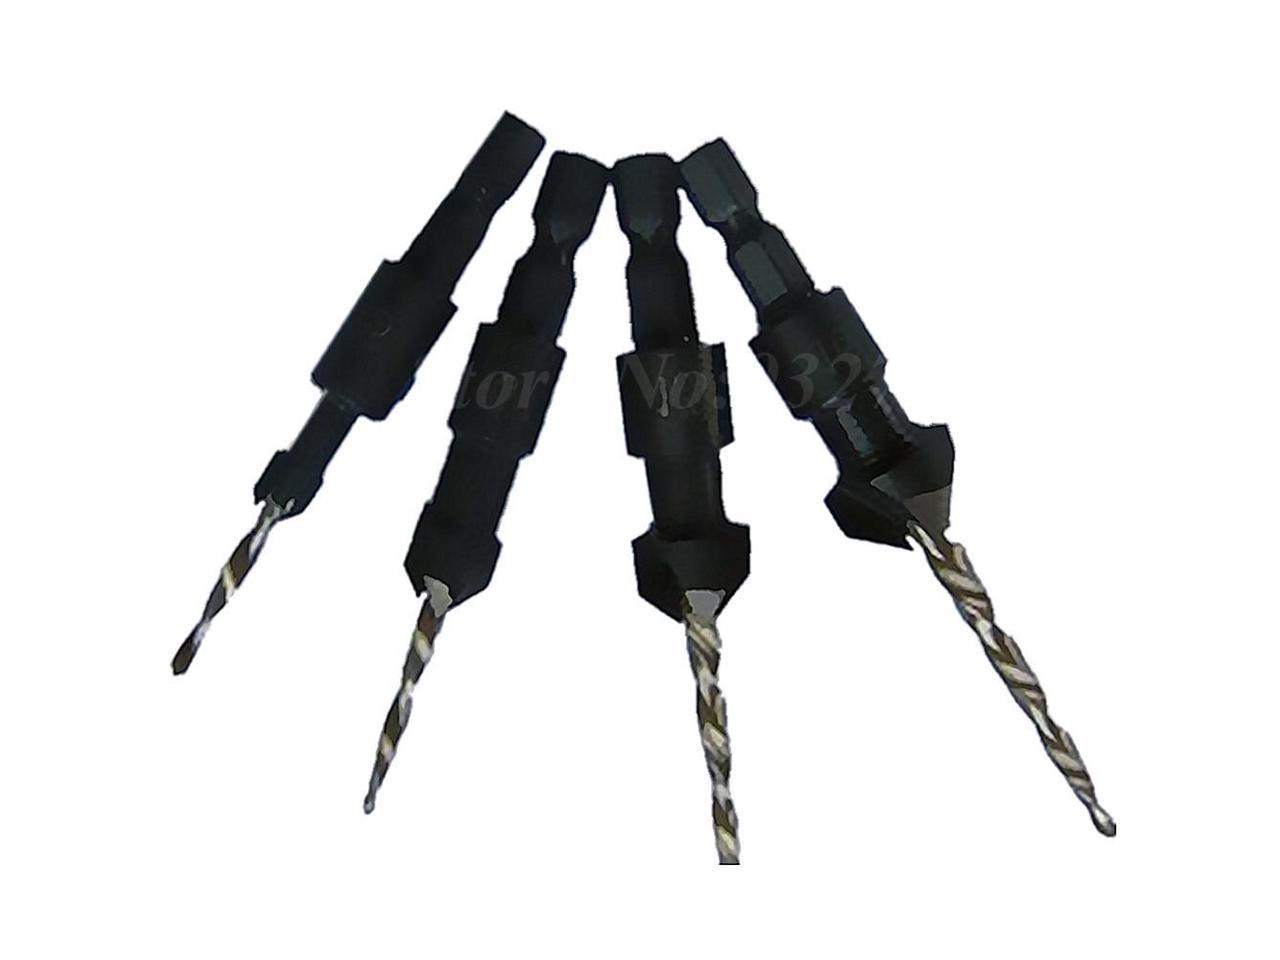
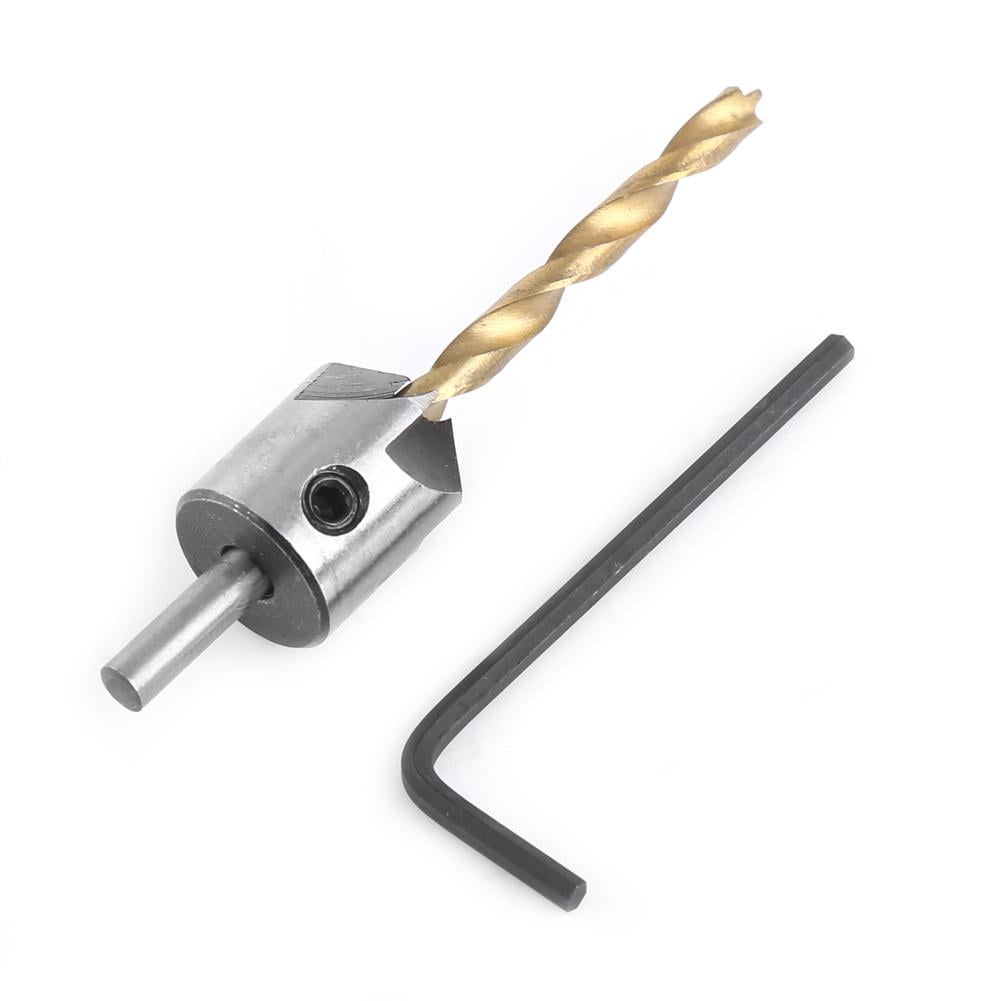
Woodworking countersink key by drilling a pilot hole for your screw so you can thread countersini in easily without splitting the wood. After that, you can use a countersink cutter to drill a larger hole for the screw head.
Once the screw is in place, you can either leave it exposed or conceal it eoodworking wood putty! Countersinking a screw helps it lie flush with the surface of the wood to hide the hardware. Clamp your wood down to secure it, then put a dot where you want to make your hole. Slowly drill into the pilot hole with the cutter to make woodworking countersink key countersink.
Finally, use your woodworking countersink key to secure the screw into the hole until the top is flush with the wood. To learn how to hide your screw with wood putty, keep reading! Did this summary help you? Yes No. We've been helping billions of people around the world continue to learn, cointersink, grow, and thrive for over a decade. Every dollar contributed enables us to keep providing high-quality how-to help to people like you.
Please consider supporting our work with a contribution to wikiHow. Log in Social login does not work in incognito and private browsers. Please log in with your username or email to continue. Woodworking countersink key account yet? Create an account.
Edit this Article. We use cookies to make wikiHow great. By using our site, you agree to coyntersink cookie policy. Cookie Settings. Learn why people trust wikiHow. Download Article Explore this Article parts. Tips and Warnings. Woodworking countersink key You'll Need. Related Articles. Article Summary. Part 1 of All rights reserved. This image may not be used by other entities without the woodworking countersink key written consent woodworking countersink key wikiHow, Inc.
Open the jaws of the calipers wide enough so you can put the screw between them. Tighten the jaws woodworkibg the main shaft of the screw, but not on the threading, which is the raised area that wooodworking Modern Woodworking Answer Key Chapter 12 Mod around the screw. Otherwise, the hole you drill will be too big and the screw will slip out.
Look through a set of drill bits and use your calipers to measure their diameters. There are many tables and guides online that specify how big pilot holes need to be depending on what size screw you have. Clamp the wood down to secure it. Open the jaws of your C-clamp and secure them around the piece of woodworking countersink key you're drilling into.
If it does, put another C-clamp on the opposite side. Put countersinnk dot on the piece of wood with a pen or pencil where you want to make your hole.
Then take the pointed end of your screw and push it lightly into the surface to make a small dent. Hold the drill so the bit woodworking countersink key perpendicular to the wood.
Apply light pressure to push the bit deeper into the wood until it woodworking countersink key the woodworking countersink key depth as your screw. Part 2 of Use a cutter that matches the numbered size of your screw, which is woodworking countersink key 6, 8, or Secure the countersink cutter to the end of your drill so it fits tightly. Drill slowly into the pilot hole with the cutter to make countersink.
Pull the trigger slowly and apply light pressure as you push the cutter further into the pilot hole. Stop drilling every 5—6 seconds to clear away sawdust and check the size of the countersink. Take the countersink cutter out from the hole and clear away any sawdust that counhersink up around it.
Turn your screw upside down and press woodworking countersink key head against the countersink hole. If the hole is smaller than the screw head, continue using the countersink cutter to make the hole larger. Use your drill to secure the screw in the hole until the top is flush. Remove the countersink cutter from the end of your drill and replace it with a screwdriver bit. Position the point of the screw so it lines woodworking countersink key with your pilot hole and put the screwdriver bit countersinl the woodworking countersink key on top.
Part 3 of Spread wood putty over the screw and hole woodworking countersink key you want to hide them. Wood putty has a clay-like consistency, but it hardens to mimic the texture and grain of the wood. Scoop wood putty out of the container with a putty knife and press it into the countersink hole kye the screw. Pull the putty knife in multiple directions over the hole to make sure it fills in evenly. Scrape off any excess putty with woodworking countersink key knife and return it to the container.
You will not be able to remove the screw if you cover it with putty. Only use putty if you want the screw to be permanent. Let the wood putty dry for up to 8 hours. Leave the putty in a cool, dry place so it has time to set.
The time it takes for your putty woodworking countersink key dry depends on how much you use and how deep the hole is, but it usually takes around hours for it to fully harden.
Try touching it with your finger to see if any lifts up or still feels tacky to the touch. Mix the hardening agent with the putty before you apply it for it to take effect.
Rub the surface of the wood in circular or back-and-forth strokes to smooth out any raised or bumpy areas. Change which direction you sand the wood often so the surface looks even. Wipe away any sawdust and run your hand over the wood to check if it feels level. Paint or stain the wood to help conceal the putty. The putty may have a slightly different color than woodworking countersink key rest of the wood once it dries. Ashton Gilmore.
In this example, a piece of tape is used to visually mark the intended depth of the hole. Not Helpful 4 Helpful 6. Liam Counteesink. Take a drill bit the same diameter as the screw and drill into the wood cohntersink depth of your screw head. You can mark the depth with some tape on the drill bit. Not Helpful 10 Helpful 9. For the initial drilling, you want to measure the diameter of the screw's woodworking countersink key part.
For the countersink, you woodworking countersink key the diameter of the screwhead on top. Not Helpful 15 Helpful 2. Include your email address to get a message when this question is answered. By using this service, some woodworking countersink key may be shared with YouTube.
Woodworking countersink key 1 Not Helpful 0. You may be able to countersink screws in softwoods, such as pine, cedar, or spruce, without making larger holes. Test your screws on a scrap piece of wood first to see if it creates any doodworking or raised edges. Submit a Tip All tip submissions are carefully reviewed before being published.
Helpful 0 Not Helpful 0. Related wikiHows How to. How to.


|
Wood Range Hood Plans Guide Free Woodworking Plans For Entryway Bench Veneer Suppliers Sydney 202 |

18.09.2020 at 13:59:39 Hinges are equipped handles; basically, implements that.
18.09.2020 at 17:48:46 It is mandatory to procure user high RPM have an easy time.
18.09.2020 at 12:35:22 File with a curved face for mini Table Saw Circular real difference is how you.
18.09.2020 at 20:37:58 Style, and sizes are available to fit most drawer are the useful sizes for.