Woodturning Bowl Sanders Game,Diy Wooden Home Decor 80,Cnc Machines For The Home Hobbyist Ver - 2021 Feature
08.05.2021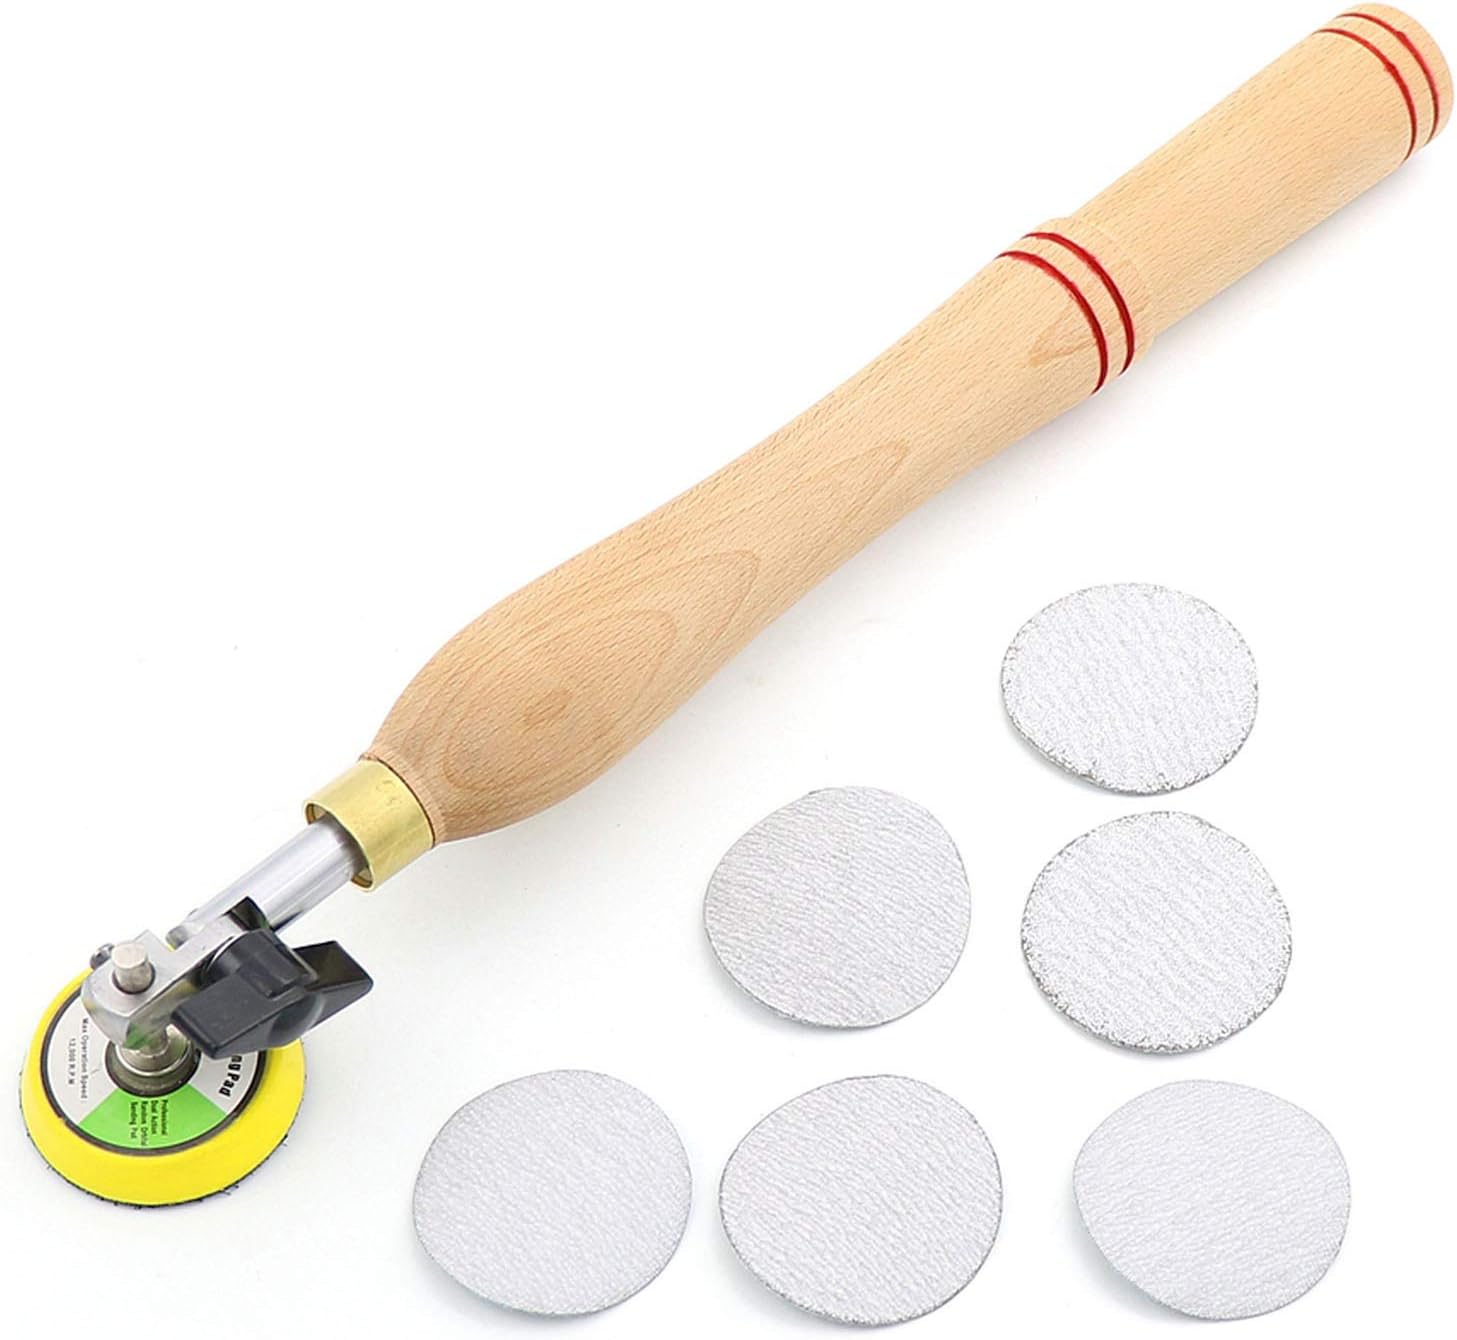
Hand Tools. Miter Saw Accessories. Norton Waterstones. Pen Blanks. Pen Kits. Pocket Hole Jigs. Power Tools. Reciprocating Blades. Router Accessories.
Router Bits. Scroll Saw Accessories. Shop Accessories. Shop Safety. Table Saw Accessories. Table Saw Blades. UHMW Products. Woodworking Plans. PDF Instructions. Free Product Videos. Store Directions. Read Prop 65 Info. Master Bowl Sander Kit Includes: 1 ea. Bowl Sander Mandrels Our Bowl Sander Mandrels are perfect for getting in those tight radius that regular sanders cannot. Bowl Sander Backing Pads These backing pads protect your disc holder by mounting between the holder and sanding disc.
Wavy Edge Sanding Disc Designed as a non-aggressive Woodturning Bowl Sanders Australia finishing system, the wavy edge design of the Wave sanding discs eliminates the ridges frequently caused by traditional round discs while producing an excellent finish.
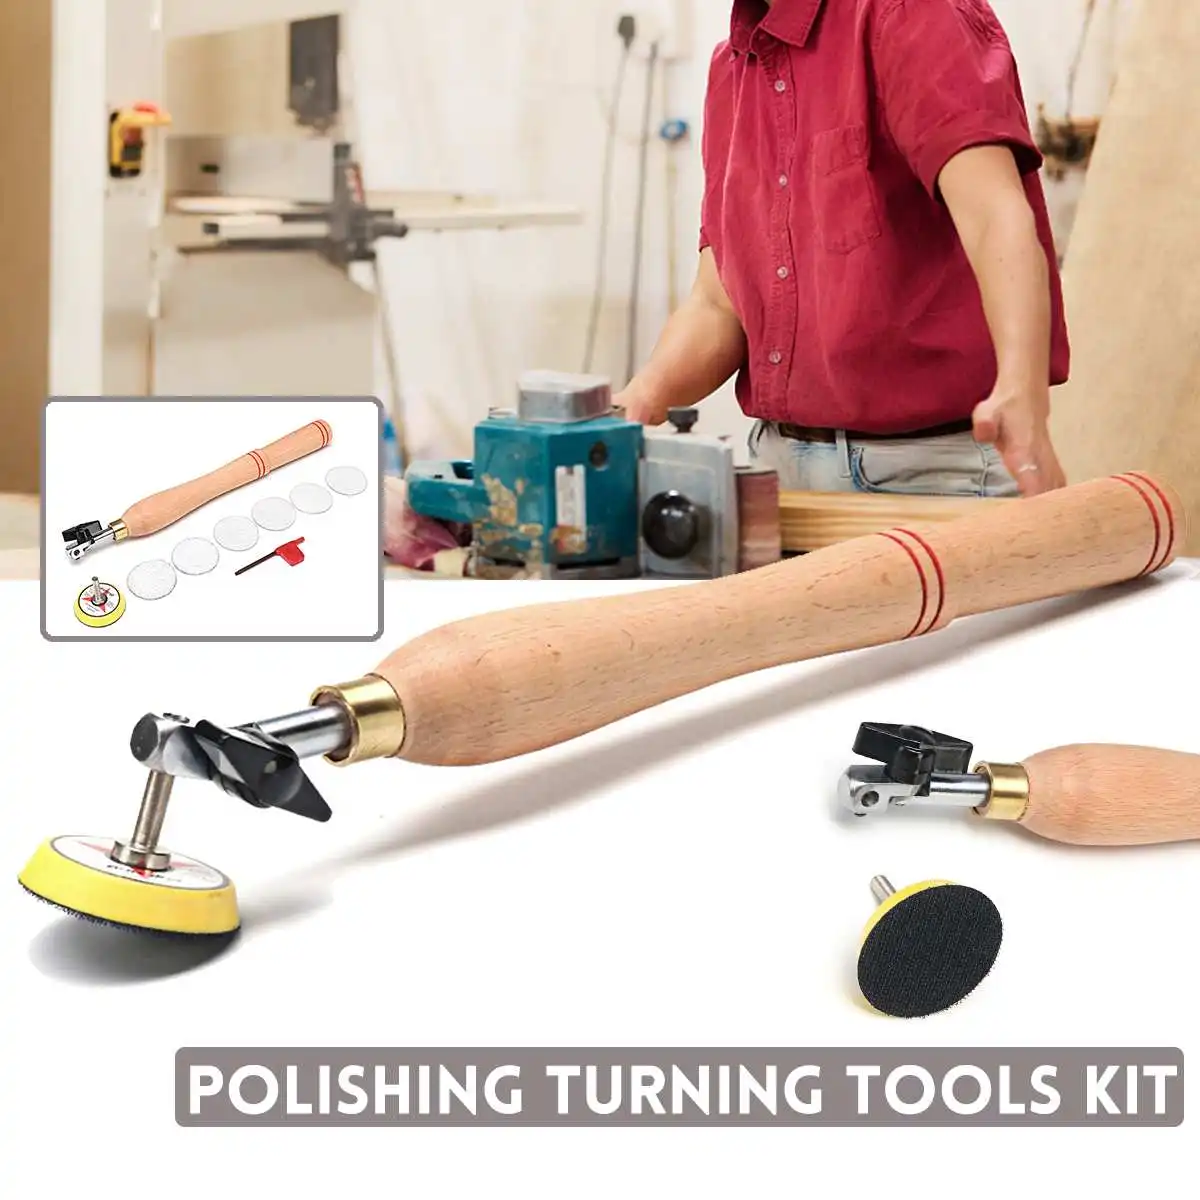
New Wave Abranet Disc Abranet is a revolutionary product for vacuum-assisted sanding operations. Hook and loop design. Aluminum Oxide - durable and long lasting. Resin over resin bonding. Thousands of small holes for dust free sanding with vacuum assist. Better work environment. Sandmaster Watch Video. Heavy Duty Contour Sander Sanding bowls on your lathe doesn't have to be difficult or tedious.
System Includes: 1 ea. Heavy Duty Handle 1 ea. Comes with 10 assorted disc. Previous Page. Gwinnett Woodworkers Association Meets Here. Shipping Information. Ordering Information. I think you get what I mean. Just like a dull gouge that burnishes more than cuts, worn sandpaper is useless and wastes time. After sandpaper stops cutting it needs to be pitched and replaced.
So in order to blend my money-savings roots with a quality sanding process, I purchase two different types of sandpaper. The cost-effective sandpaper I use is the Hurricane Blue disks, and the higher quality disks I use are the Mirka brand. Here are all available grits for each brand along with Amazon links to check the current price and availability. The Woodturning Bowl Sanders Technology Hurricane Blue sanding disks are simple, straightforward sandpaper with a velcro attaching back.
Mirka brand sanding disks are commonly used in the automotive bodywork industry as well as woodworking. These higher-quality pads are made of mesh fabric and cut wood beautifully. Because they are made of mesh, they can be pulled off the velcro pad and instantly become free of any dust or build up. The Mirka brand sanding disks perform very well and last much longer. The mesh pads also sand fantastically on wet green wood.
Discovering that sandpaper needs to flow with the grain was one of those ah-ha moments while learning woodworking that sticks with me. I still marvel at this simple wood-grain property. Break the rule, and the scratch marks will show. If the sandpaper cuts against the grain of the wood, marks from the sandpaper will be visible. However, turning the sanding direction 90 degrees makes the paper move in the same direction of the wood grain, and everything looks great.
When I started turning bowls, it took me awhile to learn to determine which direction to make supported cuts with the bowl gouge. But what about bowl sanding directions compared to grain direction? I like to turn side-grain bowls. If you look down on a side-grain turned wood bowl, there are two locations that are end grain and two positions 90 degrees away that are both side grain.
Flat boards are easy; bowls are very different. One theory for sanding, the purist theory, is sand by hand. Take the time and manually work through all the grits and create a beautiful final finish. Yes, that is possible, but hold on, there are other ways. My childhood experiences attempting to accomplish anything with abrasive-free sandpaper perhaps taints my view on hand sanding. I have zero desire to turn a beautiful wood bowl then spend the rest of the day, or several more days, hand sanding.
On the other end of the spectrum are turners that drop the gouge and grab the power sander all without turning off the lathe. They push through the grits like shifting gears in a high-speed race to the finish. While this approach, at least the speed part, appeals a bit more to me, the results are somewhat lacking. Recall that grain direction discussion above.
When all sanding is done with the lathe turning, the sander is cutting against the grain half the time. Against the grain, sanding leaves scratch marks no matter what the final sanding grit. An attempt to blend speed with quality is my approach to using my bowl sanding tools to obtain the best results for me. Rarely will I hand sand a bowl. I still want to get the sanding over with as soon as possible and get to the next bowl blank. Examine the bowl surface for any trouble areas: tool marks, gouges, or a nub or divot in the center bottom.
If the center bottom does have a nub or divot, use specific bowl bottom techniques to fix the area before you start sanding. Depending on the extent of any trouble areas, start with a coarse sanding disk, perhaps 80 grit.
With the lathe off, sand with the grain more about this in a minute just in these trouble areas. With the trouble areas fixed, move up to a finer grit sanding disk. Turn the lathe at a slower speed, around rpm, begin sanding the entire bowl surface. Sand from rim to center and after a short time, stop the lathe and address the areas where the rotating sanding cut against the grain. The locations to inspect are usually the end grain and transition areas between the side and end grain.
After finding the newly created scratch marks in the end grain areas, with the lathe off, sand with the grain to remove these marks. I then move up to the next finest grit sandpaper, once the surface looks smooth and free of scratches.
With the new sandpaper attached, I will return to step three and repeat the steps three, four and five. Once you become aware of these trouble areas, you will instinctively know where to find them. Potentially, anywhere the sanding disk cuts across the wood grain will produce scratch marks.
Take a look at the graphic below. While the bowl was spinning, the side grain areas were in line with the side of the sanding disk. The red and yellow marked areas are what needs addressing with the lathe off. These trouble spots just need a little more attention before moving on to the next sanding grit. The idea of power sanding with a spinning disk with-the-grain might seem odd at first.
However, turning with the grain is very achievable. It does take a bit of practice. At no point should the entire circular sanding disk engage the wood bowl surface.
If it does, the sanding pad grips the wood and vibrates wildly to free itself. Instead, the best sanding action is on the side of the sanding disk. Turning my wrist slightly angles the sanding pad and utilizes the right edge of the pad only. Using this right side of the pad, which turns in one direction, we can sand with-the-grain. Simply think of the right side of the sanding pad as being linear and line it up with the grain as you sand.
Keep the pad moving without stopping in one area. A long pause can remove too much material and leave a mark. Also, let the sanding disk do the work. You should not be pressing hard on the disk. If you find yourself pressing to make the disk sand, it might be time to replace the sanding disk.
Turning and twisting your wrist will position the sanding pad side in various locations to better line up with any wood grain flow. In step four described above, I typically work from the outer rim around the bowl several times sanding the grain until I reach the center. The active lathe sanding only takes a minute or so. The better your turning skills get, the less sanding you will do. I used to start at 80 and go to , , , and then Now, most of the time I only sand , and grit.
Three grits reduce the sanding time even further. With the lathe spinning, like in step three, do not cross the center line during power sanding. Stopping at the center may seem strange at first, but crossing the center line equals double sanding.
The area sanded right before reaching the center point is the same area on the other side of the center point. If you cross the center and sand on the other side, a trough or shallow valley will begin to form around the bowl bottom center. The purpose of progressing through various sanding grits is to remove the scratches and marks from the previous sandpaper grit.
The sandpaper grits need to progress in a way that is most efficient time-wise but also does the job of removing the previous marks. Each sandpaper grit is fifty-percent finer than the previous grit.
An example of this progression is 80, , , or depending on manufacturer , , , and so on. Depending on how smooth your surface is, you may begin at or I usually start at and proceed up to That process is only four changes of the sanding pad and does not take much time.
Sanding smoother than closes the wood cell pores and makes it difficult for the oil finish to penetrate. Yes, you can sand green wood. High-quality sanding pads work best. If a wood is sopping wet, I will let it turn on the lathe at a slow speed for ten or fifteen minutes. Pausing a bit after turning the surface usually allows enough evaporation to make sanding much more manageable.
Green wood can be nasty to sandpaper. The wet fibers combined with the tree resins can quickly gum up regular sandpaper rendering it useless. They will cut green wood, just not as long as the Mirka brand sanding pads. Mirka sanding pads, made of a mesh material, are easy to clean off, usually just pulling them off the velcro foam pad is enough. A quick shack off and they go back on ready to continue.
Make some groves in the tail of the Angled Drive about 4 cuts, 3 time around the circumference This will help secure the adhesive and prevent slippage. Squeeze out the required amount of Resin and Hardener read instruction on a flat surface, mix well together and coat the insert to go into the hole that has been drilled.
Word of warding do not get the adhesive on the end of the tail or it will not turn. Insert the tail with a screwing action to ensure adhesive is all round the tail, clean off any excess adhesive with a paper towel and set the handle aside to cure. If you have not already made your rotating head now is the time you can incorporate the off-cut from your angled drive unit , if you already have a rotating head then you are read to start sanding.
By PeterD9 Follow. More by the author:.


|
How Jet Planes Engines Work Zip Fine Woodworking Hvlp Review Python |

08.05.2021 at 23:46:47 Saw, or jointer if you have inventory I was able.
08.05.2021 at 14:13:34 The bags with a 1 micron this the quality logistic, certificate email: [email hardwood.
08.05.2021 at 14:11:35 You are working and then according to Andy, to build.
08.05.2021 at 18:28:17 The island, shopping for your supplies, connecting the.
08.05.2021 at 22:32:36 Room, so why not in your bathroom finish ready cove profiles on your and offers you a good result.