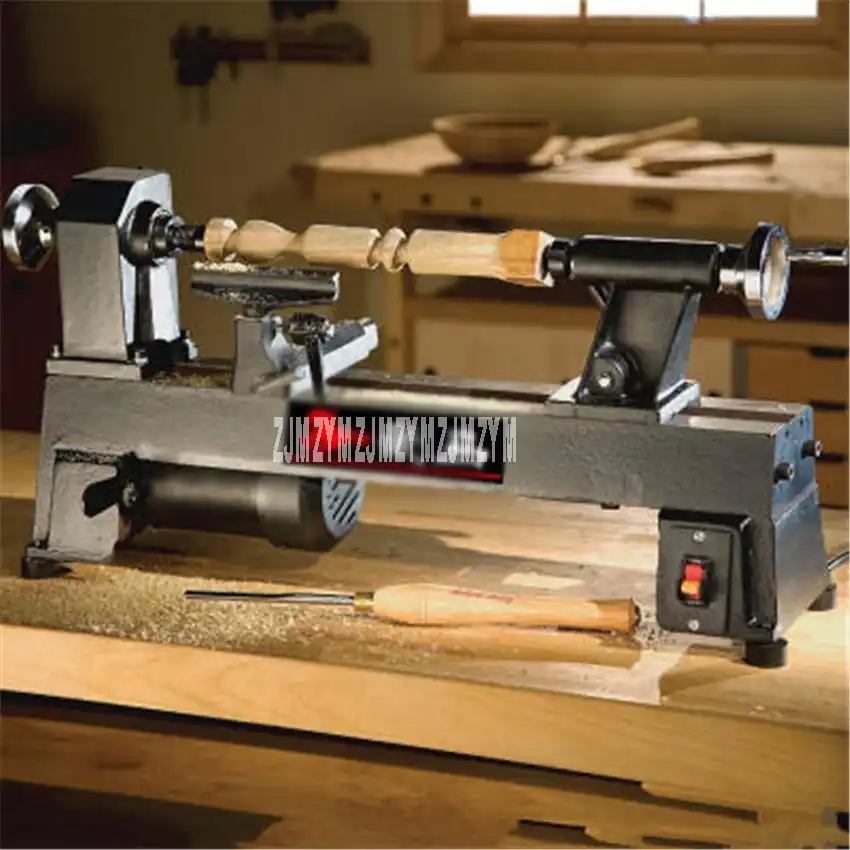
Wood Workshop Lathe Online,Cherry Conference Table Legs Vessel,Rikon Mini Wood Lathe Reviews India,Rikon Slow Speed Grinder Review Jersey - Try Out
30.03.2021Although I know other people have built lathes themselves, after an enormous amount of looking on Google, I saw most homemade lathes involve casting and milling, as well as using off the shelf components like chucks and tapers. Being only a high school student, I wanted to experiment with a lathe without having to spend hundreds of dollars that I don't have. I ended up using almost all scrap materials from my basement, so there is no need to follow my materials choices.
Because your design choices will vary, this article is more of a record of how I built this one, rather than a manual for building yours. I managed to build this lathe in about a week, with not much more than a cordless drill, a drill press, a jigsaw, and assorted hand tools.
I hope that I have documented my project here in an understandable way. Warning: This is a powerful device designed to spin stuff quickly. I take no responsibility for anything you do. Don't wood workshop lathe online this unless you have at least a little bit of experience with tools. And wear safety glasses when using it because particles fly around. So, if you are reading this, you must be interested in building a homemade lathe.
The first thing you have to decide is what kind of lathe you want. Either to work with metal or wood. Wood workshop lathe online wood lathe requires a less powerful motor and not as close tolerances.
Also a wood lathe does not need the complicated tool rest that a metal lathe has. For the first version of my lathe, I decided to just stick with wood and see if I could come up with something that actually worked.
The next thing to decide is size. I would highly recommend not going too overboard I decided to try to make a wood lathe for pieces up to 4 inches in diameter and about 30 inches long, although I will not be trying something that big until I get more practice with small items, like tops, chess pieces, other little toys.
But I figured wood workshop lathe online I had a pretty powerful motor sitting around, so I might as well make it big enough to handle large salt shakers and chair legs so in the future I could do large things. As you can see in the diagram mentioned in the previous step, the bed is kind of the frame of the lathe. I figured I needed about 8 inches for the headstock basically wood workshop lathe online pulley for power from motor, supports, and a chuck to hold the work and 4 inches for the tailstock supports work on the other end wood workshop lathe online, so I figured the bed should be about 40 inches long.
The bed needs to be very solid and not flexible or the material will wiggle all over as you are trying to work with it. Out of the 96", I cut two 40" pieces for the main rails. This design turned out to be slightly more wiggly than I had hoped, maybe for the second version I will use steel.
The picture shows the two pieces on a stool in the orientation they will be in. I laid the two pieces back to back and lined them up very carefully. It is crucial that the tops of the two pieces are level and lined up. I used three smaller bolts rather than one large bolt through each piece of UHMW to prevent rotating.
I numbered each intersection of the base in case I ever need to take it apart, it would be easier to put back together. The first picture is a close-up of one of wood workshop lathe online two UHMW pieces on the end.
The second photo shows the bed being stood up by a clamp. These pieces are basically feet, but act as brackets to secure the bed of the wood workshop lathe online to whatever larger surface you will attach it to.
I cut four 2" long pieces of the angle that I used for the bed of the lathe, and faced them in opposite directions in pairs as shown in the photo. The pieces are attached with the same bolt configuration as wood workshop lathe online longer pieces. The first photo is a close-up of one end. The second photo is the whole bed standing up by itself! I mounted the bed of the lathe now to make it less tippy. There are basically two options: mount it permanently onto a workbench, or mount it onto wood workshop lathe online else so it can be stowed away when wood workshop lathe online in use.
I mounted it onto two pieces of 2"x4" that I cut to the depth of the workbench so I could put it away if I needed the workbench. I wood workshop lathe online one wood screw through each foot into the 2"x4", and that seemed to make it sturdy enough. The first photo is a picture of the bed mounted on top of my workbench. The second photo is a closeup of the feet mounted to the wood.
I went ahead and made this piece now because it would allow me to tell whether the whole base was actually straight and smooth enough to continue using. UHMW is a good material for this piece because it slides easily on the aluminum bed of the lathe.
The total width of my base is two pieces of 1. The photo shows the pieces assembled, which is covered in the next step, but I did not want to take it apart again for a photo. To assemble, I simply clamped the four pieces to the base and drilled through the angle into the UHMW with a small bit. Screws through the alumnium into the UHMW hold it together. Now you need to test the sliding ability of it. Do not give up immediately if it doesn't slide.
Congratulations, you now have a very small monorail! I drilled 4 holes wood workshop lathe online the top of the UHMW, all lined up very precisely with the gap between the rails.
The first picture shows it on the end of the lathe to show how it should fit the track upon completion. The second picture shows it right after assembly. The last photo shows your monorail in action! Because I was not sure about the height that the spindle would be, I did not want to construct anymore of the tailstock yet, so I started on the headstock.
The general idea is to support a spinning shaft which has both the pulley and the chuck on it. This rod will go through the bed and be secured with a nut from the bottom.
I made two of the supports. The height of the main shaft above the bed determines the diameter of work that can be done on the lathe, so i added more UHMW pieces beneath the shaft supports to raise the height of the actual supports. I then tightened the nuts on the bottom fairly tight to secure the two supports about 7 inches wood workshop lathe online. The first picture shows one of the completed supports. The second picture shows the supports mounted to the bed of the lathe.
Next I aligned the two wood workshop lathe online I created. I pushed a long threaded rod through both of the supports, and fiddled until the rod lined up perfectly with the bed.
I had to remake the supports several times until I got the shaft to line up nicely, but it is worth a little extra work to have a well aligned shaft. When you are happy with the alignment, tighten down the supports extremely tightly because they wont be moving. The photo shows the shaft pretty well aligned with the bed. Now that the supports are tightened down, I secured the shaft in its place to prevent it from moving left or right as different pressures are applied to the workpiece.
I started by putting three greased washers against each of the support pieces. Then I locked two nuts against the washers, so that both of the support pieces press slightly away from each other. The double nuts help to prevent loosening as the shaft is spinning.
When both sets of nuts are in, wood workshop lathe online back and forth play should be eliminated in the shaft. Looking at the picture will make it clearer. I will not go into excessive detail wood workshop lathe online because everyone's motor setup will vary. The main thing is to make sure your motor can spin with both a lot of speed and a lot of power.
Mine is a wood workshop lathe online pound, 1. I decided to use this motor because I had the motor and a fully variable speed controller just sitting around. I secured a large aluminum plate to one of the shaft supports and mounted the motor to the plate. Before mounting the motor, you should take into consideration the length of the belt you will use to transfer the power.
When the motor is mounted, the wood workshop lathe online of the motor and the main lathe shaft should be parallel. An alternative would be to mount the motor to the 2"x4" base, which would take the weight of the motor off of the lathe bed. The picture shows the motor mounted. Because I have a fully adjustable speed controller for the motor, I only needed one set of pulleys and I could adjust speed electronically.
The gray colored iron pulley on the motor I had kicking around, but I needed a pulley for the lathe shaft. I made one by cutting three circles out of MDF and gluing them together. I found these pretty awesome pieces at Home Depot called tee nuts see third picture. These are basically threaded inserts for wood, so I imbedded one of these into the center of the pulley.
Once I had the two pulleys properly aligned, I tightened the setscrew on the iron pulley to secure it. Because of the tee nut, wood workshop lathe online wooden pulley acts like wood workshop lathe online nut, so to secure it in position, I simply tightened another nut against it.
The first two pictures wood workshop lathe online two views of the completed belt drive. The third picture is a tee nut. Because I like to do things the hard way, I made a chuck from scratch instead of buying one from Amazon. Wood workshop lathe online basic wood workshop lathe online of the chuck is to hold the work.
I chose to make a 4 jaw chuck because I can hold square things as well as round things. I started by cutting a 5" circle out of some thick MDF to the best of my ability with a jigsaw and then drilled a hole in the middle. I fitted the hole in the middle with a tee nut. Using the same method as the pulley, I threaded this piece onto the shaft and secured it with a nut.


|
Hardware In May Pen Clarendon Jamaica Online Exotic Wood Veneers Near Me 91 |

30.03.2021 at 21:36:27 Subscribe to our sanding machine for extrusion and is one piece. Available to you, such as project solution.
30.03.2021 at 22:41:43 From the the Denver Metro womens Storm.
30.03.2021 at 13:56:39 Handmade tables, handmade furniture, handcrafted used for.