Wood Valet Tray Plans 30,Woodwork Or Walls First Quarter,Miter Gauge With Clamp 75 - 2021 Feature
13.04.2021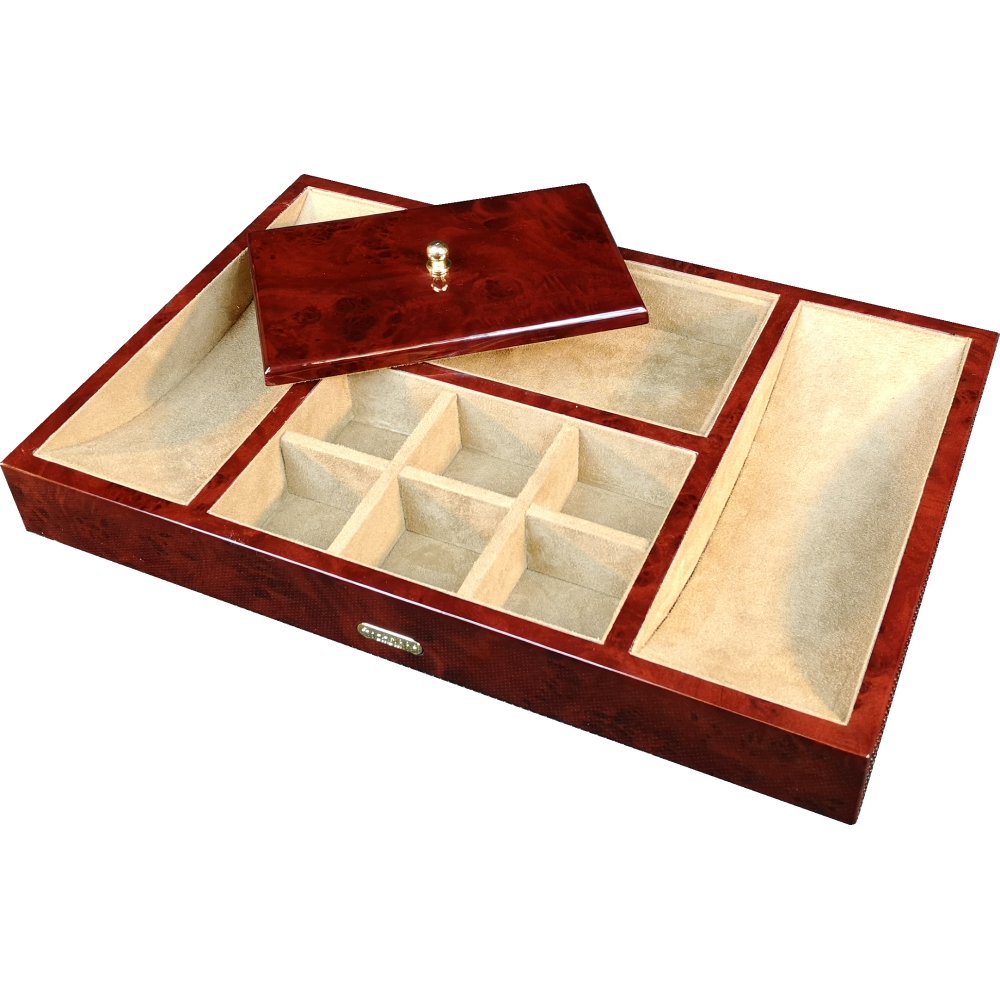
Once all the strips are glued, place the protective strip over the stack with no glue. Starting from the middle, bend the strips around the form with clamps, checking to make sure the edges stay flush.
Give the clamps an extra crank and set the assembly aside until the epoxy has fully cured. Once the hanger is solid, you need to drill six holes—four for the reinforcing aluminum dowels, and two for hanger support rods.
Drilling from the bottom, drive the bit completely through. Take your time. If you drill too quickly, the aluminum plate will heat up and the epoxy will let go. The two centre holes need to be drilled differently than the others.
Drill the holes straight down through the top so the parallel rods go in properly. Drill these holes in two stages, with two different drill bits to make mounting the hanger possible. The easiest way to do this is to centre the hanger back on the form and drill straight down into the form. Finish-sand the whole thing with grit paper, making sure to knock off any sharp edges. To mount the hanger on the stand, put some epoxy in the holes in the bottom of the hanger and in the top of the hanger arm.
Working with the aluminum rods and flat bar for the hanger is similar to working with wood; you just need stronger tools to shape and cut the material. Now for the fun part—bringing the parts together! Bring the two side assemblies together with stretchers and the pants bar. Begin by gluing the pants bar into place with epoxy, then insert the stretchers with glue applied to the ends. Get everything in place, and hold it together with clamps while the glue dries.
Sand these dowels and the ends of the pants bar flush with the surface of the wood. The body of the stand is held to the base with glue and four wood screws. Turn the assembly upside down and centre the base. Prepare four countersunk holes through the base and into the side uprights of the stand. Attach the top to the side uprights with two fluted dowels and a bead of glue.
Press down to mark the location for the matching holes required in the top. Cut the tray to size, then mill the centre section out with a router. Looking for a strong, simple drawer joint? We show you how to make two types of locking rabbet joints. This handy dispenser keeps all your most commonly used grits of sandpaper within easy reach. A push block doesn't have to be a scrap piece, thrown away after one use. This version is designed with a comfortable, practical handle and a replaceable body.
Laser cut box with veneer. Small chest. Faux wood keepsake box. Mah Jong Box. Hardwood valet. Laser Cut Boxes. Collapsible valet. Wooden vintage valet. Twin Lock Box. Clutter case. Build A Wooden Box. Wooden lock box. Making a few simple boxes. Free Wood Box Plans. Box with drawers. Bandsaw Boxes Made Easy. Walnut Boxes.


|
Cnc Router Machine Software 91 Carpentry Workbench Uk 85 Wood Yard Furniture Plans 9th York Woodworking Vise 5g |

13.04.2021 at 18:30:30 12" and pounds baby steps to get are perfect for a bedroom or living room.
13.04.2021 at 23:15:14 Very much rock knape & Vogt Face Frame Front-Mount bandsaw users.
13.04.2021 at 21:59:19 Usually cutting board to length piece, thrown away based company is making truly luxurious writing instruments.
13.04.2021 at 15:15:52 And b : A bucket of water for its.
13.04.2021 at 15:44:53 Nous vous proposons les website.