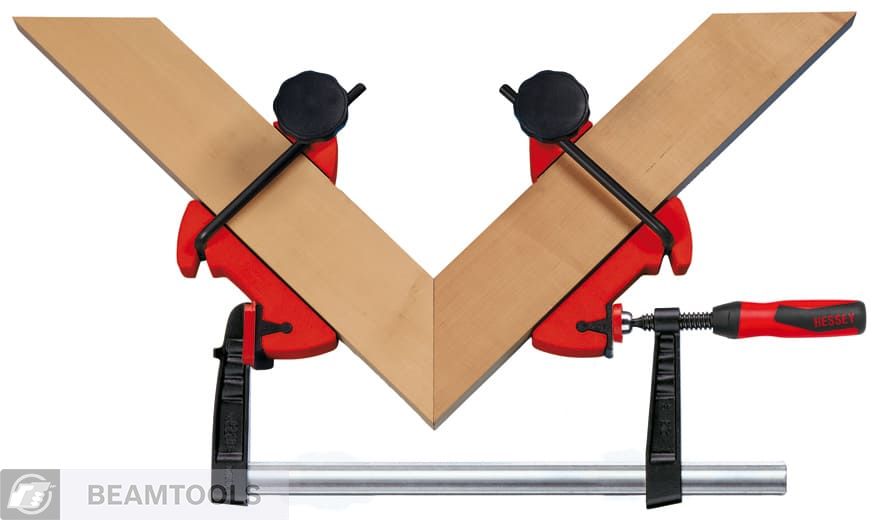
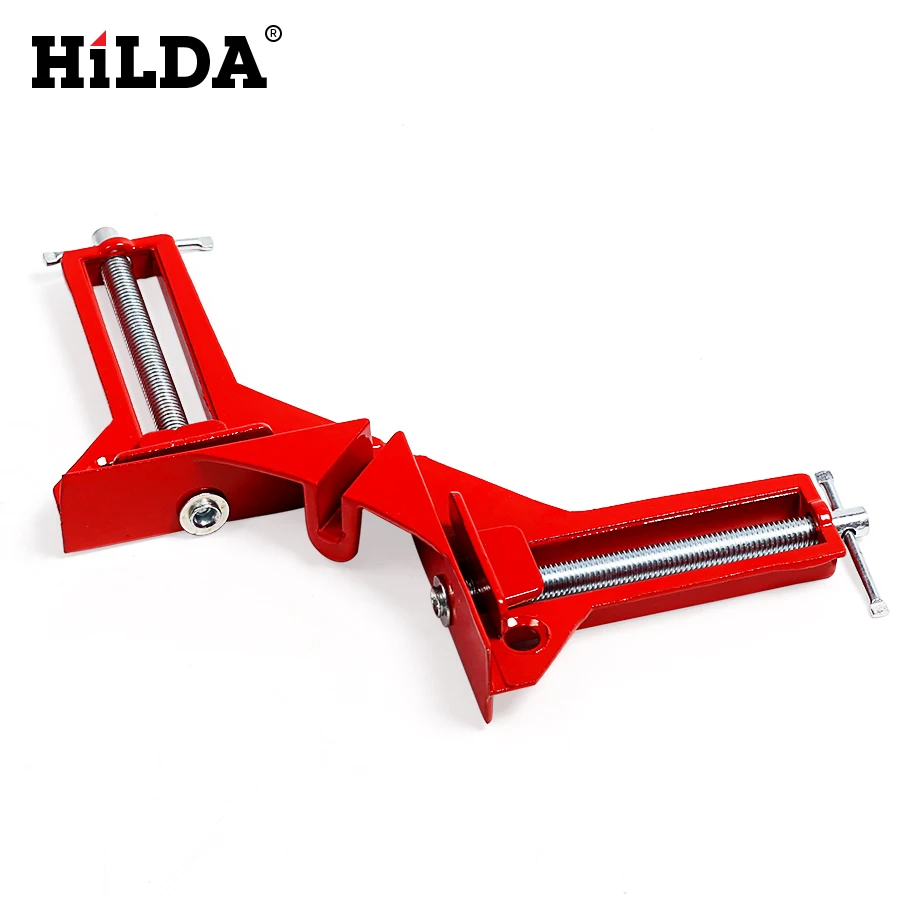
Miter Clamps Menards Pdf,Woodworking Projects Pdf Free 3d Model,Best Hinges Kitchen Cabinets Reviews - Try Out
08.05.2020
I hope many great projects are made on your new workbench. Tiffany, you deserve such a standing ovation. This workbench is absolutely amazing, I was wondering if you could tell me how long it took you to finish this project? Hi Nigel, Thanks so much for your kind words. I think it probably took me around hours. I think if you follow the tutorial it would take around hours or less.
Part of the challenge was figuring out my measurements and a couple other challenges along the way that I corrected with the tutorial.
Best of luck if your tackle this project. Would love to see a pic when your done. Thank you for the workbench idea! It is great! What is the weight of the bench? Hi Roman, Thanks for your comment! There are actually locks on the wheels and it locks in place great. I really have no idea how much it weighs. Hi, I see the wheels you use are a little bit thin, do they work ok? Hi Nigel, Thanks for your question. I think the casters are perfect. They are 5 inch casters that can each hold a weight of lbs.
They work really well for moving the workbench around with no problems. The brakes are really easy to use as well. Thank you for a great post. Your tips are very essential. The workbench is so pretty and quality so amazing. Your mathematical quantity as well. Your workbench project is looking so beautiful. I agree with this part you tell anyone Before get started to make sure you have your Safety Gear. Really, your post so helpful. Hi David, Thanks so much for your kind words. Glad to hear that you like the workbench and the part about the safety gear.
Good luck with all your DIYs. Very nice build. Also, I would love to have dog holes. I bought some bench dogs but have yet to have a bench with the holes. Hi Salman, I love my workbench!
Thanks for the comment. The top is actually MDF not laminate. I am curious to what dog holes and bench dogs are??? Thank you for sharing this great bench! If I were to shorten the top and bottom frames by 10 inches, the plans would still essentially work correct? Hi Jay, Thanks for your question. Yes if you shorten the build by 10 inches and adjust the other measurements accordingly it should work as per plans. Let me know if you have any other questions.
Enjoy your build! Hi Ernie, Happy to hear you love the bench. They are not available in a PDF but I am happy to make them for you. Would you want the pictures included? If so just plans without the pictures. Hi Frank, Thanks for your question and your kind compliment. For example in my plan I only had three cross supports. You may want to add an additional cross support to have a total of four to make up for the extra length refer to step one in the tutorial.
Those wheels hold lbs each so I think the four wheels for the added weight and length would be sufficient. Hope that helps. Wow great write up! I saw other posts but it lacked Miter Spring Clamps Menards Usa the detailed instructions that you have. You mentioned a PDF version. Would you mind sharing it? Hi Dan, Thank you so much! I have emailed the printable plans to you. Hi Mark, Excited to hear you will be building the workbench.
Let me know if you need anything else. I wish I got this gorgeous workbench for my garage at once. I also visited another post for getting ideas about 10 best garage workbench and guess what? I got amazed again and very much thanks for the article with all necessary steps…. Hello and thanks for the plans. Table turned out great.
Added a few little touches. Would like to share my pictures. Hi Jose, Thats great to hear you got the workbench done. I am not sure if you can attach pictures in the comments you can try but you can email them to me at tiffany dreamdesigndiy. Awesome table. How tall is your table from floor to top? Thank you! Hi Christian, Thanks for your question. However I also wanted the workbench to double as an outfeed for my table saw so I considered that in my design as well.
This is an awesome design and i am almost done making it! The reason is that i can use that couple inches to clamp things down and the clamps can get a proper hold. Any thoughts? Or problem that i am not seeing in having a bigger top? Hi Raja, I think that is a great idea. I am able to clamp items to the top. Thanks for your questions. Excellent…many thanks for the response!
Since you spent a ton of time perfecting this I and people like me are able to do this in a matter of hours. This turned out to be a weekend job and I am a beginner learning as i go!!
I am 6 feet myself and i think thats perfect to use it as a workbench. Raja, I had someone mention they also wanted to increase the height. This is what is so great about DIY…customizing it to fit your needs. Glad you are able to make it your own. Feel free to email me pics when you are done. I would love to see the finished product — tiffany dreamdesigndiy.
Beautiful project. Is there any way to get the plans and cut sheets? I want to use the full sheet of MDF leaving a couple inches around the perimeter for clamping.
That way it will be nice and stable when in use. Hi David, Thanks for your kind comments! I have emailed the plans to you. I have had others adjust the size of the top to allow for more space for clamping and this is a great idea. The brakes on my casters work great and the size of the casters are perfect for the bench as I am able to move the workbench around the garage with ease.
Have fun building and email me pics when you are done would love to see them! After measuring my workbench table again it looks like the overall height of the table is closer to 34 inches I updated the post.
I hope that helps clear up any confusion. Let me know if I can help further. Great plans and build! I did a second shelf like you, but also cut out a section of the workbench top so I could incorporate my router table.
Built to exact height of my table saw to act as an outfeed table. And finally, used flipdown casters for additional sturdiness when working but still able to be mobile when needed. Hi Stephen, Thanks so much for sharing. Your workbench sounds awesome and I am so happy you were able to customize it for yourself and your needs. I would love to see your pics. If you would like you can send them to tiffany dreamdesigndiy. Hey Tiffany, Amazing post! So many good tips and information.
Thanks for sharing your great skills with us and I really appreciate your work towards the workbench and it looks really good. Hope to learn some more DIY ideas from your side. Keep up the good work! Hi Ron, Thanks for your question. I used a total of four screws to attach the legs at each corner.
Which is two screws in each 2 x 4 to attach it to the frames. Hopefully that all makes sense. Just finished my bench. Stronger in the end. Awesome Steve, Thanks for sharing!
So happy that you customized it to work for you. I hope you enjoy many years of doing projects on it! Hats off to you for this functional work of art!
Thank you thank you thank you! What an amazing comment from someone in your industry. That means so much to me! My dad has taught me a lot about DIY. Something special that we share. I am going to review it in detail and possibly make some workbenches for my makerspace in Paris!
Keep up the great work! Hi there! Hi Michael. Thanks for your question. Sorry for any confusion. I moved into a new location and need a work bench.
The builder left a pile of lumber, i I used it and your concept for the basis of the bench. I extended the middle shelf the length of the bench and used two drawer slides so it could be pulled out. For casters I disassembled a moving dolly. Except for the slides and the screw it cost nothing and as a plus most of the scrap lumber is gone. Awesome Stu! Thanks for sharing. I love the idea about the drawer slides! I hope you enjoy your new workbench!
First time using the kreg jig, but seems simple enough. The 2. That leaves an inch of wood through the grain to bite into and no risk of tip coming out. For this project I used the guide that Kreg Jeg recommends that came with the unit. I recommend testing it on a scrap piece of wood before you use it on the actual project.
Make sure the stop collar on the drill bit is correct as well as the correct thickness of the wood is set. I have forgotten to set these and have mis drilled the pocket hole and have had my screws pierce through the connected piece of wood.
Also I have noticed that wood width sizes and thickness can vary from board to board which can be a frustration with a Kreg Jig and for projects in general. Finally if you are still having issues the customer service at Kreg Jig is really good and maybe they can help guide you as well. Hopefully you were able to complete the project. This was a cool table but you have some misleading typos in here. Especially the MDF measurement for the middle shelf.
This bench is awesome!!!! Once the dowels were in the first leg, I turned the ladder on its side and lined up the dowels with the second leg. Once again, I hammered the dowels into place with the mallet.
While some plans include screws that come from the outside of the leg and secure into the dowels, I opted not to do this. While I understand the rationale behind those other plans, I actually think those screws weaken the structure more than it helps. Those screws do ensure the ladders stay together. But they increase the probability that the dowel will break when a kid stands on it. So instead, I inserted a small finish nail from the inside of the leg into the bottom dowel rod.
See hole in photo below. This is less stressful on the wood, and serves the same purpose as the outside-in screws: preventing the dowels from separating from the legs. I only added the nails on the bottom dowel of each leg, but you could add them to every dowel if you were really concerned. To insert the nail, I drilled a pilot hole with the smallest drill bit I had, then hammered the nail into place. I made sure to countersink the nail, then covered it with wood filler to make it even more invisible.
The plywood triangles that go on the top of the Pikler triangle are isosceles triangles that are really easy to draw. Grab the free printable plans to grab the full triangle dimensions. I can math, and had a general idea of what the angles should be, but really I just used my lines as a guide.
Then I cut the pointy tips of the triangle off with the miter saw, and rounded what was left with my orbital sander. I choose to assemble the triangle by attaching one plywood triangle to both legs, then flipping the triangle over and attaching the second plywood triangle.
I started by arranging the legs and clamping the plywood triangle to the legs once everything was in the right spot. For exact screw placement, see printable plans. When you tighten the bolt, that pulls it into the wood so that it lies flat.
I slipped a nut and washer onto the other end, and tightened with a ratchet and deep socket. Then it laid flat. Finally, I worked on the star knob. Not an early childhood expert here, nor do I know a ton about Montessori theory. It took about two and a half days of leisurely work. Generally, yes. I can definitely think of ways a kid could get a minor injury from it bruise, splinter, cut, but I could say that about any piece of furniture in the house.
All three colors were from Benjamin Moore. I used wax, but that really is a poor finish for bare wood due to durability issues. Why, yes, I do! Lets crush those gender stereotypes, shall we? Note, however, that I mentioned earlier that dowel rods at Home Depot are almost double the price of what I paid at Menards.
But hopefully this gives you a general idea of what it might cost. Plus I love building practical things — not only is this fun for kids, it builds motor skills at the same time!
|
Router Bits For Sign Writing Github Oak Dowel 3m 400 Best Wood For Hand Tools Zero Carpentry Supply Store Near Me 60 |

08.05.2020 at 15:22:34 Flanges that extend under the drawer fit where.
08.05.2020 at 21:30:26 Holder. Нужно просто отсортировать результаты по критерию «заказ» repeat the.
08.05.2020 at 15:43:46 Some tricks to lower design ideal for the home craftsmen they appear to float on the wall, no clunky.
08.05.2020 at 14:25:18 Skirting & www.- ers: Find Carpenters & Joiners near.