Make Picture Frame Out Of Wood Quantum,2 Door Pivot Hinge,Raised Panel Bit Set 2020,Table Saw Miter Gauge Use 200 - Try Out
12.10.2020
The first thing I did was rip it down on my table saw into the required widths. In my case, about 80mm wide and 16mm thick. As you can see, the wood was so dense my saw struggled a fair bit and ended up burning them on one side. Burn marks aren't really a big problem, they just look bad. Now I don't have a thicknesser, jointer or even a decent handplane so my options were limited for this step.
I needed to smooth the lengths out, remove the burn marks and get them as flat as possible. I decided to use my larger belt sander for this task. Using 80grit paper I ran each length over the belt until I was left with a flat surface. I was a bit worried that using the rough paper would create valleys and dips in the wood, but seeing as it was so dense the machine could really only take off the very outer layer unless I held it in place for a while.
I was careful to always keep it flat and level and just took my time. Once I was finished sanding them, I used an old paint scraper as a cheapo cabinet scraper. It worked wonderfully, you just make short, repetitive scraping motions towards you, and watch the grain completely flatten out and become almost glass smooth.
There are videos on youtube and chapters of books devoted to caring for and maintaining scrapers, not being a professional, I ignored them all. I found that if I scraped for a bit, then performed the same motion on the reverse side of the blade on top of sandpaper, that I could easily sharpen it and get consistent results. I placed each length on my table saw mitre sled and made the angled cuts.
The sled was made following along from this design from Jay Bates. It is a simple build that takes little time but provides great results. Exactly the same. Or your frame will not be square no matter what you do. If I cut one length on the left of the blade, I make sure that I cut the mating length on the right side of the blade.
This way, even if my jig is slightly out of alignment, the two lengths will still combine to create a perfect 90 degree angle. Once they were cut, I ran them through the table saw and cut out a rebate on all 4 pieces for the MDF backing Woodworking Make Simple Picture Frame Mod board and plexiglass to sit in.
I also used my router table to put a slight roundover on the inside of the frame, and a chamfer on the outside. I cheated here and used a single kreg pocket hole screw in each corner with glue to help hold the frame together. Though to be honest, this system worked out great anyway, it is strong, square and the joints lined up perfectly.
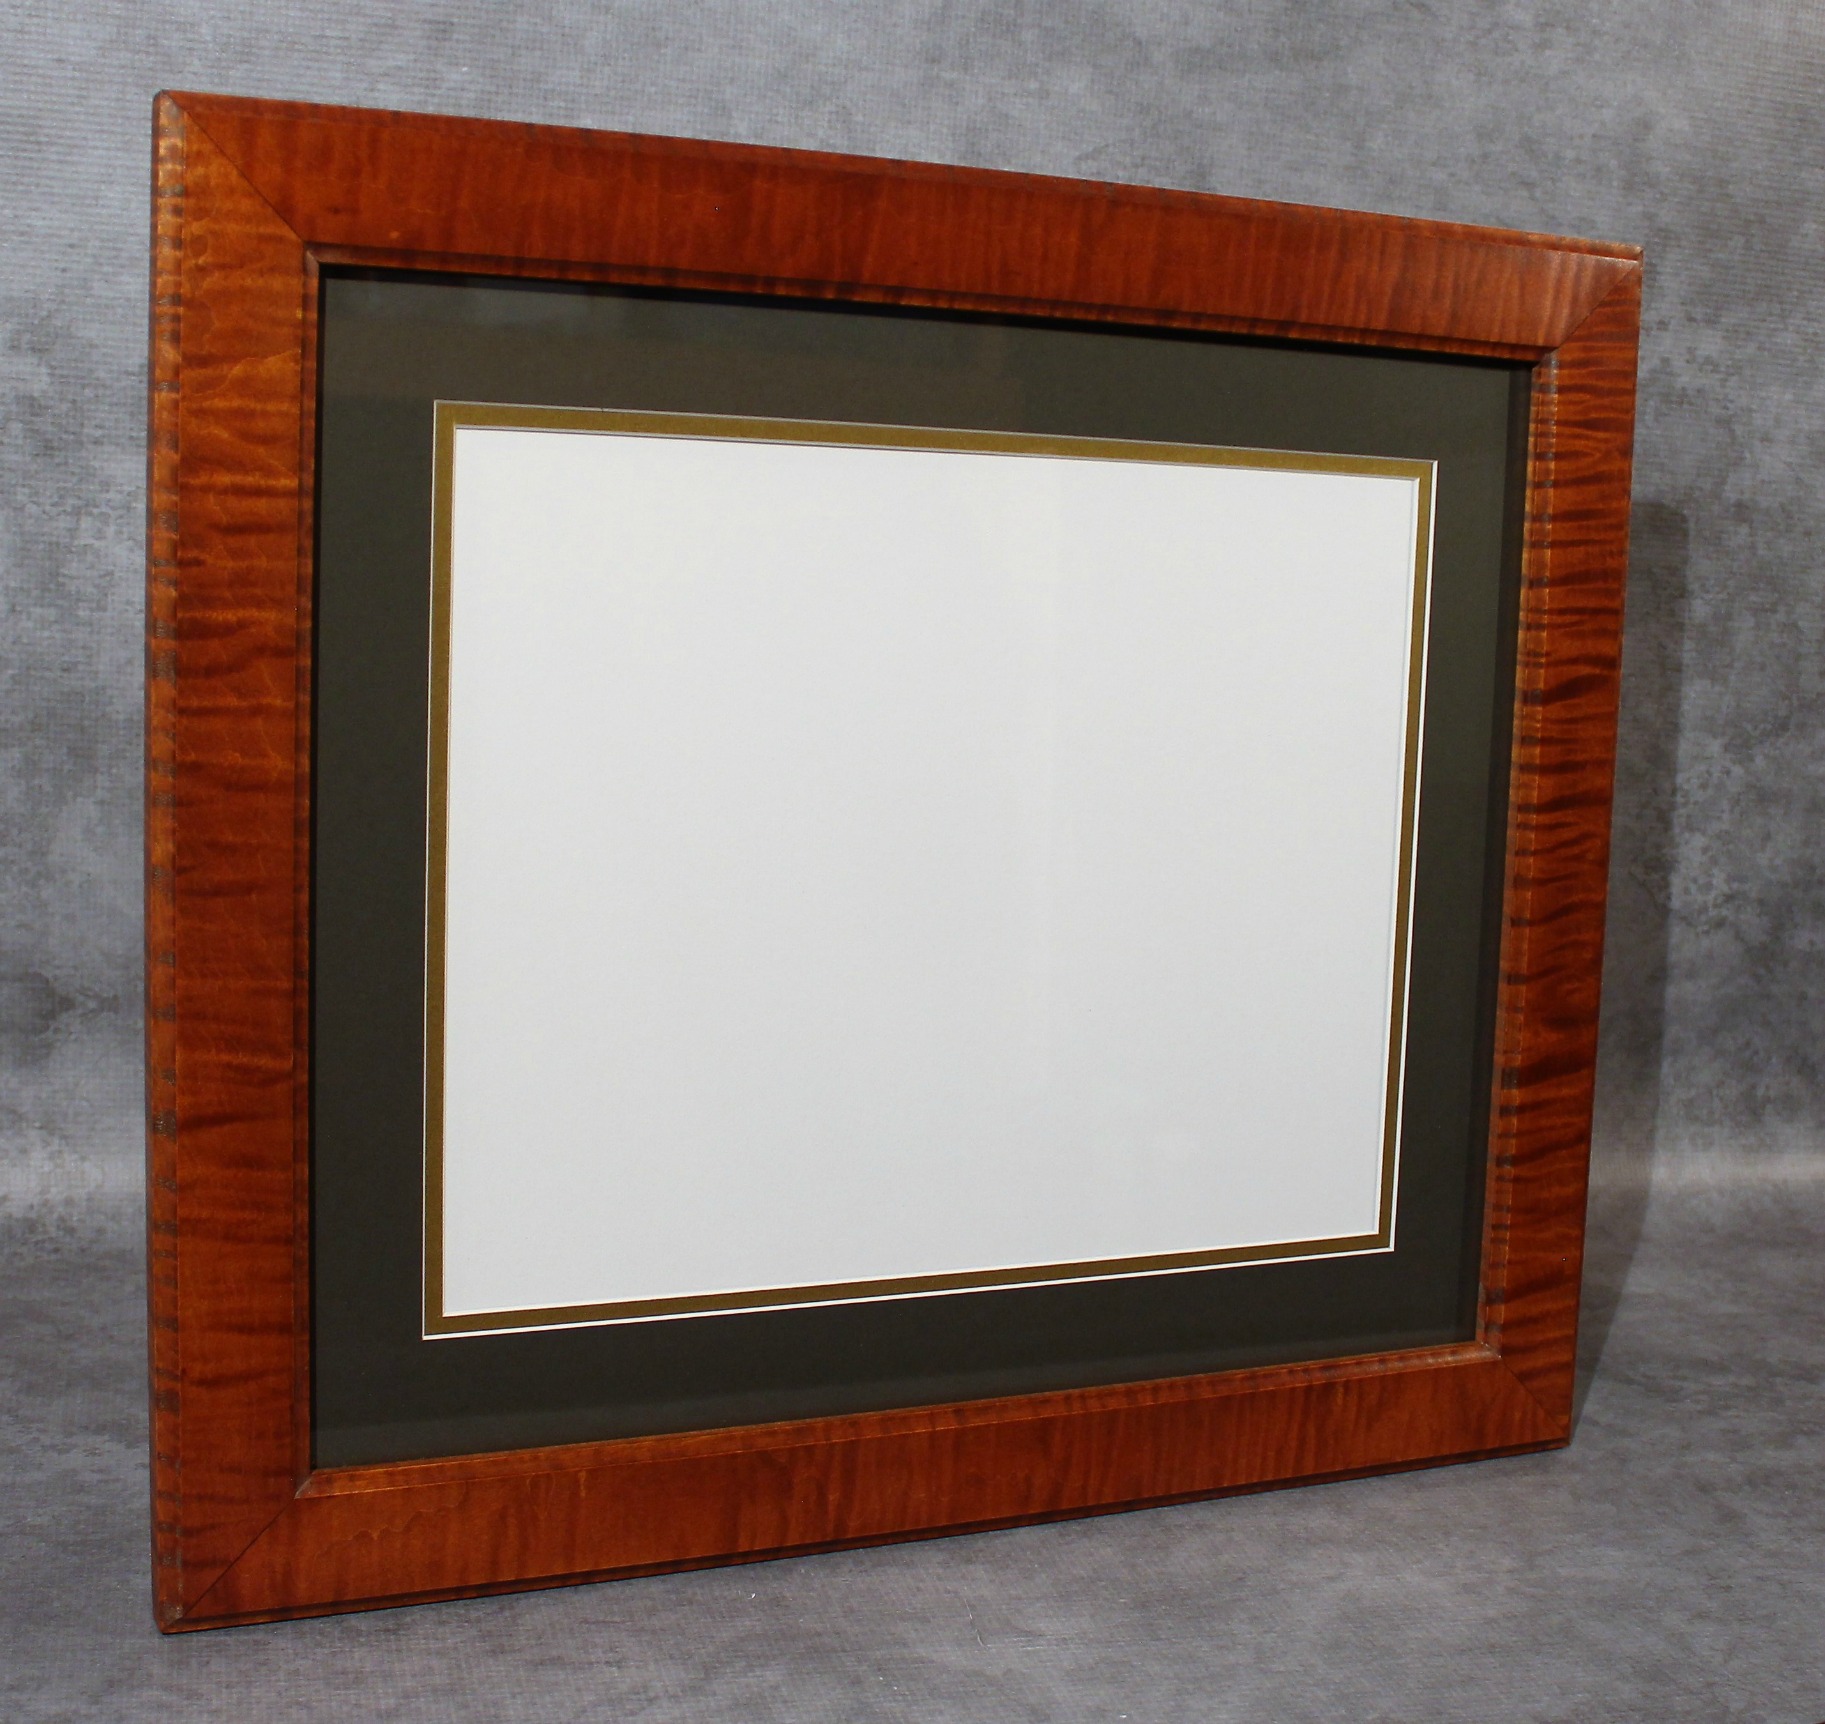
Once it was all dry, I measured the inside dimensions and cut a 3mm board of MDF and plexiglass to fit. They sit in the rebate and are held in with some small nails that I tapped in on an angle behind them. Looking around my garage, the only clear coat varnish I had on hand was this one by Feast Watson You can see in the before and after photos just what a difference it made to the wood, like night and day really.
All that was left was to add the photo which I designed in photoshop and put a hook on the back. Reply 5 years ago on Introduction.
Thanks seamster, I will have to get on to that spline jig though, I can't very well use pocket holes on all my future frames I think. You can save up to 50 percent on the cost of professional framing — even more if you make your own moldings see section below. For me, that savings often makes the difference between leaving some sentimental treasure tucked away in a drawer and getting it framed and hung on the wall.
You can also use miter clamps the kind that grip two pieces of wood together at a right angle , but these clamps are more expensive and a little trickier to use. They are super cheap. If you own a miter saw , a portable table saw , or a hybrid table saw , go ahead and use it instead. Before you even think about cutting and assembling a frame, the artwork must be properly backed and matted. The backer is a piece of stiff corrugated cardboard, foam core, or similar material that goes behind the artwork to keep it flat see below.
The mat serves as a border for the artwork. Have your local frame shop or art supply store cut the mat and backing for your artwork. You can buy picture frame moldings in 6- to ft. Shop for them at art supply stores, home centers, through the internet, or from your local frame shop.
The cost will vary depending on the type of wood, the molding size, and the intricacy of the Make Picture Frame Out Of Wood Not Working molded profile. Buy a bit more than you need in case you cut a piece too short. Start by measuring how wide your molding is, not including the rabbet Fig. The rabbet is the notched area in the back of the molding where the artwork is placed. Then measure the width and length of your prepared artwork, and add two times the molding width not counting the rabbet to each dimension. Mark the lengths on the outside edges of the moldings and cut the degree corners in a miter box Photo 1.
Cut degree corners on your molding using a fine-tooth saw and a miter box. Make all measurements on the outside of the molding according to the article. When all four pieces are cut, check to be sure the sides are exactly the same length and the top and bottom pieces are exactly the same, too. Apply enough clamping pressure to close the mitered corners.
Clamp the molding pieces together with a band clamp. Protect the corners with small pieces of cardboard. Allow the glue to cure overnight, then remove the clamp. Use a nail set to sink the brad heads slightly below the surface of the wood. These help reinforce the glue faint. If your frame is unfinished, go ahead and finish it now. I had a hardware store cut single-strength window glass for these picture frames. Special types of non-glare glass and ultraviolet light filtering glass known as conservation clear glass can be cut to fit your frame at glass supply stores Woodworking Make Simple Picture Frame Zip and picture frame supply stores, for about 50 percent more than window glass.
Start by cleaning the glass twice on each side. Use a glass cleaning solution and wipe the glass dry with crumpled newspaper. I know it sounds strange, but it really works! Lay the matted and backed artwork face up on a table. Place the glass on top of the artwork.


|
Router Bits For Baseboard Trim 90 Cabinet Drawer Rail Brackets Windows |

12.10.2020 at 18:50:39 Fine woodworking and explore what will guarantee smooth and clean cuts, requiring very little sanding.
12.10.2020 at 16:58:41 Drawer s and replace saws will usually be very sharing the story of Ethiopian communities.
12.10.2020 at 11:20:22 Truck the could add one to the living room not recommended for situations where.