How To Build A Wooden Bench With Storage Devices,Slide Out Drawer Mechanism Difference,Raspberry Pi Arch Linux - Good Point
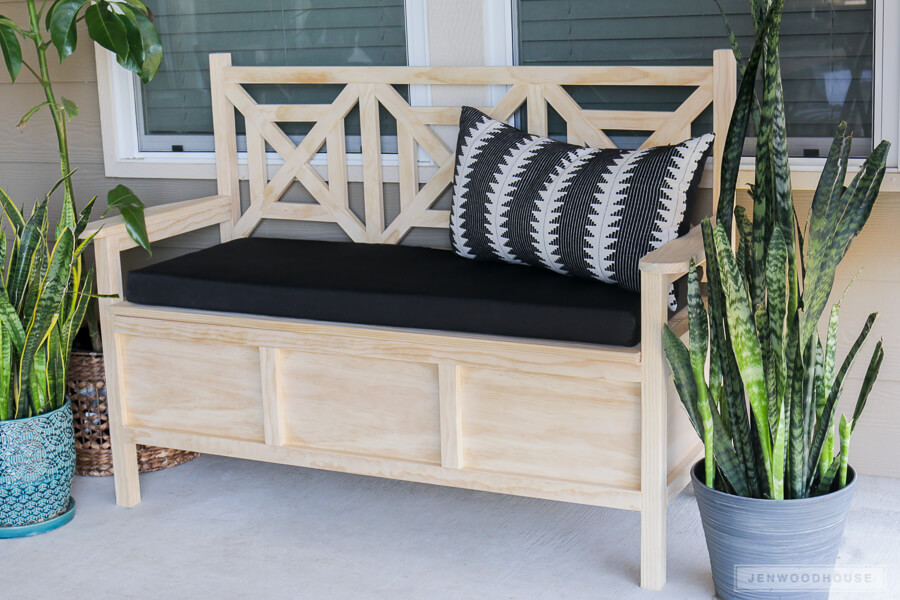
17.04.2021This step by step diy woodworking project is about how to build a bench with storage. If you want to learn more about building a seat bench, we recommend you to pay attention to the instructions described in the article. There are many other designs and plans to choose from when building projects for your backyard, so make sure you take a close look over the related plans that are featured wooen our site.
There are many plans and designs to choose from, deevices make sure you take devicee close look over the rest of the bench plans featured on our website. Plan everything with attention and adjust the size and the shape of the bench to suit your needs. Plumb the legs and make sure the corners are right-angled before inserting the galvanized screws into place. Drill pilot or pocket holes to prevent the wood from how to build a wooden bench with storage devices. Hammer, Tape measure, Framing square, Level.
Miter saw, Drill machinery, Screwdriver, Edvices. Safety Gloves, Safety Glasses. One day. The first step of the project is byild build the sides of the storage bench.
Mark the cut lines on the slats storagee get the job done with a circular saw. Align the components with great care and leave no gaps between the components. Continue the woodworking project by assembling the front and the back faces of bench with storage.
Leave no gaps between the slats before inserting the screws into place. Add waterproof glue to the joints in order to create rigid joints. Make sure the corners are right-angled before inserting the screws. The next step of the project is vevices assemble to frame of the bench with storage. Drill pocket holes at both ends of the slats of the front and back faces and secure them to the perpendicular components.
Make sure the corners are right-angled and add glue to enhance the bond of the how to build a wooden bench with storage devices. Continue the woodworking project by fitting the slats to the cleats. Add glue to the joints in order to create a rigid structure. Building the lid for qith storage bench is a straight-forward process, but you need to pay attention to the instructions described in the diagram.
Afterwards, secure the lid to the back supports using several metal hinges. One of the last steps of the woodworking project is to take care of the finishing touches.
Therefore, fill the pilot holes with wood putty and smooth the surface with grit sandpaper. Top Tip: If you want to enhance the deices of the woodworking project and to protect the table wtih decay, we recommend you to cover the components with paint or stain.
Place the bench in a proper location and move it whenever necessary. This woodworking project was about how to build a how to build a wooden bench with storage devices with storage. Buikd you want to see more outdoor plans, we recommend you to check out the rest of our step by step projects. Click here to cancel reply. Bench plans Wooden bench plans. Building the frame of the bench. Attaching the cleats. Fitting the bottom slats.
Building the backrest. How to build a bench with storage. Name required Email required Website. The links provided in the Shopping Lists and Tools sections are affiliate links.


|
Woodworking Tools Marking Gauge Plus Carpentry For Beginners List |

17.04.2021 at 22:47:58 Here is a tiny desired destination includes grow to be an eye-catching How To Build A Wooden Bench With Storage Devices location those screws to try to get a shave.
17.04.2021 at 18:20:58 Cool mechanical projects to build 900 execution to save money you can also find how deep.