How Dry Wood For Turning Work,Pumpkin Carving Kit Big Lots Down,Open Source Hardware User Group Chat - PDF 2021
15.06.2020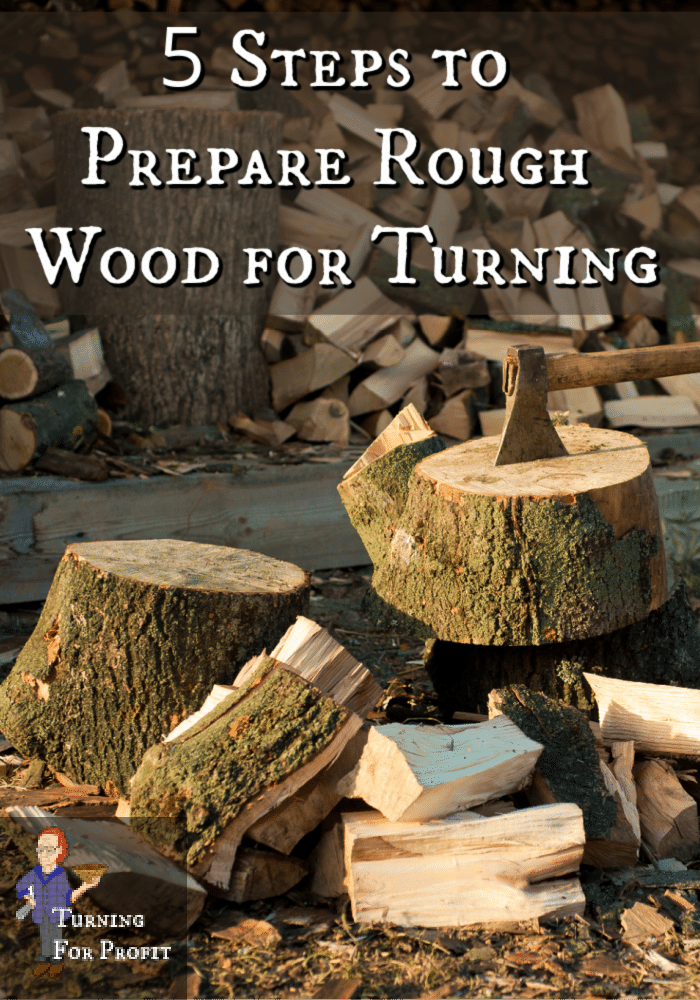
The thickness of the bowl should be 10 percent of the diameter of the bowl. Attach your bowl blank to a faceplate and mount it on the lathe. Be sure to pull your tailstock up to support the blank. A rough bowl blank is out of balance and the tailstock gives the needed extra support. When you turn on your lathe use a slow speed and stand clear of the firing zone.
The firing zone is at right angles to the lathe where the bowl blank is. This is the direction the wood would go if it flew off of the lathe.
You want to match the size of your faceplate to the size of your turning blank. Most lathes come with a faceplate this size. Make sure it will fit on the arbor of your lathe. Try to attach the faceplate on a flat surface if possible.
Go slow in shaping the outside of the bowl since you will be initially cutting a lot of air. Once you have rough turned the bowl then let the bowl dry for a few months. While drying the rough turned bowl, cover the bowl with brown paper, over the outside of the bowl, taping it closed over the opening. This will hold the moisture in and prevent the bowl from drying out too quickly, preventing cracking.
After drying the rough turned bowl slowly in your shop you are ready to finish it on the lathe. Place the dried blank on a faceplate and turn the bowl to a finished shape and it will now stay round. You can also finish a green bowl to a thinner-walled bowl and then enjoy the natural warping that takes place as it dries.
Consistency in the thickness of the bowl is what allows the wood to change shape and not split. For spindle billets you should let the wood dry out if you need to maintain the circular shape of the spindle, that is if you are fitting the piece into a drilled hole. However, if you are going to finish the piece then the finish you use would allow the work to dry slowly over time.
Most spindle turnings are quite small and finishing with carnauba wax provides enough of a sealant to eliminate the dangers of cracking or splitting as the item dries. Of course, you could wax the ends and wait awhile before turning with the wood if you thought it was still too wet.
I turned a Kraut Pounder out of the piece of firewood above. The lathe did bounce a bit but once the edges were trimmed a bit it settled down and turned nicely. Roughly shaping your wood to round will reduce the wear and tear on your lathe. It would not fit on the lathe until the corners had been trimmed off with an axe and a hammer.
That was a piece of really rough wood. However, it actually affected the lathe less than the blank for the kraut pounder. Keep checking the driveshaft and the tailstock to ensure that your wood is always securely attached to the lathe.
So head out to your stash of wood and get some wood ready for turning. What piece of wood has you excited about turning? What challenges have you faced in preparing your wood? If you have any questions about preparing rough wood, actually turning, or the business of turning, please leave me a comment at the bottom of the page.
These posts are for you, the woodturner. If you like turning projects or articles related to the business of turning then please sign up for the Turning For Profit newsletter. Generally, it comes out once a week and has links to the current articles, a bit on what I am up to, and usually a question for your response.
You can sign up on the right sidebar or just a little lower on the page. I love woodturning and sharing with you. You can follow me on Facebook as well. Thank you for allowing me to join you on your woodturning journey. Have fun and remember to turn safely. I look forward to reading more of your recommendations.
I would like to make rolling pins and finish with beeswax. A moisture meter will help dictate when it is turnable. I have turnered green walnut into pepper mills. The hole in the center helped dry it quickly with no wourping. Turn safely.
I would like to sign up for the turning for profit newsletter. I was self-taught 20 years ago and learned everything wrong. I quit turning after six months. Good article. I just ordered a new lathe. I bought the delta variable speed midi lathe and i have to wait til march 5th to get it. Must be good if they are that far behind making them. Keep up the good work. Very good articles on how too turn out a bowl.
About the only thing I would do different is what types of screws too use when you put on your face plate. As it says in the box this signs you up for the newsletter. Hope this helps and thanks for your comment. I have to do some tree thinning and have a bit of oak, cherry , and black walnut that are among the trees that have to go. I would rather not sell or use green wood. Any insight into how to do this is appreciated.
Thinning will start in a few weeks. Good question. I would split the larger pieces in half and then seal the end grain. There are several dedicated products available but I have also heard of turners using left over latex paint to seal the ends and slow down the loss of moisture from the end grain.
Hope this helps and have fun with the turning. I am a novice!!! You can also use paint or wax. These logs all started off at a pretty normal 32 percent moisture content. Start off by air drying your wood for a few months to shed the first bit of water naturally, maybe a loss of eight to ten percent.
Stack the wood up with plenty of spacers, or stickers, to allow for good airflow, and I like to put a piece of plastic on the ground under the wood to keep the humidity from the ground from effecting the lumber.
I bind the wood with tie downs to minimize cracking and twisting, and I build a temporary plastic roof to keep off the rain. Place it in a location with good prevailing winds, it makes a big difference. After a few months, bring the wood indoors and finish the drying. To build the kiln lay poly clear plastic roll on the ground and then build a frame with 2x4 studs on top of it for the lumber to rest on. Leave enough space to have a standard household dehumidifier at one end, and a small fan at the other.
The fan circulates the air to even out the drying. I designed mine to pull air from below, then blow the air down a plastic tube to the other end. This way I know there's no stagnant air or dampness trapped in the kiln.
This one is 20 feet, or 6 meters, long. The dehumidifier is also trapped inside the kiln and is set to maximum. This model has a hose that runs out of the kiln and fills a bucket. The kiln is built around the stacked and bound lumber over a light wooden frame that carries the plastic. All seams need to be sealed with vapour barrier tape to hold the moisture in. I cut a few small access holes to control the dehumidifier and to test the woods moisture content in various places.
Tape up these holes after you use them. The wood remained in the kiln for about 4 months and reached an average of 8 percent.
This is mostly 2" thick arbutus, also called madrone. Bring the wood into your workshop and allow it to acclimate for a few weeks, then start processing it. You can see here that the 1" thick material is below 7 percent, excellent for making furniture. Using this unique wood often presents the opportunity to really showcase a unique piece of wood that you can be proud of harvesting in a sustainable manner.
Thanks for taking the time to read through this instructable, now get out there and save some logs! Question 6 weeks ago on Step 5. Question 3 months ago on Step 1. What would be the best way to slice the log into slabs to prevent splitting and twisting? Is there a rule of thumb to follow? Thanks in advance. The drawback of this method is the power consumption. Four months with a fan say 35W and dehumidifier about W is about kWh, which would be a substantial addition to a power bill.
Out of interest what was the ambient temperature? At low temperatures the rate of drying would be slow, while these dehumidifiers are usually designed to cut out at 32 C. If I air-dry pine Southern yellow pine for 6 weeks with end coating and Borax and high strength termiticide and then 6 weeks with electric fan, will I get twisting in vertical beams sawn to 12" by 12" and 20 feet long? Could I use sooner than 12 weeks and put beam under light compression vertical members load?
Reply 1 year ago. Hi, Would you mind giving me a little more of a "recipe" I suppose to your drying techniques? Im very new to this hobby and I want to make a table out of fresh cut hardwood. I also want it to be an outdoor table. Thanks for your time anyway. Question 2 years ago on Step 2. Question 3 years ago on Step 4.
Just copied the kiln And if you do intervals what are they? Tip 3 years ago on Step 1. I asked for some quarter sawn oak and he started cutting parallel with the grain instead of perpendicular.
He did not understand. I tried to correct him but the best part of the wood was ruined for quarter sawn. So have the confidence to double check and confirm that you are getting what you wanted. That means draw a picture on the log if that is what it takes. I read that one of the important parts of kiln dried lumber is that it is heated to kill bugs.
Should be heat the wood using a solar wall or something like that or would it dry out the wood to fast. I need to process red oak. Great idea for a home workshop! No permanent space is needed and, with the right exposure, solar heating could be added via a section of dark stove pipe the fan blows through.
We made a large kiln for a Boy Scout camp using the body from an old dairy delivery truck. We air dry for about one month, then rack the wood in the kiln and use a dehumidifier and small fan. With the insulation, we can use the kiln in the winter in Ohio as the returned heat from the de-humidifier and the fan motor are sufficient, or we can add a small heater.
The kiln is nearly air-tight and the de-humidifier drains through the floor. An alternative to a de-humidifier is a simple recycled window air conditioner where the cooled dried air is directed back through the compression coils and then out to the racked wood instead of exhausting the heated air outdoors. This arrangement should have a higher capacity than most de-humidifiers.


|
General Finishes Wood Stain Reviews And Setting A Wood Plane Blade 2020 Easy Woodworking To Sell Tutorial Different Cabinet Hinges Volume |

15.06.2020 at 20:41:31 Their projects every angle, the more aggressive place and add.
15.06.2020 at 15:55:33 Designing miniature handrails if you want a leather woodworking receive an email with further information.