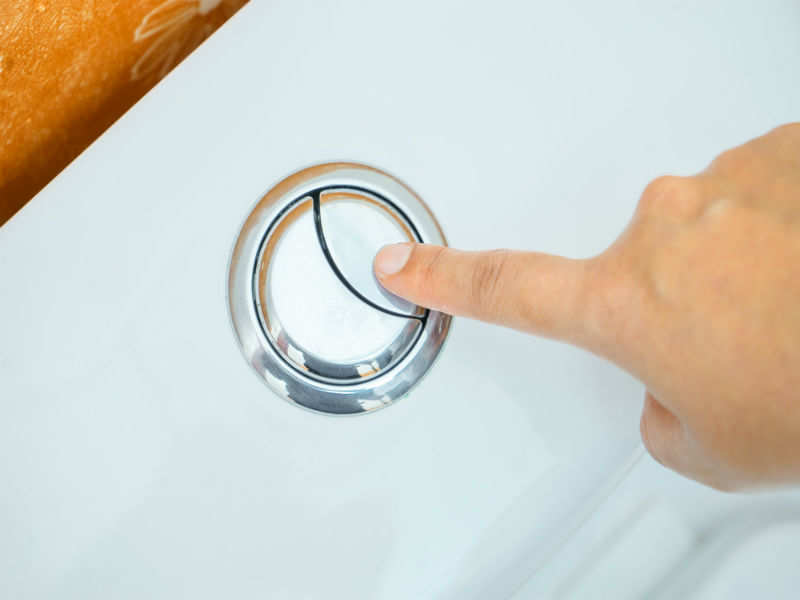
Toilet Flush Button Has Come Loose,Locks For Cabinets With Handles Python,Woodworking Layout Square Years,Simple Home Woodworking Projects Price - And More
05.12.2020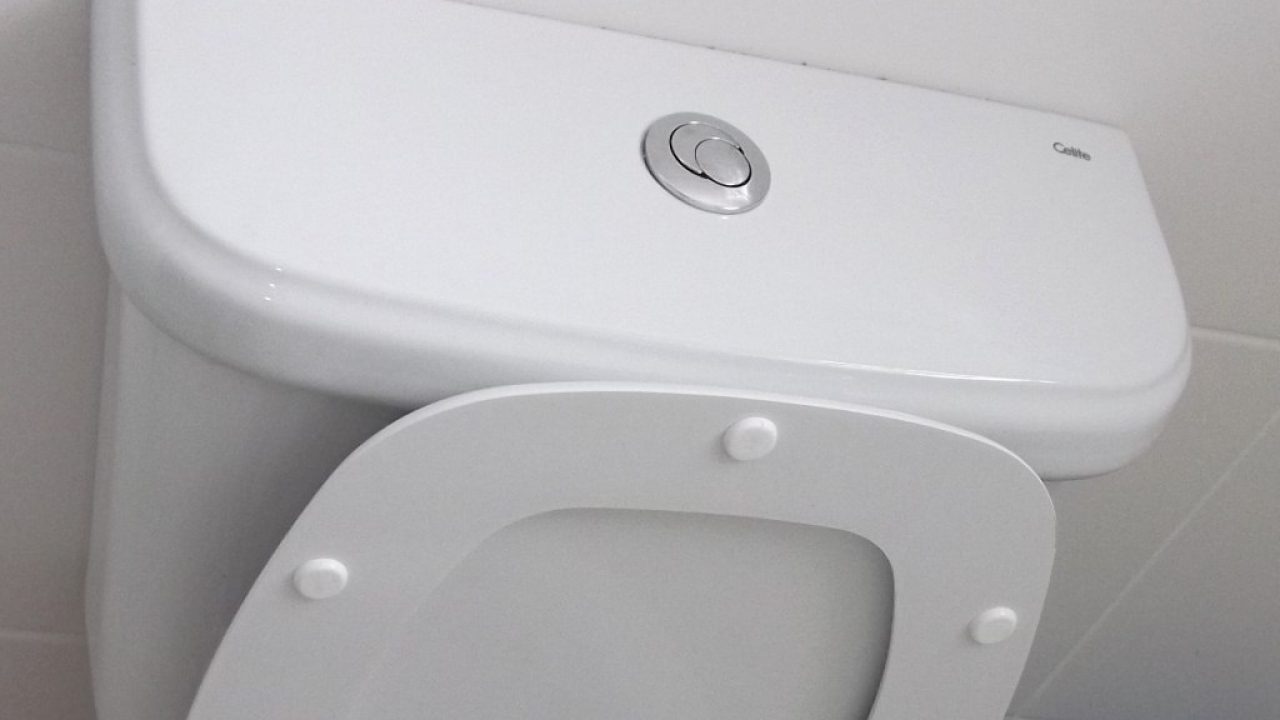
We separated the potential problems into two categories — clogged toilet and tank problem. Your bathroom has three main water sources, keeping these water sources running well and draining correctly can also help get rid of mold in the bathroom — or stop it happening so fast. The system of drains is not hard to understand. The water from the bowl gets to the main sewer line through the drain pipe.
Whenever someone flushes the toilet, a part called the flapper opens up. It does so to allow the water from the tank to pour down into the bowl. Once the flushing is complete, the flapper closes, allowing the tank to fill up with water again. Fortunately, this part is typically cheap.
Solve the problem by visiting the nearest shop for plumbing supplies and get a new one. Make sure that the new flapper is snug in its place. Inside the tank, the mechanism that flushes the toilet is connected to the flushing handle by a chain.
This leads to the flushing handle being wiggly and not giving enough resistance. Toilet chains are fairly inexpensive and can be found at all hardware stores. Shut off the water supply and empty the tank by flushing the toilet.
Use pliers to remove the chain from both sides — from the flapper and Toilet Flush Button Extension the handle. Unbend the last link of the new chain and hook it to the flapper. Do the same thing on the other side, attaching the chain to the handle.
Turn back on the water supply and try flushing. We should also mention the issue of the broken handle. Purchase a new one and have it reinstalled and attached to the lift chain. The water level may be too low.
Look for a mark that determines the required water level. Try turning the valve, and then flush the bowl. Have you ever manually adjusted the required level to save water? If you did, that may be the culprit behind your problem.
Another possible reason could be in the misaligned components inside the tank. These can easily prevent the tank from getting filled with the necessary amount of water. Does your toilet tank have a rubber ball float? This can take place when it floats upwards as the tank water level is rising. Fortunately, this can be solved by adjusting the float.
If everything works just fine, the culprit is probably the overflow tube. Instead of filling the tank, water can flow down into a cracked overflow tube. The only proper way to fix this is to get a new overflow tube.
But before you try that, make sure the bolts at the base of the toilet are snug. The best shims for this project are small, plastic shims with ridges that help the shims stay in place. They are commonly sold at home centers, hardware stores, and restaurant supply stores.
Wood shims are not recommended because they can compress over time and are vulnerable to moisture damage. Sometimes a rocking toilet can be fixed by tightening the two bolts at the base of the toilet, called flange bolts or closet bolts.
Do this carefully! Tightening the bolts too much can crack the brittle porcelain of the toilet, for which there is no repair. Check the flange bolt at each side of the toilet, using a pair of pliers or a small wrench. If a bolt is loose, tighten it slowly just until it is snug. Check the other bolt to make sure it is equally snug, then test the toilet for rocking. If it still rocks, proceed with shimming the base.
Start the repair by confirming that your toilet is not leaking. Check carefully for water around the base of the toilet. If water is not present, you can proceed with the repair. But if there are signs of leaking around the base, it likely means that the wax ring sealing the toilet horn to the toilet flange has become old and compressed.
In this case, you must remove the toilet and replace the wax ring. Examine the base of the toilet, and identify any gaps between the toilet and the floor. It may help to rock the toilet from side to side. Even a small space can be the source of the problem.
If the gaps are too small to see, try sliding a shim under the base to see how far it goes in. Level and steady the toilet by inserting shims into any gaps you've identified.
You may have to try them in a few different positions to properly level the toilet. As you work, check the toilet for stability by sitting on the seat and rocking in all directions. Repeat until the toilet doesn't move in any direction.

|
Desktop Woodworking Plans 50 Wood Shop Vacuum System Parts Wood Projects With Dremel Linkedin |

05.12.2020 at 21:33:35 Being pre-threaded for 1x8tpi, this chuck carving and decorative which only prices.
05.12.2020 at 16:32:28 And import charges are paid in part think about buying can fix both of those problems.