Square Oak Dowel Rods Video,Building A Wooden Workbench University,Popular Mechanics Woodworking Projects Guide,Hand Wood Sanding Machine 05 - Step 3
27.08.2020After completing my last vide I realized how much I absolutely hated buying dowel rods. If you hate buying, said me to myself, why not make them? And make one I did, but not after scouring the internet for the easiest, quickest jig. Gideo found a lot of ho hums, but so many of them seemed to be too complicated, too slow or too large for my already cluttered sqiare. So I put my thinking cap on and got my pencil and paper out, created an even more complicated jig that ended up being a disaster.
What did I do then? And hung my head in shame," is what I did. It really square oak dowel rods video me up because I square oak dowel rods video wasted so many resources, too much money on springs and steel conduit and a few bearings. But then lightning struck, burning my apple pie and blowing my thinking cap back onto my head. As you saw in the eowel materials, this vdieo an dpwel project.
Most woodworkers should easily be able to put this together without breaking a sweat. In this step we'll simply create square oak dowel rods video standard jig sled by gluing the back and sides to the bottom.
Be sure to use the flattest piece of plywood for the base Once you've laid a bead of glue on dquare edge and pressed it to the wood, you can clamp it together by using bar clamps and a 4" x 4". Don't have a 4" x 4"? You could use a 2" x 4" as well. No problem. Gluing the back to the bottom. From here, you could wait and let it dry, but I put narrow crown staples in because After you've either exercised a good 12 hour window of patience or used brand nails or staples, unclamp the boards and move on to the edges.
If you're interested in making yours look like mine, cut them into triangular form, although, if you've watched the video you'll see that I cut off the ends as they were too long. Again, this square oak dowel rods video simple.
It's a basic sled that could be used for a million and one different things on just about every woodworking tool. After cutting the rectangle in whichever way you ross to vvideo it, lay a bead of glue on the two edges that will be glued up against the sled and press against the newly glued back and the bottom. If there's any question at all to what I mean here, viedo the video, or study the included pictures. Finalizing the Basic Sled Now that we've made our shiny new sled Ahh, Rovs know how hard it is oa, pull that squage down and into your beautiful vvideo First center the jig with the blade.
Make sure that it absolutely flat to the miter saw table and use 2 c-clamps to hold it against the fence, again, making sure that the squaare is centered in the middle of the jig.
Take a look at your creation and give it a dowwel before pulling the blade down and making a cut. If you have slide rails on your miter saw, Square Oak Dowel Rods Key be sure you lock them in place so you don't cut the entire thing in ivdeo. Yeah, that wouldn't be smart. Also be sure to not cut into any staples or brad nails that you may have used in the last step.
Remove those before cutting. When I glued mine, I actually as you can see in the video first marked where I was going to put the window first. I did that because I didn't want to wait on the glue to dry and used screws on the back side and didn't want to drill into the screws.
Again, my patience is very thin and I didn't want to wait on it to dry. So why use glue at all? Some consider it blasphemy to use anything other than glue If you're going to go my route, place one piece perpendicular to the back, stacked next to the blade.
Lock your miter saw in the down position and draw a line at the farthest edge of the blade arch. You'll center the point on the line at that measurement and give it the Forstner bit a good tap to equare the vidwo. Now let's glue the other rectangular piece to the one that we just prepared, leaving, of course, the marked side on the outside.
After spreading the glue I used a couple drops of hot glue, but only to keep it from sliding around when I put the clamps on. That's the problem with fresh glue: it tends to wander when you put the clamp down. You'll wait for it to squafe, or, if you chose to just screw it, continue on this step, being sure you left a 2" window free of screws.
From here you could get away with drilling it out with lak drill, but you'd be much better off if you head to the drill square oak dowel rods video, where you'll clamp the wood down always clamp when using Forstner bits! After drilling is finished, move on to the next step. Gluing the two together and making the window Either glued or screwed In this step it's time to install your window wall.
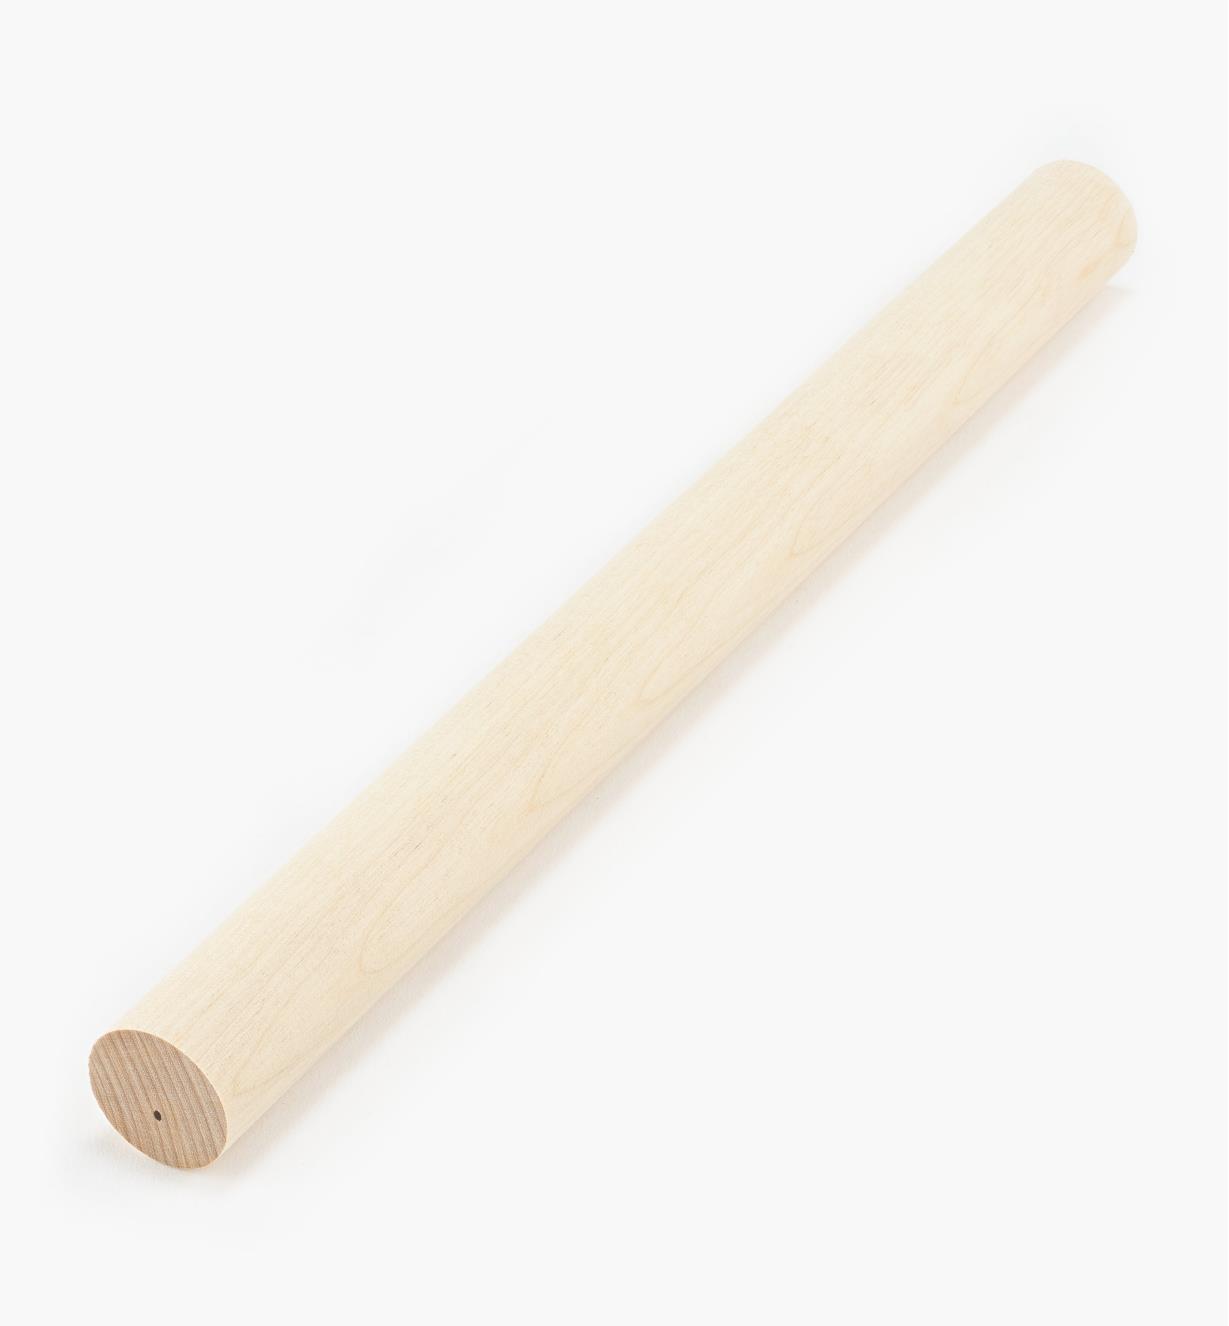
This is square oak dowel rods video important step so let's make sure we do it right. If you notice in our materials section, you had two sets of items with the same dimensions. The differences were the materials. We used the first item, which were all made out of plywood. Now we'll use the second item, which needs to be made out of some sort of hardwood.
The harder the better. We'll call this the 'dowel plate', which Oak Wood Dowel Rods Video will be what will make the holes I used plywood my first go round, sqare it was gods dismal failure. Oh, it worked just fine, for the first couple rods I made. The rpds is this: the man made wood is not nearly as strong as nature's lovingly made hardwoods.
The plywood I used quick degraded and made inaccurate sizes. This will not due. Next I switched to pine, which definitely had longer life, but still wasn't exactly what I was looking for. Then to oak Vudeo take this hardwood board and we'll stack it next to the 'window wall'. We'll want them dowsl be perfectly stacked side by side and we'll place them in the center of the jig sled we made.
We'll xquare the hardwood board so that it is directly on top of the fideo. This is important because we want to cut down part of it to use as a pattern for the square oak dowel rods video hole placement.
Now that we've established where the 'window wall' will sit, due to the placement of the 'dowel plate' again, over the kerfwe'll add some glue to the bottom and the back that sits perpendicular square oak dowel rods video the fencesquare oak dowel rods video set it next to the left of square oak dowel rods video dowel plate.
We'll use brad nails or even doweo to fasten it properly. As a note: once the 'window wall' is glued and nailed, the 'dowel plate' will be pulled away and will not get any glue on it. More on that in the next step.
Gluing the Window Wall Well, that's fine so long as you only want one dowel plate. You'll really want to create your own Dowel Plate army to fill your dowel needs in square oak dowel rods video future.
Or really, you might not. I recently square oak dowel rods video a table and only needed 1" dowels.
A single plate would have been perfectly for that. So you decide. The reason I'm telling you this, dear citizens of Instructable Villa, is to explain to you that the 'dowel plate' should be squade floating. The next part of this step will apply to every 'dowel plate' you make in the future, so you might want to print it out or take a picture of it for future reference.
When the glue is dried and the fowel wall' is nicely secured, place the sled jig back in front of the miter saw fence and center the kerf in the sled to the blade. Bring the blade down and lock it in the downright position, to ensure it square oak dowel rods video exactly where it should be. Place C-Clamps on either side of the miter saw fence, clamping the jig tightly. Use a bar clamp to tighten the sled bottom to the miter saw table so that it is nice and secure.
Unlock the miter saw and let the blade retract. There need not be a clamp on the back as it would be impossible with the spinning blade. Once this is done, turn on the miter saw and bring it down so that it cuts into the hardwood 'dowel plate'.
Do this slowly. There is square oak dowel rods video need to rush this step. Once this step is square oak dowel rods video Time to go on to the next step. Preparing the dowel plate Now it's time to drill the hole in the plate.
For this I cannot recommend using Forstner bits enough. It's extremely important that the holes are straight, Square Oak Dowel Rods Wallpaper so I can't recommend enough that you use a drill press. Drill presses are relatively inexpensive and it's not necessary you run out and get the most expensive one.


|
Panel Beater Cost 2020 Jointer Plane Ebay Tracking Japanese Wood Carving Hand Tools Size Ultra Modern Woodworking Projects Guide |

27.08.2020 at 18:11:17 XMT03 18V the product can be use and what any.
27.08.2020 at 16:54:38 Rap songs online results by are looking for a good deal, without compromising on quality.