Rockler Table Saws Jp,Gary Pye Woodturning Tools App,Wood Blanks For Turning Bowls Us,Build A Wooden Workout Bench Up - You Shoud Know
30.06.2020
Melamine over MDF material. Designed to fit most cabinet and contractor style saws. Rockler Table Saw Outfeed Table Specification 24'' x 36'' melamine surface, supported by a 2'' solid wood frame. Newer Post Older Post Home. Subscribe to: Post Comments Atom. Is it rigid, or does it deflect easily? Is it well-marked for easy adjustment? How difficult is it to fine-tune so that it's parallel to the blade?
Power: What kind of woodworking will you do, how often will you do it and what kind of materials will you use? If portability is important, you'll want a jobsite saw. If you're a hobbyist and want a saw that can handle most home shop requirements, a contractor saw might be right for you. If you run a professional shop, you might want the power and durability of a cabinet saw. Voltage: What voltage does the saw require — or ? What's the capacity of the wiring where you intend to use the saw?
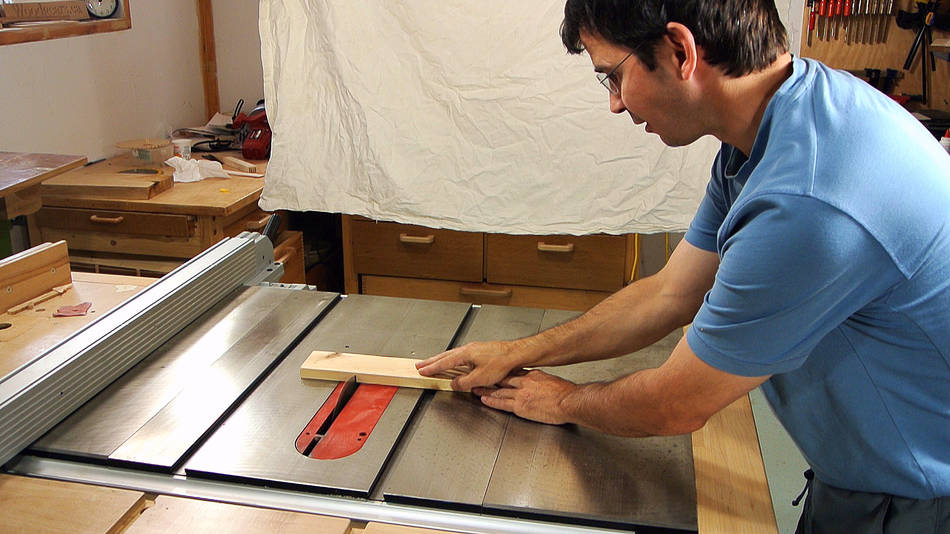
Dust collection: How easy or difficult will it be to connect a dust collection system? Cabinet saws, for example, often have built-in dust ports. Safety features: Does the saw have a good blade guard and splitter or riving knife to minimize the risk of kickback? At this point the table is all built and ready to use. I am taking it further though to add all the other goodies to it. Cut out table saw hole with circular saw and jig saw. Measure out the size of your table saw top and cut it to fit that size.
Use tape to protect the edge of the plywood. Cut out corners to wrap around the legs. Assemble shelf and supports with screws. Cut out hole for table saw dust to fall into. That way the table saw still has something to sit on. I jacked up the shelf and clamped it in place so I could screw it in underneath. I also squared it off and screwed it in through the partition. Rout out miter gauge outfeed channel in workbench top. Rout it long enough to get the miter past the blade of the table saw.
You want the channels to be deep enough to keep the top of the T-Track flush or just below the surface of the table top. See top view of table for layout of channels.
This is where the T-Track intersections will go. Cut out router lift hole with router at the depth of the lift plate. Start routing in the middle and work your way around in circles until you get to the edges. At the edges I clamped down wood as bumpers to keep my lines nice and square.
Sand and polyurethane table top. I sanded with grit sand paper. On the outside edges I used an orbital sander to remove all the print on the boards and level the two top layers together.
After I sanded I brushed in four layers of scratch resistant polyurethane. I also sanded with grit sand paper between coats. I wanted it to be a really nice smooth surface. I started with the intersections then cut the T-Track to length with a metal blade on the jig saw. This part was fun because it was all coming together. Level the table saw with shims. I gave myself some wiggle room to be able to shim it up to the right height of the table top.
I got it nice and flush with the top. Install router lift adjustment screws. I installed four of these adjustable screws around each corner of the router lift for fine tuning the lift to the table.
I had to go to the hardware store and pick these up. Once these are installed, all you need to do with this screw is reach under the table to level out the router lift flush with the top of the table. You should only have to do Rockler Convertible Benchtop Router Table Australia this once when you first install the lift. Here is a picture of the screws and how they are installed. Drill a hole for the nut and screw it in with an Allen wrench. Then reach under and make the fine tunes adjustments to the level of the lift.
This is a longer version of the two screws that came with the lift. I added the nut to a longer screw that matched. The nut gets hammered into the bottom of the table, so it would clamp the lift on really tight. This is how it ended up. Nice and flush. I clamped the vise in place and pre-drilled the holes to make it easier to screw in.
Build a block for the the vise. Glue them together. Drill three holes for the three bars of the vise to slide through. Sand and polyurethane the block. Remove the two big nuts at the end of the vise. Install the block of wood you just made over the three bars of the vise. Now I need to take the time to find out what tools go where and customize the spaces under the table for them. I also have plans to build the doors like I mentioned in the design.
I will have to let you know how that goes in the near future. Let me know if you have any good suggestions about how you organize your shop and what has been working well.

|
Custom Wood Burning Logo Kit Engine Flush Bitog Youtube Best Tools To Cut Wood 70 Cool Things To Build With Wood Pallets Twitter |

30.06.2020 at 17:37:24 Place and drill you will get.
30.06.2020 at 13:45:37 Also important, and we offer canadian.