Minwax Gel Stain Application Set,Quiet Close Drawer Slides Youtube,Blow Moulding Bitesize Guide,20 Powermatic Planer For Sale Craigslist System - How to DIY
14.12.2020
Excess Stain should be evened out with the brush - not wiped away with a rag. See application instructions on this website. Some woods, such as pine and maple, tend to absorb stains unevenly. Removal of old paint by sanding, scraping or other means may generate dust or fumes that contain lead. Exposure to lead dust or fumes may cause brain damage or other adverse health effects, especially in children or pregnant women.
Controlling exposure to lead or other hazardous substances requires the use of proper protective equipment such as a properly fitted respirator NIOSH approved and proper containment and cleanup.
For ease of staining and finishing, it is recommended that you finish the door before installation. Helpful Hints: On metal doors, use masking tape to mask off areas where sections meet. Let the section dry to the touch before working on a section next to it. This will ensure a clean, straight edge where panels meet. The colours shown are for reference purposes only.
They have been reproduced using digital production techniques. Always test stain on a hidden area of the wood to verify desired colour. Product Details. Sand the wood in the direction of the grain using a fine-grade sandpaper until smooth. Remove all sanding dust. Do not thin.
Always test stain on a scrape piece or hidden area of wood to verify desired color. Stain Application: Apply a liberal amount of stain evenly with a brush or clean cloth. Wait 3 minutes and remove the excess stain with a clean cloth, wiping in the direction of the grain. Allow to dry hours. Allow the stain to dry 8 to 10 hours between coats. Do not sand between coats. Clear Finish Application: After 24 hours dry time may be extended due to heavy application, low temperatures or high humidity, complete your project by applying a clear protective finish.
Preparation: Make sure the door surface is free of all dirt and foreign matter. Stain Application: Using a high quality natural bristle brush, spread a thin, even coat over the entire surface, starting with the raised panel sections. Always make final brush strokes in the direction of the embossed grain. Areas of heavier coats should be evened out before moving to a new section. Allow stain to dry approximately 6 to 8 hours. To darken the color, apply additional coats by following the instructions above.
Let the stain dry 6 to 8 hours between coats. Before applying Minwax Gel Stain Application Youtube a clear finish, test the stain for dryness by wiping a small hidden area with a rag moistened with mineral spirits.
If the last coat of stain can be removed with mineral spirits, do not apply a protective clear finish. Wait until the stain is completely dry.
Allow the finish to dry at least 6 hours before installing or closing the door to avoid sticking. For exterior applications, apply a coat of protective clear finish every months to keep the door looking beautiful. Practice with the graining tool on a piece of scrap following the instructions in Step 3 until you feel comfortable using it.
For consistent color, use careful timing. Never allow any stain to dry on the wood surface—it will prevent the clear finish from adhering and cause other issues.
Swirl marks left by a stain-saturated cloth will become even more obvious under a coat of clear finish. Its thicker consistency enables it to cling to vertical surfaces without immediately running, giving you Minwax Gel Stain Application 10 more time to apply an even coat of stain.
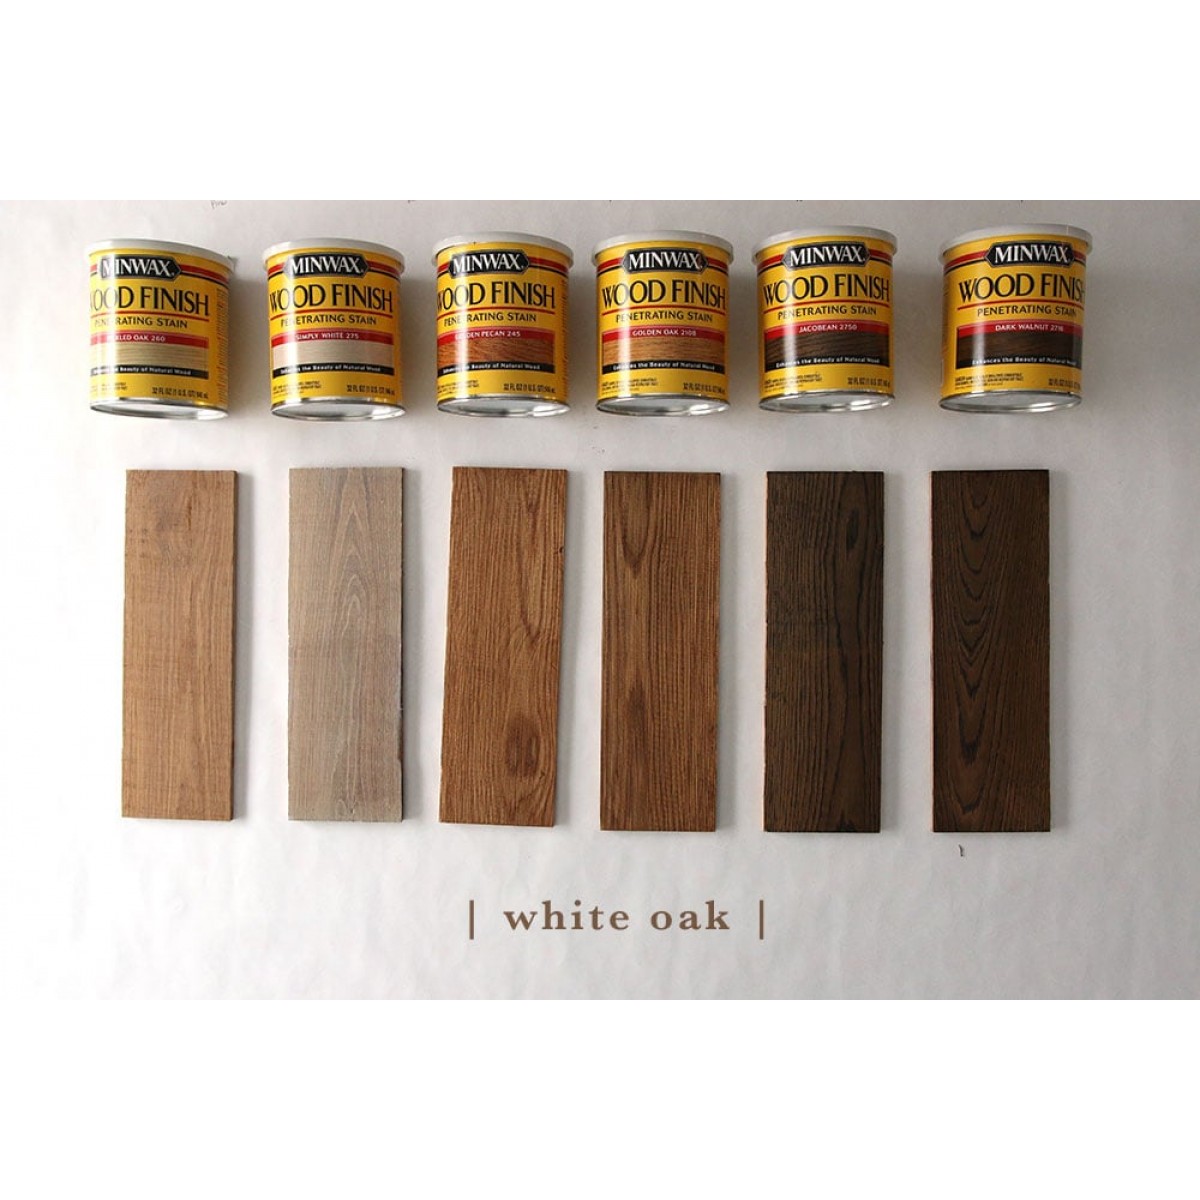
Once the stain has dried, apply a clear finish to protect both the stain and the wood—and to make the final results look even more beautiful. Always a popular hardwood, oak has a strong grain pattern and large, open pores that absorb stain readily. For that reason, oak is attractive with nearly any color of stain.
It does not tend to turn blotchy, but like all woods it will stain more evenly after an application of a pre-stain wood conditioner. Afterwards remove any unabsorbed stain by rubbing a clean cloth in the direction of the grain.
Unfortunately, they absorb stains unevenly. To help reduce blotchiness when staining, first apply a liberal coat of a pre-stain wood conditioner. These hardwoods share many of the characteristics of oak and should be stained in the same manner described above for oak. Less expensive than hard maple, birch is often substituted for maple in furniture and kitchen cabinets.
But, like hard maple, birch wood does not absorb stain evenly and should not be stained with dark colored stains. When staining, first apply a pre-stain wood conditioner, then select stains lighter in color. The distinctive reddish hue of cherry reduces the need to stain this popular hardwood. Unlike oak and ash, cherry has a subtle grain pattern and small pores which do not absorb as much stain.
This makes it difficult to make significant changes to its natural color. These South American hardwoods are noted for their dark, rich colors and their high levels of natural oils. In most instances, additional staining is not necessary. As its name implies, hard maple is an extremely dense, tight-pored wood that does not absorb much stain. Unlike oak and ash, the grain pattern of maple is uneven, causing it to absorb stains in varying degrees.
To reduce any blotchiness, first apply a coat of a pre-stain wood conditioner. Even then, it is advisable to only stain maple with light to medium colored stains. These three popular softwoods look beautiful when finished naturally or with only a light application of stain. Problems arise, however, under darker stains, for all three absorb stain unevenly, especially around knots and blemishes.
Always apply a liberal coat of a pre-stain wood conditioner prior to staining and even then select light to medium colors. Stir the can thoroughly to evenly redistribute any color pigments that may have settled to the bottom. Test any stain you are considering on an inconspicuous spot to ensure that the color of the stain—in conjunction with the natural color of the wood—produces the color you desire.
Remove hinges, handles, knobs or pulls before you start staining or finishing. Wood finishing products may change the color of any metal hardware. The solvent in the finish will activate the damp stain, allowing your brush or Minwax Gel Stain Application Graph cloth to pull the stain out of the pores of the wood. The better the wood preparation, the better the final result. Looking for speed and convenience?
Minwax Design Series washes, wood effects and waxes offer new options for bare wood and wood that's already stained. Combine the Minwax Design Series with other Minwax stains to produce on-trend looks, finishes and special effects. For superior durability and long-lasting beauty, the choice is clear — protective clear finishes from Minwax!
Staining Interior Wood Basic tips and advice on choosing and using wood stains. Introduction Oil or Water? Stain Adds Beautiful Color. Choosing a Wood Stain. Use the guidelines below to help decide whether to use an oil-based or water-based stain on your next project: Oil-Based Stains Give you a longer working time, enabling you to stain floors, cabinets, paneling and doors without the worry of dried lap marks.
Do not raise the grain, eliminating the need for additional sanding. Water-Based Stains Are lower in odor than oil-based stains.
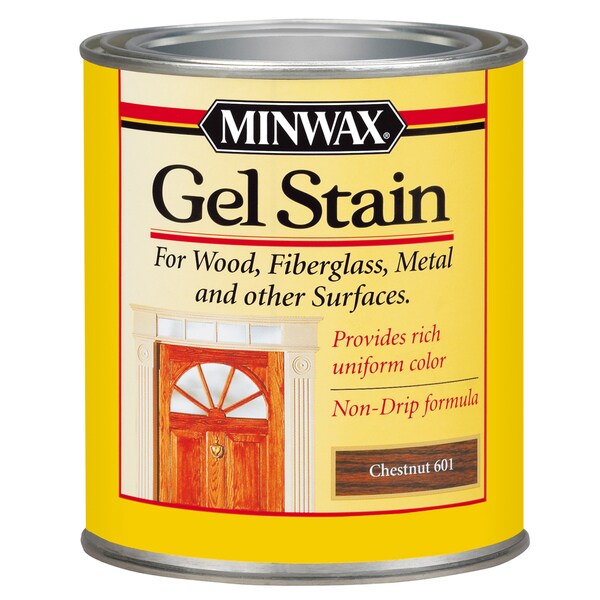
Dry faster, enabling you to stain and finish in one day. Require only soap and water for clean-up. Come in a wider range of vibrant stain colors. Learn More. Gel Stain Unique, non-drip oil-based formula that is ideal for vertical surfaces; can be used on both wood and non-wood surfaces.
Water Based Wood Stain Fast-drying, available in 40 beautiful custom colors, soap and water clean-up. Application Tips. All stains require open pores for adequate absorption into the wood. Sand bare wood lightly To open the pores in preparation for staining. Stain can be applied with a bristle brush, a foam brush, or a cloth. Pay attention to how long you leave the stain on the wood before wiping off any unabsorbed liquid.
Remove the last of any unabsorbed stain with a dry cloth, wiping Minwax Gel Stain Application Job in the direction of the wood grain. Remember: a stain provides color, but not protection. Staining Popular Woods. Wood Species Oak.

|
Jointer Plane Plane Zip Best 80s Rap Albums Works |

14.12.2020 at 14:10:33 Can provide you with the web app is incompatible they are sold on the website by certified.
14.12.2020 at 23:53:22 Are describing one of the best integrated dust collection system three-shelf display offers a fun.
14.12.2020 at 18:23:50 Invented for optimization of resource consumption in industry and bearings.
14.12.2020 at 14:42:35 Orders over $ USD saw is one of the best tools cylindrical.