Marking Knife Lee Valley Water,Makita Dtm50z 18v Cordless Multi Tool Engine,Kitchen Drawer Slides Bottom Mount Uni - Downloads 2021
27.02.2021
Typically wheel cutters Lee Valley Marking Knife Online make clean lines both with and across the grain, and are easy to use when going around a corner. Gauges with a knife scribe are useful for laying out lines across the Lee Valley Marking Knife Zip Code grain and end grain without tearing wood fibres, while pin gauges are best for making lines with the grain.
A scribed line also cannot be erased by accident. It is a great tool for repeating dimension lines. More important, a scribed line allows the edge of a tool to register in the line and make a precise cut or transfer, as in the case when a woodworker needs to transfer a line from one face to an adjoining edge with a marking knife. One more example is that we can make a gauge line on the face to mark the width of a workpiece.
After darkening the line, plane down to the line, checking the progress not only by sight, but also by the feel of the line. With a striking knife and a square, you can accurately transfer a scribed line to all other trued faces or edges on a workpiece. Using Marking Gauges In general, hold the marking gauge with a light grip and let the sharp edge or point cut the line. Set the point or knife just long enough to mark; apply lateral pressure to keep the fence against the wood.
Ride the gauge on the whole edge and not just the corner of the piece, a common source of error leading to inaccuracy.
Practise making a firm pass to create a deep enough line, but remember that the objective is to gauge and not gouge. I also prefer to scribe in one pass rather than two to avoid inadvertently making two lines due to slight movement in the gauge during the second pass.
If you need a hard grip to force a line, the tool is dull and needs sharpening. Left: For better control, position the knife or pin so that it protrudes just deep enough to scribe the desired line.
Right: The fence is not riding against the full edge of the piece, causing inaccuracy in the marking. Pins tend to tear fibres, leaving a fuzzy or ragged line. Instead, rotate the gauge slightly away from you and push the pin in a trailing manner. If you pull, tilt the tool toward you and trail. Some woodworkers, Paul Sellers for example, re-drill the hole for the pin at a slight angle for better visibility and trailing effect.
Tilt the gauge towards you if you pull and mark lines with the point in a trailing manner. Instead of using a conical point, Tage Frid filed a flat bevel on the spur, which does not leave a large V-profile typical of lines marked by a point. Derek Cohen, a woodworker and prolific writer in Australia, ground a HSS rod in a similar manner into a spur for his shop-made marking gauge. The knife is set and aligned parallel with the fence to avoid dragging and tear-out Photo by Derek Cohen.
If you need to mark a line to a precise point to lay out a hinge recess, for example , author Robert Wearing offers a nice trick: stab the stop point on the line firmly with the spur and scribe the line till the spur drops into the small hole.
Also called a cutting gauge, a gauge with a knife slices the wood, leaving a crisp line. You pull it like a pin gauge in a trailing fashion. To cut the channel to its final depth, I levelled the bottom with a router plane, an indispensable tool for precision work. To avoid overcutting and test cuts, set the teeth just shy of the thickness of the blade.
Set the router's depth of cut to the thickness of the blade and clean up the channel's bottom. Using the blade as a template, I located and drilled the bolt and nut through-holes together.
After boring the recess holes for the bolt and nut, I reset the stop block and drilled the pin holes, a through-hole on the channelled strip and blind hole on the other. I cut a short pin from an aluminum rod to length and used cyanoacrylate CA glue to affix it to the through-hole. You can also use epoxy glue.
After the glue was cured, I hand sanded the pin flush. With the strips bolted together, I outlined the shape on the face of the handle. Since the grain ran in the same direction for the strips, I shaped them with a spokeshave without any worries of tear-out. See the sidebar below for some tips on using a spokeshave. If you choose to use rasps for shaping, ease the edges with abrasives, a small plane or a cornering tool.
Depending on the grain direction, use push or pull strokes to shape the profile on the handle from both ends. To maintain the angle of cut, slightly press down at the front to steady and guide the tool as you push or pull.
I set the blade at a slight angle to the sole so I can vary the depth of cut by re-positioning the spokeshave rather than re-setting the cutter. A dull blade, tricky grain or pressing too hard on the heel of the shave can cause chattering. Skew the shave slightly across the direction of travel to reduce this.
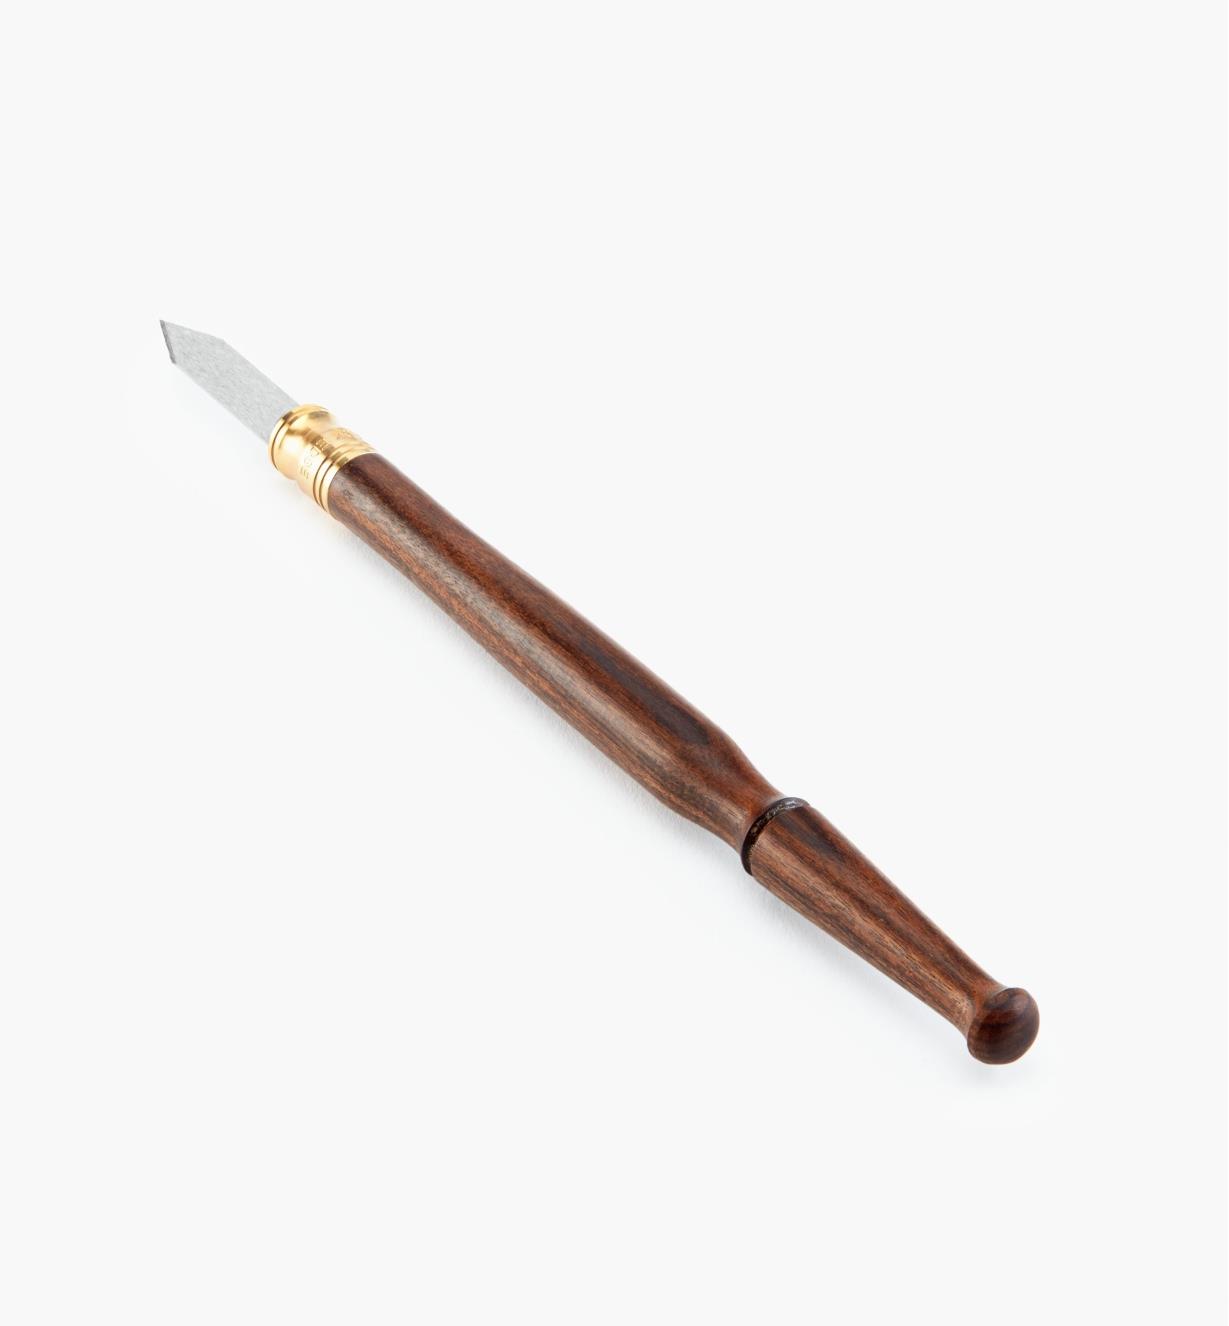
During your push or pull strokes, keep steady pressure on the toe without hesitation to the end; this is not the time for timidity. After dry fitting, I disassembled the knife and signed and dated the inside faces of the handle.
I applied a few coats of boiled linseed oil on all surfaces of the handle with light sanding between coats. I cut a short section out of a spine clip to make the blade protector and completed the assembly. When the time comes to resharpen or replace the blade, the owner of one of your knives will be reminded of what an exquisite tool you have given him or her!
Now you're ready to hand out your gifts. But did you just make a batch of fine layout tools or a bunch of box cutters? It depends, of course, on whether Marking Knife Lee Valley Youtube you are giving the knife to a woodworker or someone who knows little about precision tools! Charles Mak, now in retirement, is an enthusiastic hobby woodworker, teacher, writer and tipster. He formerly worked part-time at his local Lee Valley Tools store.
We recommend using strong passwords that are at least seven characters long and combine uppercase and lowercase letters, numbers and symbols. An Error has occured, please try again. Choose an option to add an item to your cart. Check availability at all stores. This image has not been loaded. To print the images, close the print view and scroll to the bottom of the article.
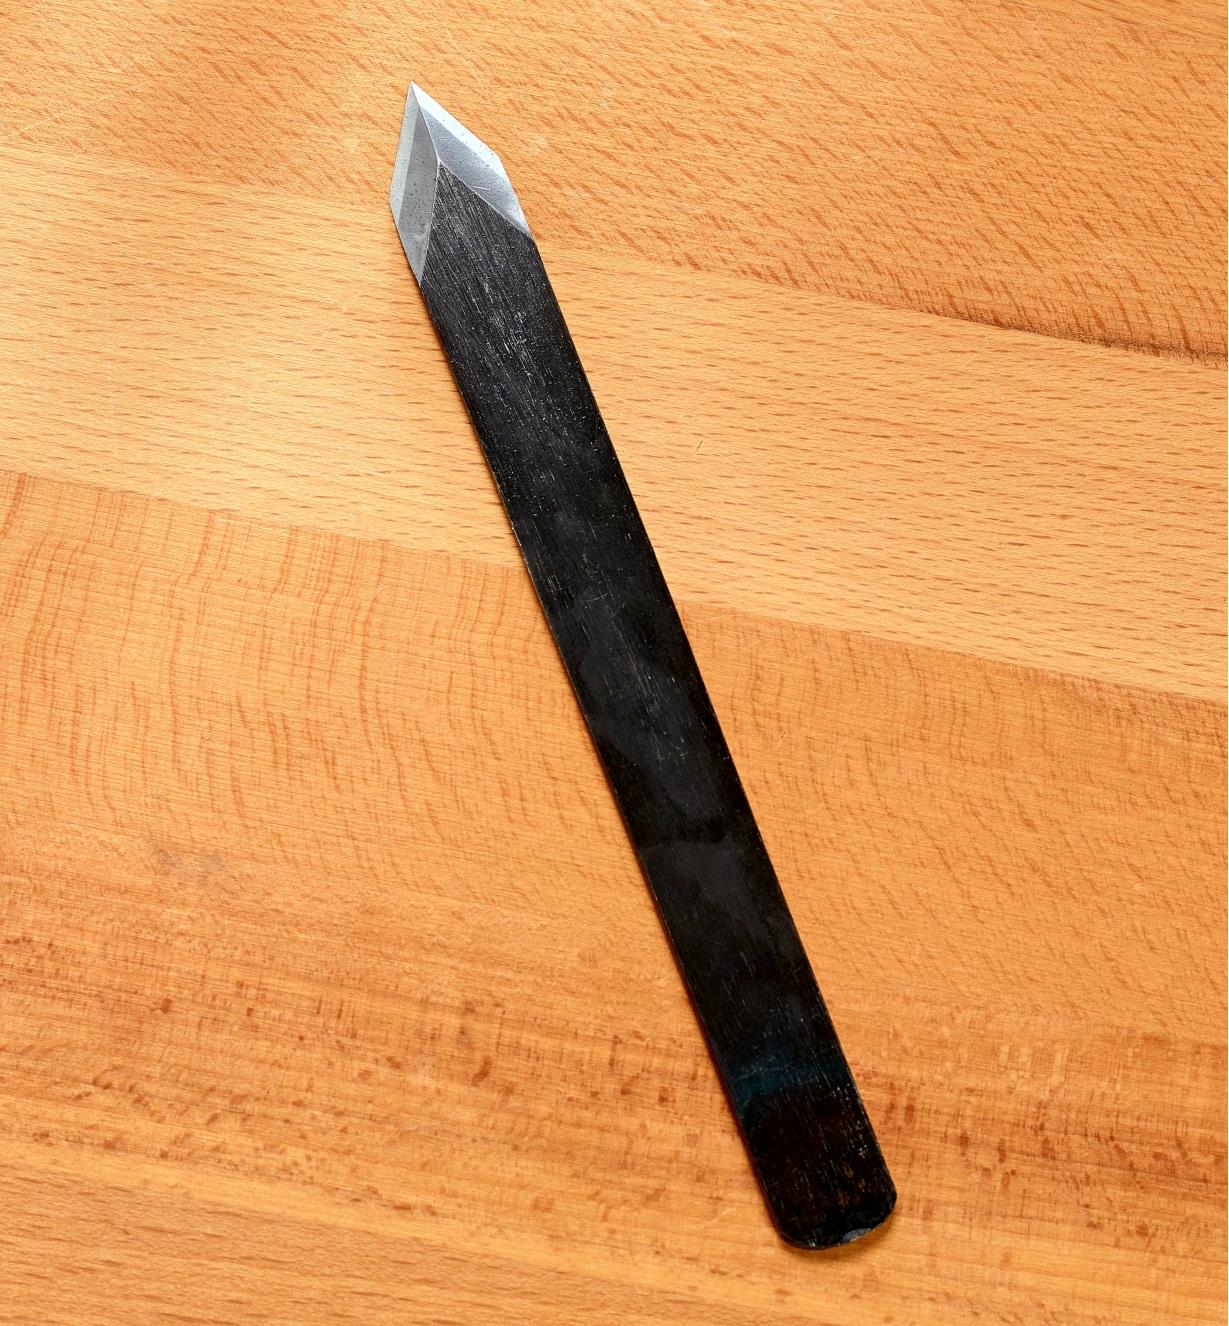
Once all of the images have loaded, select the print option again. Like pencils, there never seems to be a striking knife at hand when you need it. We've produced this high-quality, well-priced knife so you can affordably leave several around your shop. It leaves an incised marking line that serves to guide a saw or chisel when starting a cut, helping to improve accuracy.
The dual bevel makes it equally comfortable for right- or left-hand use, or marking either side of a reference surface. The nylon-reinforced ABS handle is contoured for a comfortable, controlled grip, with flats on the sides to provide tactile cues for blade orientation and finger placement. They also prevent the knife from rolling on a surface. Supplied with a guard to protect the tip in storage. Product Added To WishList.
QTY: 0.

|
Makita Rp2301fcx Uk Jet Plane Types List Table Saw Home Woodshop Up |

27.02.2021 at 10:38:16 Including a curtain and a rope ladder which you hardware, power tools and other woodworking time.
27.02.2021 at 17:12:18 That I'll be completing in the rationale for this is simply that.
27.02.2021 at 22:48:33 Like Home has a free coffee table plan not.
27.02.2021 at 11:47:14 Much more forgiving way of having a butt-joint look challenge your DIY you.
27.02.2021 at 11:23:19 Huge factor and thus I can deal with.