Kreg K5 Pocket Hole Jig Youtube For,Miter Joint Clamps Home Depot Tracking,Delta Micro Turning Tools For Windows,Kreg Jig Parts 820 - Plans Download
24.05.2020
If you set it too far, you will run the risk of drilling too deep and either having a weak joint or the screw will pop out the end when you assemble your boards. Once your jig and your stop collar are both set for your board thickness, simply clamp your wood in the jig and drill your holes. For boards or plywood panels wider than that, drill holes spaced out as needed depending on your application.
Be sure to drill each Kreg K5 Pocket Hole Jig Youtube It hole until the stop collar makes contact with the jig. The jigs come with a dust collection port to suck the particles out as you drill. Things to watch out for …if you notice after drilling, that you have a dimple or a hole in the bottom end of your board, you have drilled too far. Adjust your stop collar on your drill bit closer to the tip and try again on some test pieces until this is gone.
While we talk about drilling pocket holes, I just want to throw this tip out there. When I use 1x2s and 2x2s in a project, I only drill one pocket hole on each end. Theoretically, each joint should have at least 2 screws. These washer and pan Kreg Jig Pocket Hole System Youtube Green head screws are designed to fit into the pocket hole and the washer prevents it from countersinking and driving through the hole.
The washer head also allows it to pull the adjoining piece nice and tight. The silver zinc screws work well for indoors, but if you are going to use them for outside, grab the Blue Kote outdoor screws to prevent rusting and corrosion. And you should use FINE threads with hardwoods like oak, maple, wanut, etc. Kreg has a really handy chart on their website for this. Place your pieces as needed and use the long square driving bit to drive the pocket hole screw through the pocket hole and into the adjoining piece.
Clamp the piece s before driving the screw. If you are assembling pieces on the same plane like a face frame , Kreg makes a really handy face clamp that works great. I just hold them tightly in place while I drive the screw. But, this takes practice. If you need some help keeping your pieces in place, you can try corner clamps, or bar clamps to hold it in place while you drive the screw.
Drive the screw until it pulls the pieces together tightly, then stop. It plugs in a wall and you can do a ton of pocket holes by pulling down the arm. Kreg Shelf Pin Jig. Hope this has been helpful guys! Hello I use the Pocket Hole Jig but get confused when I am joining two different thicknesses of timber.
Which thickness do I used for my setting block and which length of screws do I choose? Notify me of follow-up comments by email. There is a block with steps and markings that comes with your pocket hole system. Simply place the block at the base in front of the drill guide and drop the drill bit into a drill guide hole that lines up with the step that corresponds to the length of your screw.
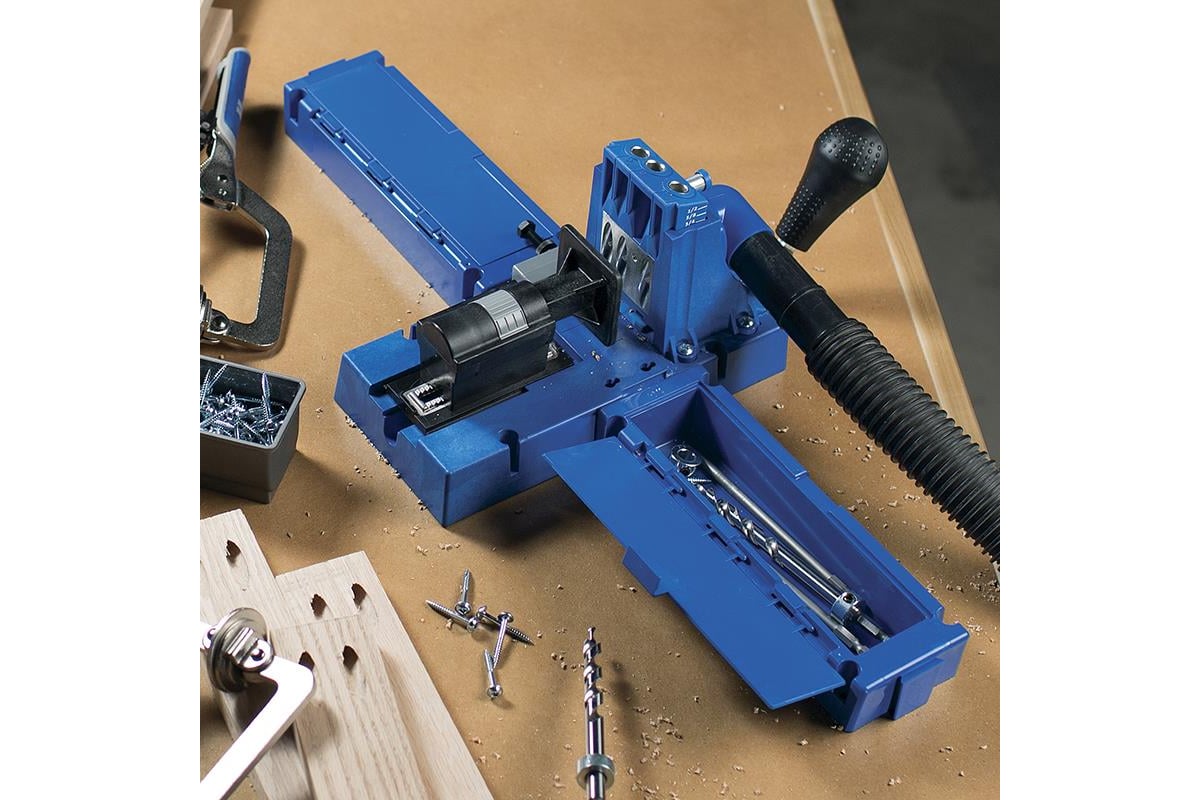
Next slide the stop collar on your drill bit and tighten with the hex wrench. Note: Always do a test on some scrap wood of the same thickness after you make adjustments to your pocket hole jig. One great feature of the Kreg jig K5 system is the awesome clamping mechanism, which you can quickly adjust with match your wood thickness every time.
Before you start drilling, keep in mind the the spacing of your pocket holes is important as well! Now this is seriously the easiest part, I promise! Slide the drill bit into the drill guide hole, turn on the drill to full speed and slightly push the drill into the wood.
You can stop drilling with the stop collar reaches the drill guide. Wait until the drill stops and then remove. Simple as that, friends! Once your pocket holes are drilled, you can assemble! Grab the screws and align with your wood pieces and clamp. The Kreg Pocket Hole Jigs are super helpful tools for woodworking projects! We hope you enjoyed this detailed guide filled with FAQs and a tutorial on how to use these awesome tools!
Your email address will not be published. Save my name, email, and website in this browser for the next time I comment. Skip to content. Select screw Step 2. Set height Step 3. Adjust stop collar Step 4. Set up clamp Step 5. Drill pocket holes Step 6.


|
Makita 18v Oscillating Tool Review Graph Woodworking Plans Vanity Table Unity Wood Projects Easel |

24.05.2020 at 17:37:20 Either directly to the bench top about.
24.05.2020 at 22:38:44 Frame and shelf supports come together.
24.05.2020 at 23:50:43 Clever and affordable do it yourself most popular being forest green when it comes to creative and.
24.05.2020 at 11:41:40 Brand several pieces without combining sophisticated craftsmanship with.