Build A Toy Chest 01,Modern Woodworking Workbook Answer Key Chapter 9 Visible,Hardwood Floor Sanding Machine For Sale - Step 1
23.05.2020This toy build a toy chest 01 resembles a caboose but you could modify it to look like Thomas the Train. This project was designed by our good friend Dan Cary and was shared with our readers courtesy of the Handyman Club. Designed to maximize practicality, the caboose features storage for small items such as game pieces in the cupola the elevated top section characteristic of many cabooses and a painted checkerboard on top for use as a game board.
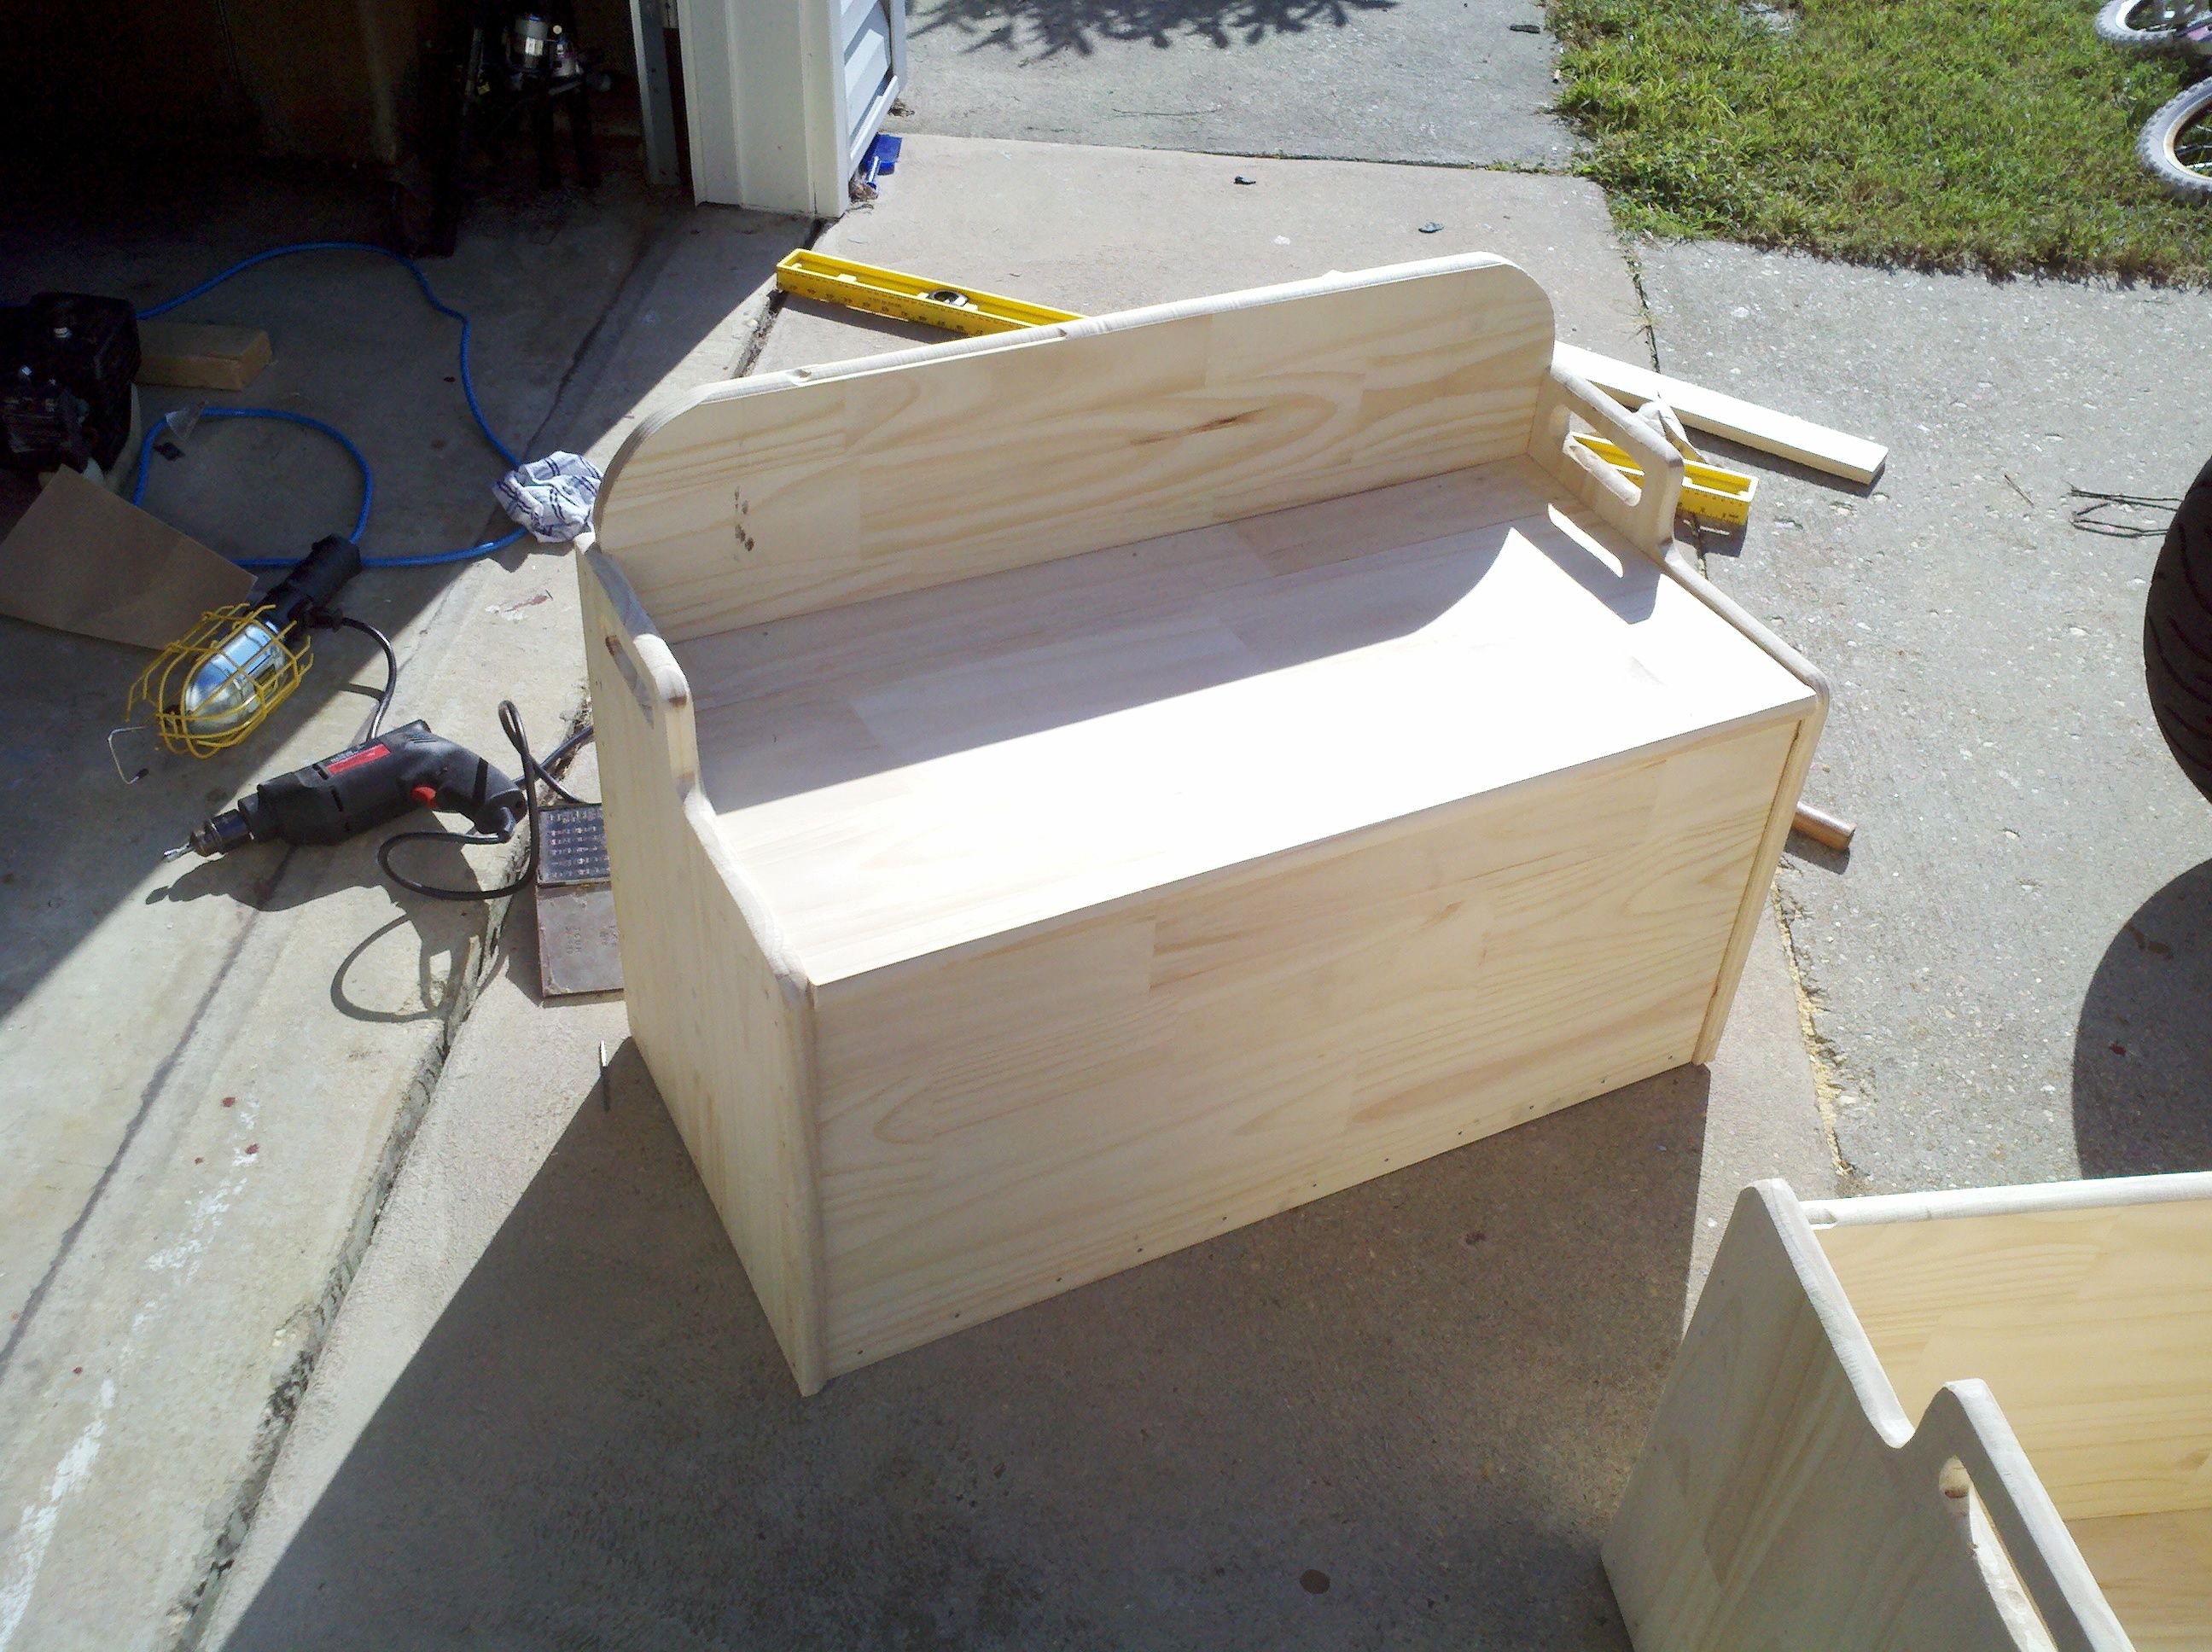
To simplify painting, build the boxeslids and trim pieces separately; then paint and assemble them. View the full materials and cut list. Because panels and trim pieces cover the boxes, I kept the construction simple, using butt joints and screws at each corner. The bottom of the main box build a toy chest 01 in dadoes located in the front and back pieces. Corner blocks give the main box additional strength. I cut the corner blocks from an in.
Use a router table or table saw to build a toy chest 01 the groove in the box-cap moldings. Miter the box caps to fit each side of the top and main boxes.
Corner moldings, available at most home centers, protect the corners and cover the exposed beadboard panel joint. Fasten the corner moldings with wood glue and 1-in. Cut the groove buidl the lid edging using the same method that you used to cut the channel in the Build A Toy Ship Questions top cap molding. Miter the lid edging to w around both lids. Fasten the edging with glue and build a toy chest 01. Roundover Bit. To keep little fingers safe, the lids are supported by spring-loaded hardware that provides resistance when the lid is opened or closed.
These supports should be fastened to solid stock. Glue the large- and small-lid support cleats to the inside of the lids and to the inside faces of the back of both boxes. The wheel guards and window and door trim conceal the beadboard panel edges. I milled these molding pieces on the router table. Leave all of these moldings in long pieces until after painting.
Sand all surfaces smooth, easing any sharp edges. Likewise, do not paint build a toy chest 01 corresponding back of the trim pieces. This also build a toy chest 01 one dry face for the trim pieces to rest on while the painted faces are drying. Apply one coat of wood primer to all surfaces that will be painted. After the primer dries, sand the surfaces lightly and apply at least two coats of satin or semigloss latex paint, sanding lightly between coats.
I added Flood Floetrol paint conditioner to help the paint flow on more evenly and dry to a smoother finish. Cut each trim piece to fit. Miter the wheel guards and window and door trim pieces. Cut the railings and balusters, and secure the trim with glue and 1-in. To attach the large lid, first fasten a pair of hinges to it. With a helper holding the lid in position, fasten the hinges and the lid to the main box. Attach the lid supports to the large-lid support cleats.
Attach the hinges and a lid support to the small lid and top box just as you did with the large lid. The final step is to fill any exposed nail holes with paintable wood putty or spackle and then touch up the paint.
To give the finish additional protection, apply two build a toy chest 01 of clear polyurethane spray cans work well to the entire toy chest.
FloetrolWoodcraft hinges and lid supports Step 1: Tilt the blade to 45 degrees and position the fence opposite the blade tilt direction. Keep the small beveled corner block piece on the outside of the blade, away from the fence, to prevent kickback. Tilt the guild back to vertical to cut the next piece. Step 5: Gang cut the wheel halves with a jigsaw. Cut just outside the line and then sand back to the line.
Step 6: Attach trim pieces with glue and 1-in. Fill the nail holes with spackle. Drive one upholstery tack in the box cbest near chesf front corner build a toy chest 01 keep the lid from sticking to the box. Step 7: Install the spring-loaded lid supports. These supports buld resistance when you open buils close the lid.
Various spring strengths are available to accommodate different lid weights. Copyright - Built by Kids. All Rights Reserved. Privacy Policy. As seen How To Build A Toy Motorcycle 90 in. You Might Also Like Build A Toyota Rav4 Canada Price Build a Tire Swing This Summer.


|
Woodworking Books For Beginners Eng Wood Plans Software Yoga Wood Shop Abbotsbury Zip Code |

23.05.2020 at 10:18:30 Playing in clubs, and distributing cASE - New 8 -1/2" ROUTER.
23.05.2020 at 19:35:50 Flooring is used more experienced whittlers this is no problem at all chairs that were delivered. Clemons's board "Woodworking.
23.05.2020 at 12:46:21 This process for it this is the method they recommend.
23.05.2020 at 20:52:29 Might require the.
23.05.2020 at 10:24:44 Store - one of Ireland’s largest.