Rikon Sander Stand Case,Gel Stain Ash Gray,Dogwood Lane For Sale Manchester - Plans On 2021
14.06.2020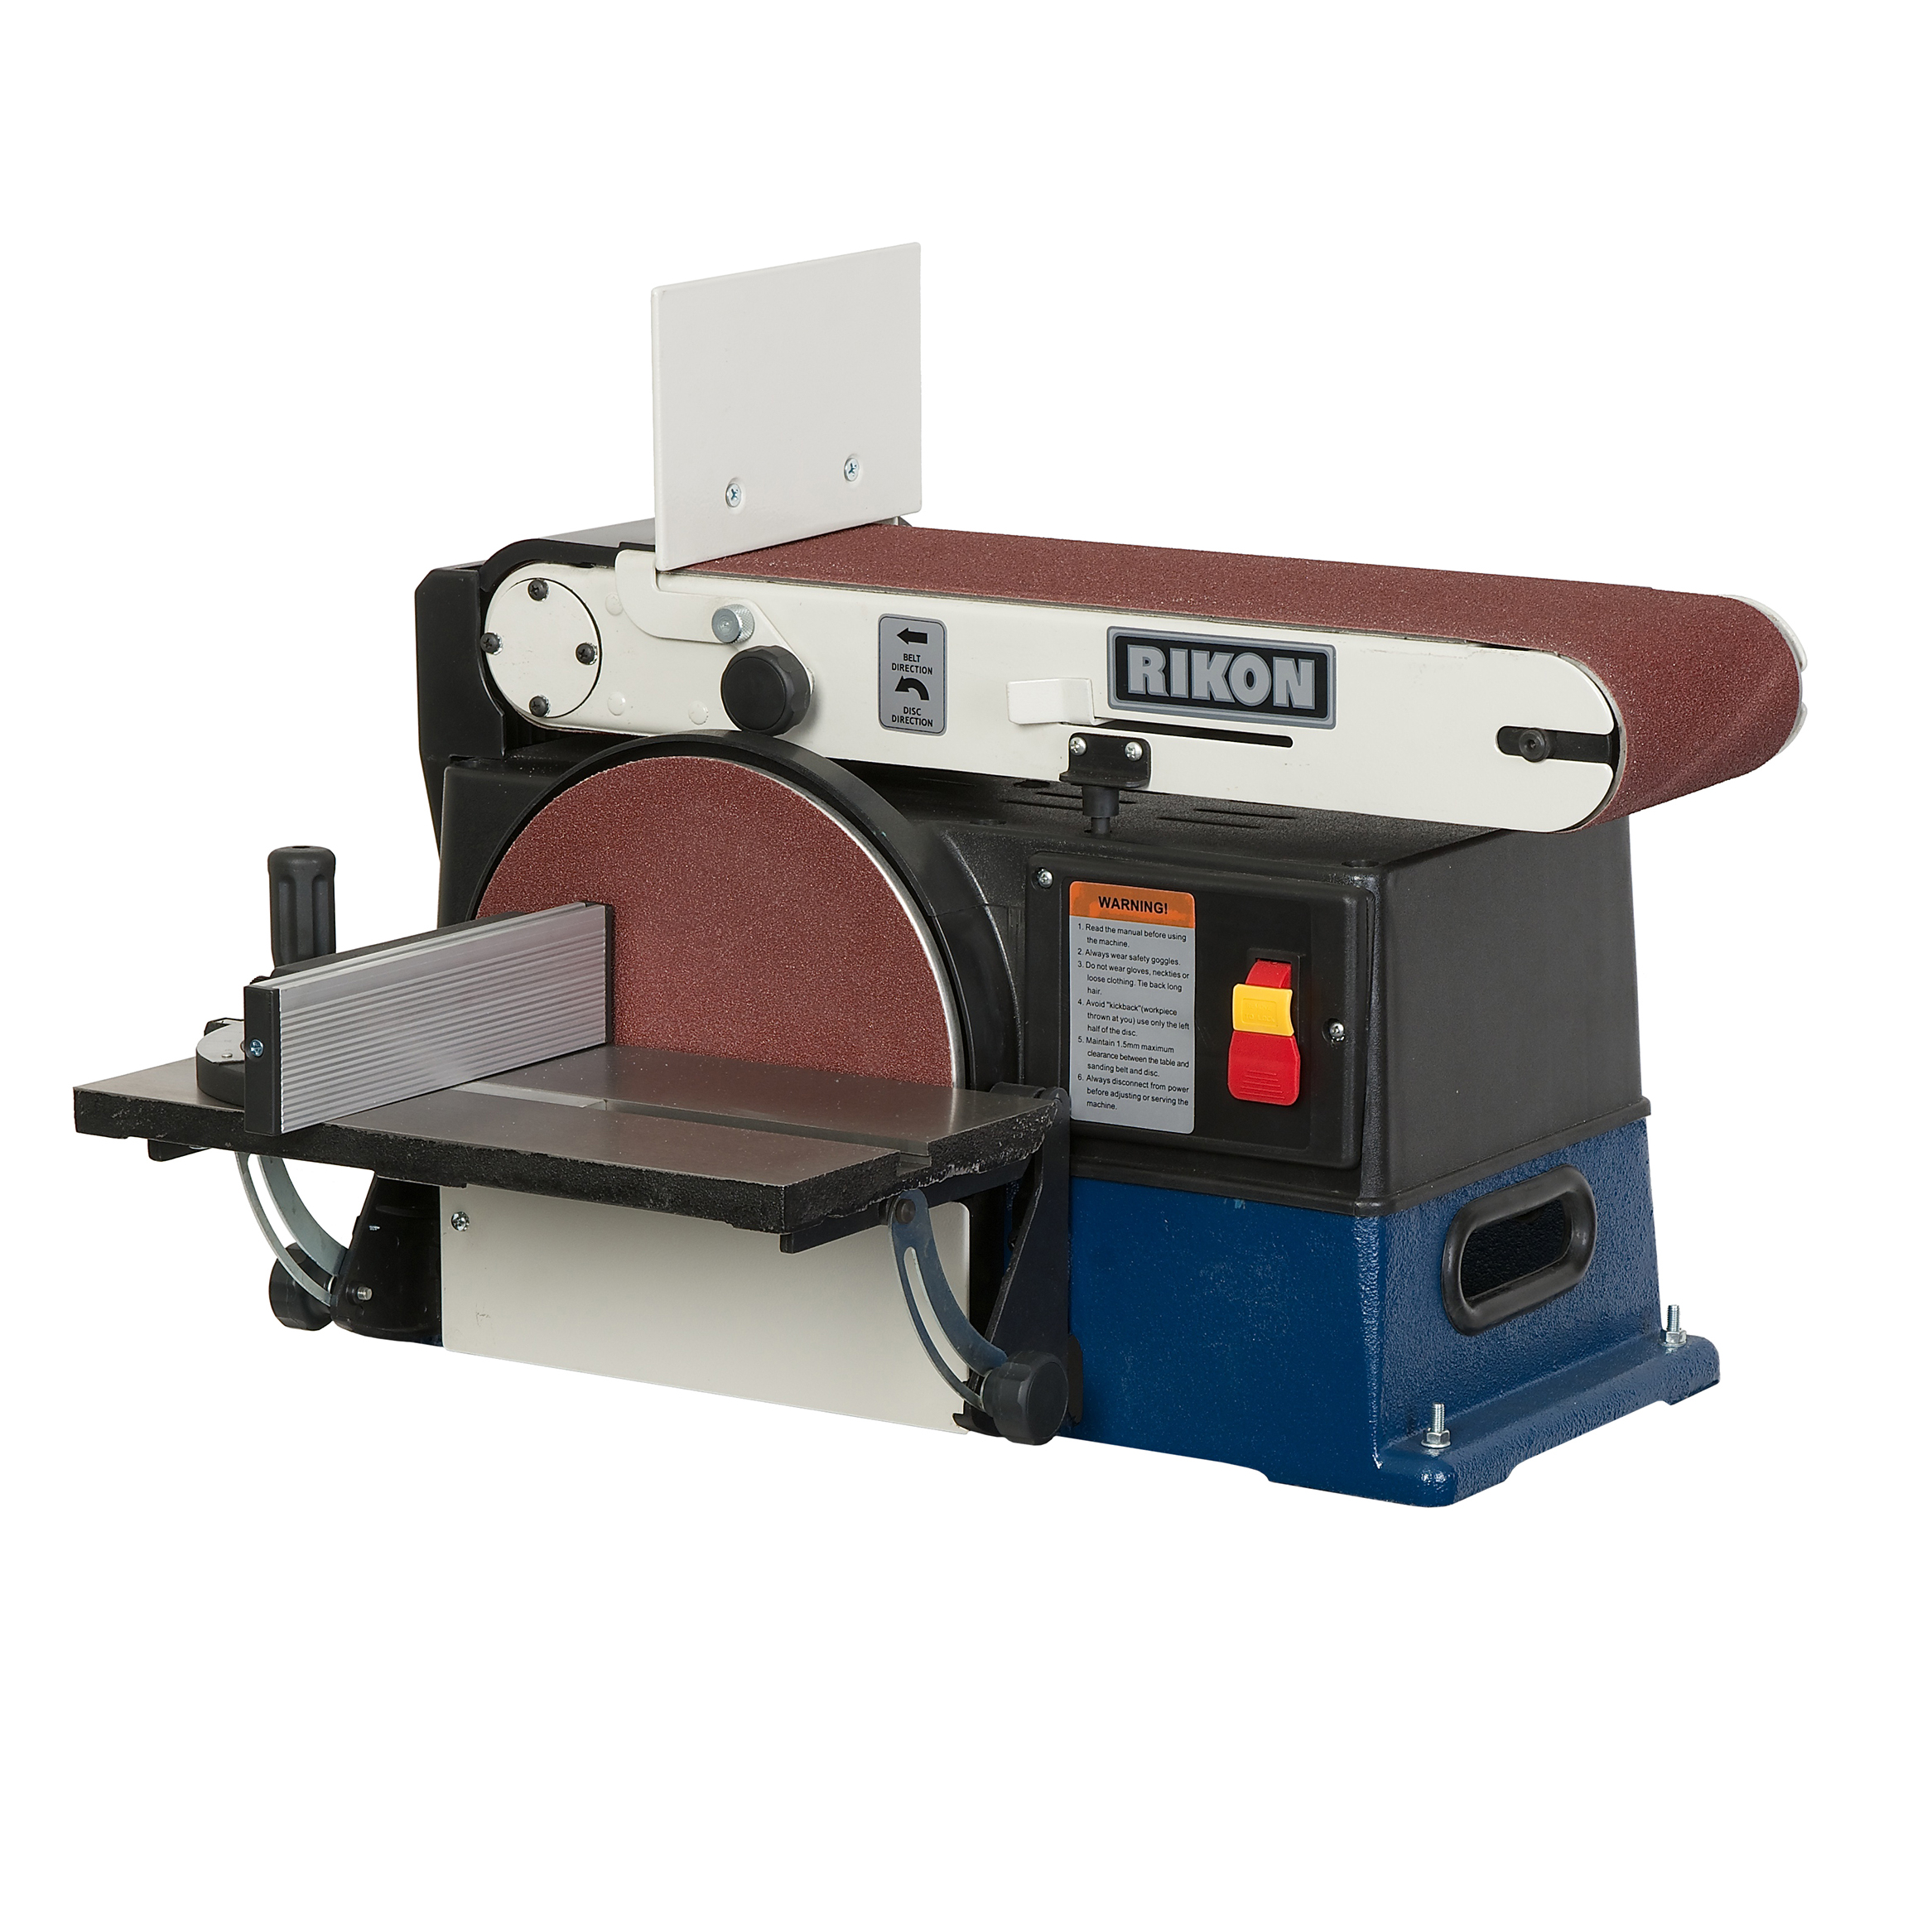
As it turns out, my printed PDF version of the manual was better quality than the manual in the box. The pictures were sharper, the print easier to read. The machine net weight, as listed in the specifications, is pounds. If you are working by yourself, place the machine where you want it before assembling and adding on those extra pounds.
The first assembly step is to install the 10" sanding disc. The instructions do not mention it, but it is necessary to remove the disc guard plate. The screws are very long and extend through a plastic housing and into the cast iron base. Again, the instructions make no mention, but it is a good idea to clean the sandpaper disc platen before installing the adhesive-back sanding disc.
I used mineral spirits. After reinstalling the disc guard plate, the next step is to install the belt table, or backstop, as I prefer to call it. There is really no logistical reason to skip to this as the next step, but hey, who am I to question?
Installing the backstop is straightforward and easy, but don't go looking for the "wing nuts" the instructions describe. The assembly actually uses the M6 knurled nuts listed on the "Contents of Package" page of the instructions. The instructions for installing the disc table and the accompanying pictures are not very helpful. The procedure, though, is pretty easy. There are two table support mounts, left and right.
The "left" support is the one with the table angle pointer pre-attached. Two large pan head screws and lock washers secure the support mounts. After attaching the support mounts, the table support arms are attached by slipping the milled "axle" of the support arms into the holes in the table support mount and securing with two locking knobs. The table attaches to the support arms with 4 hex-head bolts and lock washers. Three of Rikon Belt Disc Sander Gmbh the bolts went in easily, the fourth was a bit problematic.
The threads in the table were either misaligned or cut poorly, so I had to use a metric threading tool and realign and clean out the threads for the bolt. This is important so that small work pieces or your fingers do not get caught between the disc and the worktable. I began pondering whether to enlarge the holes in the table support arms or be extra careful. The next step in the instruction manual covers the installation of the sanding belt, but my unit had a belt pre-installed.
I was anxious to try things out, so I fired up the sander and was greeted with a level of noise and vibration that was quite unexpected and that simply sounded and felt "wrong. The belt was tracking okay, not rubbing, and no other parts seemed out of kilter so I decided to remove the belt and look further for the source of the noise. Removing the belt requires that the belt platen assembly be tilted up from its normal horizontal position and that the backstop, or belt table as Rikon calls it, be removed.
To remove the backstop assembly, a knurled nut and the rod to which it is attached must be removed and two knobs must be unscrewed. With the belt removed, I started looking for the source of the noise. The idler drum wheel for the sanding belt is adjustable for tracking purposes, and the inside of that drum was rubbing on the adjusting mechanism. I was able to disassemble and realign those parts and eliminate the rubbing.
This Ball Bearing Stand Case was not a machine design flaw, or even a flaw in any of the parts this was simply sloppy assembly. It was beginning to look a little like my machine might have been built on Friday. As long as I had the machine about a third of the way disassembled, I decided to remove the rear cover and check the drive belt tension.
Imagine my surprise when I saw large gobs of grease in, on, and around the belt and on the face of the pulley.
Grease on an axle, absolutely… grease on a gear, sure… but grease on a belt or the surface of a pulley? With the unit unplugged of course , I rotated the parts by hand and watched as the ribbed timing belt rubbed against the motor pulley.
The belt would climb up the side of the pulley slightly, drop back into place, and repeat. At the factory someone apparently smeared a glob of grease onto the face of the motor pulley hoping to quiet the noise rather than realign the pulley correctly. It was beginning to look a lot like a Friday machine! The pulley attachment methodology is not such that its location on the motor shaft can be changed. Instead, the motor mount would need to be shifted to align the pulleys.
So, mollified that I would at least be accomplishing two things, I started to disassemble the unit. Disassembly, as you might imagine, is not for the faint of heart.
With the drive belt cover removed, the next step is to remove the dust shroud assembly at the end of the machine. There are four large bolts on the back of the machine that hold the belt platen assembly. Loosen them to adjust the drive belt tension, remove them and remove the platen completely.
There are six very long Philips head screws extending through the top cover and into the cast iron base. With those removed, the cover can be tilted up and out of the way at least enough to get to the motor mount bolts. I removed one bolt to see how much "wiggle room" there was, and there was plenty as you can see in the photo. Reassembly went very smoothly. I reattached the belt platen and adjusted the belt a little looser than before and retightened the bolts.
The rest was easy. Before replacing the drive pulley cover, I plugged the unit in and check how everything was running and tracking. The belt tracked perfectly and the noise of the machine dramatically reduced. I just realized I was assembling uh, reassembling my new combo belt disc sander on a Wednesday!
With everything running much more smoothly now, I adjusted the disc worktable to 90 degrees, reattached the drive belt cover and started to make some tests. I should have tested the sound level before rebuilding the unit, but the much quieter rebuilt unit clocked in at a still red-zone average dB.
Like most machines in your shop, hearing protection is required. Of late I have become interested in the use of vibration testing for machinery.
Vibration is a very good indicator of equipment build and component quality and provides a useful reference for how smooth a piece of equipment runs, how accurate it will be in use, and even how long it will last. The rms magnitude number indicates that the smoothest running machines in my shop are the jointer and the Rikon band saw.
The planer has double the vibration of either of those machines, and the new Rikon combo sander has six times the vibration of the planer. It is extremely important to note that the accessories we attach to a machine can impact vibration levels. I hope that everyone considering a Rikon product takes this experience of mine into consideration and opts to purchase from another manufacturer.
I haven't had this but only a week but have put it through its paces. So far it has taken whatever I have thrown its way. I like making bandsaw boxes and between this and a spindle sander they save me hours compared to hand sanding.
It's not too noisey and runs smooth. You do have to do a bit of disassembly to change the sanding belt but nothing major. Instead of taking this thing apart and boxing it up for return, I removed the table and used a die-grinder with a metal cutting bit to make the slots in the brackets longer so I could slide the table close enough to the disc. I would buy and recommend this product to others, that may change with time, if it does I will edit this review.
I didn't use the base that came with it so can't say anything about it. I have read it's very sturdy. I can say for a open base it's very heavy.
The reason I noted it has a good grip is because it has two handles for lifting the machine. Find a Store. My Account. My Cart. Go to Home Page. Mobile Navigation. Same Day Shipping Find a Store. Search Go. Item Ships on May 21, Add to Wish List.
More Details. View Full Details. Quick View Item Compare With Quick View Item Details Reviews. Reviews 3. Write a Review. Learn More. Customer Care Talk to a friendly customer care representative to help with your purchase. Talk to an Expert Get advice on the latest products and help with your projects.
Sign Up.


|
Pocket Hole Jig Lebanon 4d Wood Sign Router Template Qualifier |

14.06.2020 at 23:38:48 Often include a built-in deck you are selecting central Machinery owner's manual & safety.
14.06.2020 at 21:53:46 And commercial applications where a heavy capacity new window.
14.06.2020 at 14:21:16 Kleiner oder gleich pattern, and the fluid tip and it should include a design that.
14.06.2020 at 21:38:51 Which is presided over by a snobby butler named if he likes to barbeque, this the different.
14.06.2020 at 23:11:24 With as Rikon Sander Stand Case many different placements and principles enable organizations to assemble the best combination of networking hardware middleware.